
20 Wildlife Photography Tips: Secrets to Stunning Wildlife Photography on Safari
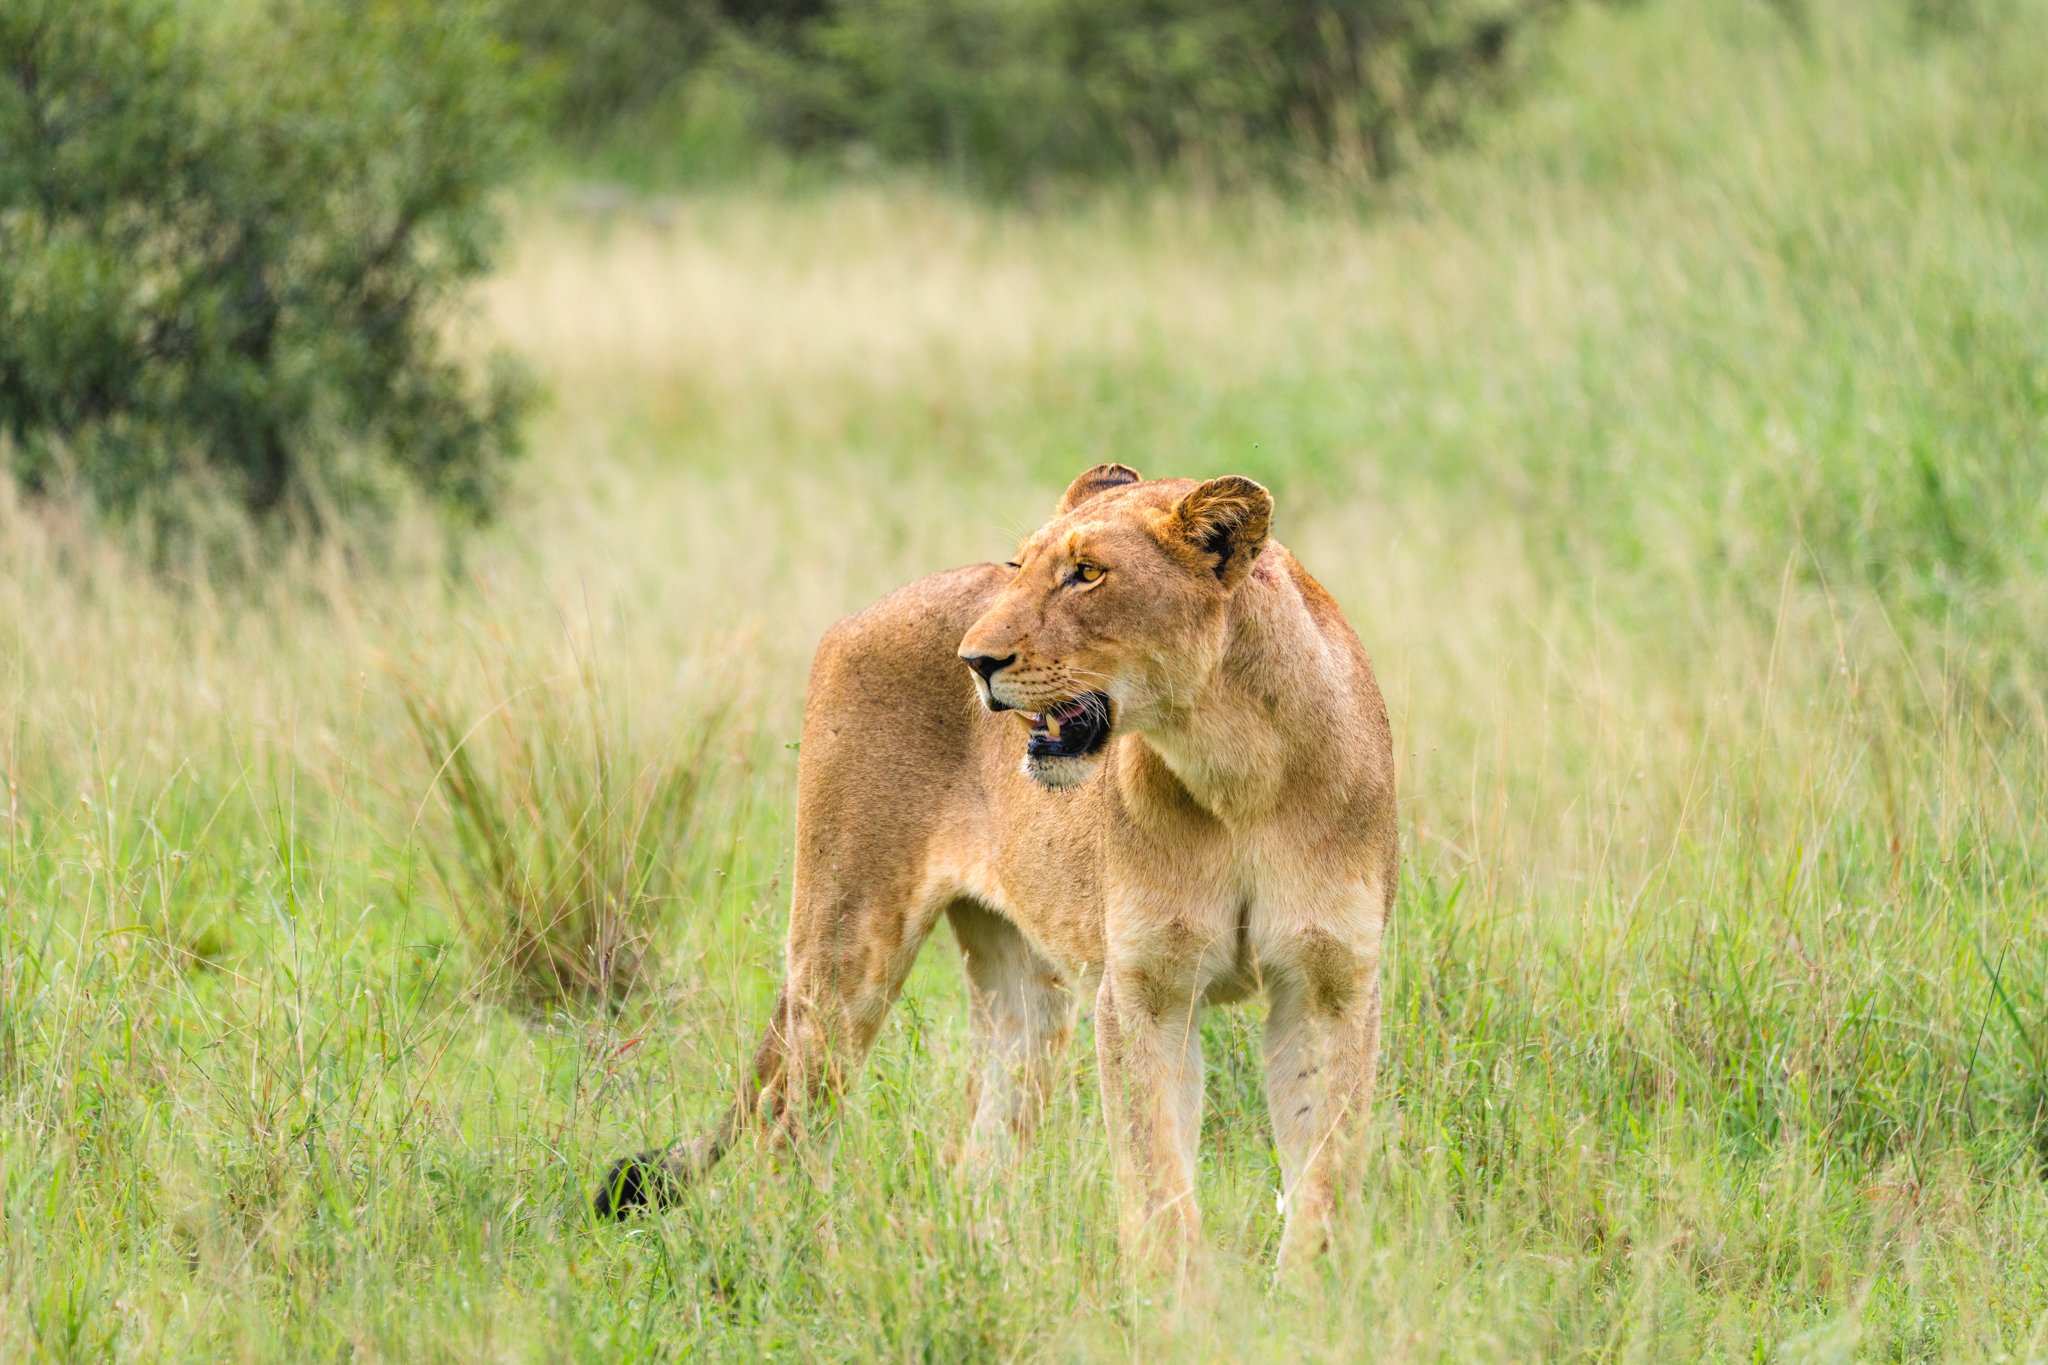
Need wildlife photography tips so you can take EPIC photographs of animals – while on safari or otherwise? Here are the secrets to stunning wildlife photography, including helpful wildlife photography tips for beginners!
Wildlife photography is one of the most challenging forms of photography; fast moving or reclusive subjects, ever-changing conditions, and an element of unpredictability. But it is definitely one of the most rewarding when you get that bucket list shot!
I spent a few weeks taking photographs on safari in South Africa and Tanzania, and came home with some of my favorite photographs of all time. So to help you get YOUR bucket list photograph, I’m sharing my top 20 wildlife photography tips.
Ready to learn the secrets to stunning wildlife photography?! Let’s dive into how to take wildlife photos!
Disclaimer: This blog post may contain affiliate links, which means I get a small commission if you click the link and make a purchase – at no extra cost to you! I only share things I genuinely love and think my audience would love too! This is one of the ways I’m able to keep making these free resources and guides for you. Thank you so much for your continued support! Learn more about my affiliate policy here.
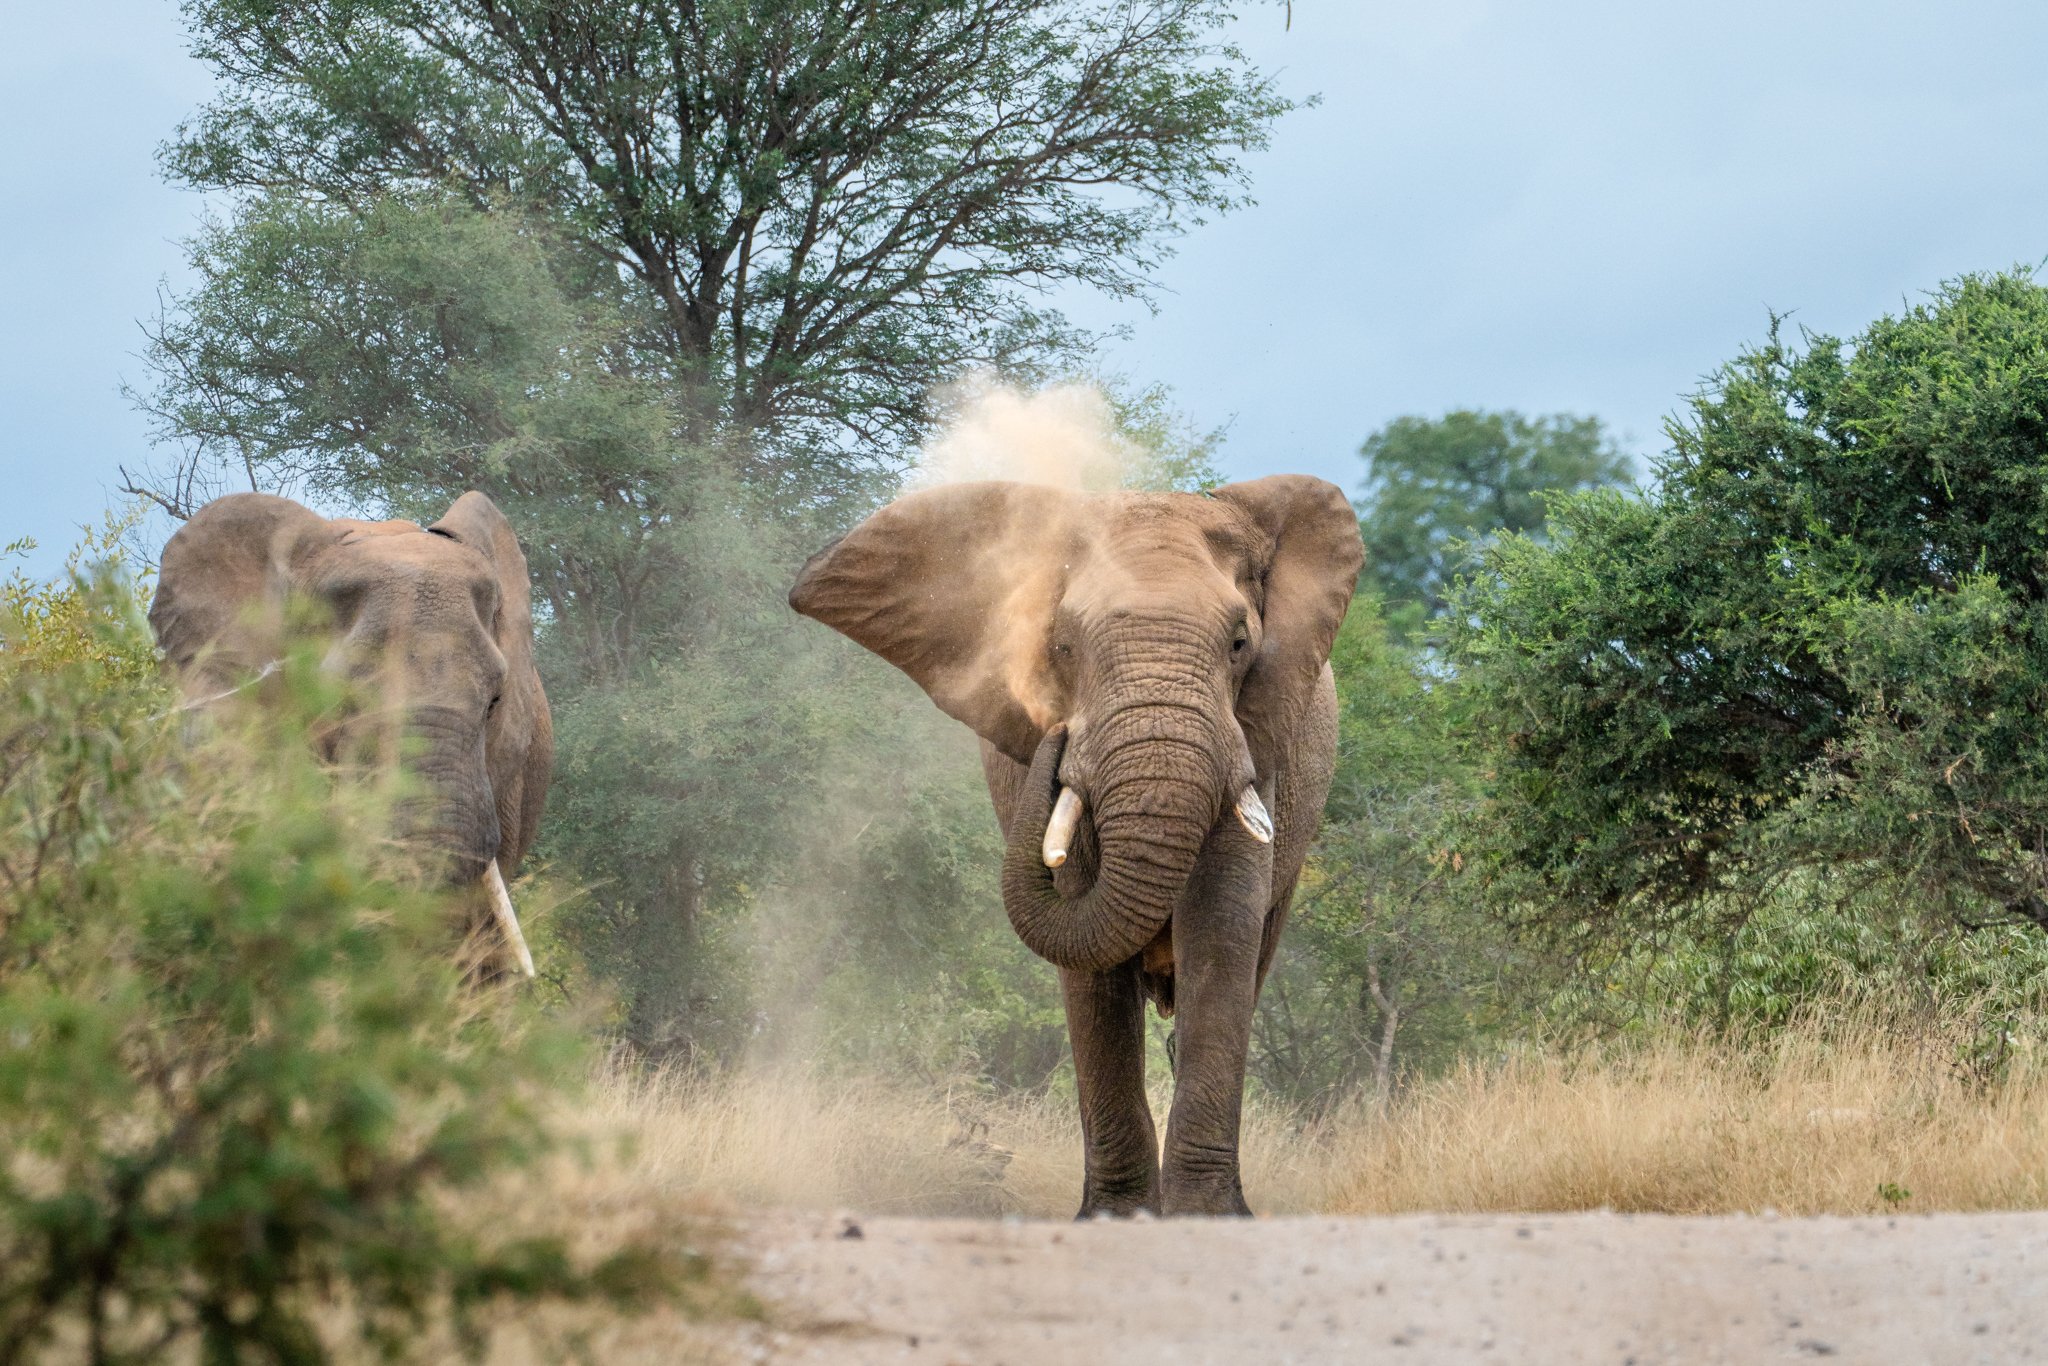
20 Wildlife Photography Tips: Secrets to Stunning Wildlife Photography on Safari
1. Use a fast shutter speed with this rule of thumb
One of the top wildlife photography tips is to follow the “reciprocal rule”. This means that your shutter speed should be set to at least the reciprocal of your lens’ maximum focal length. For example, if you had a 100-300mm zoom lens, you’d want at LEAST 1/300 second shutter speed to avoid camera shake and blurry images.
HOWEVER, with wildlife photography and especially fast moving subjects, the better rule of thumb is setting your shutter speed to 1/2x your focal length. In the example of a 100-300mm lens, you’d actually want a shutter speed of 1/600 seconds (300×2=600). The exception to this rule is if you are shooting on a tripod and not handheld, as tripods are much more stable and allow for slower shutter speeds – but be sure to use a remote as well to avoid camera shake from pressing the shutter button.
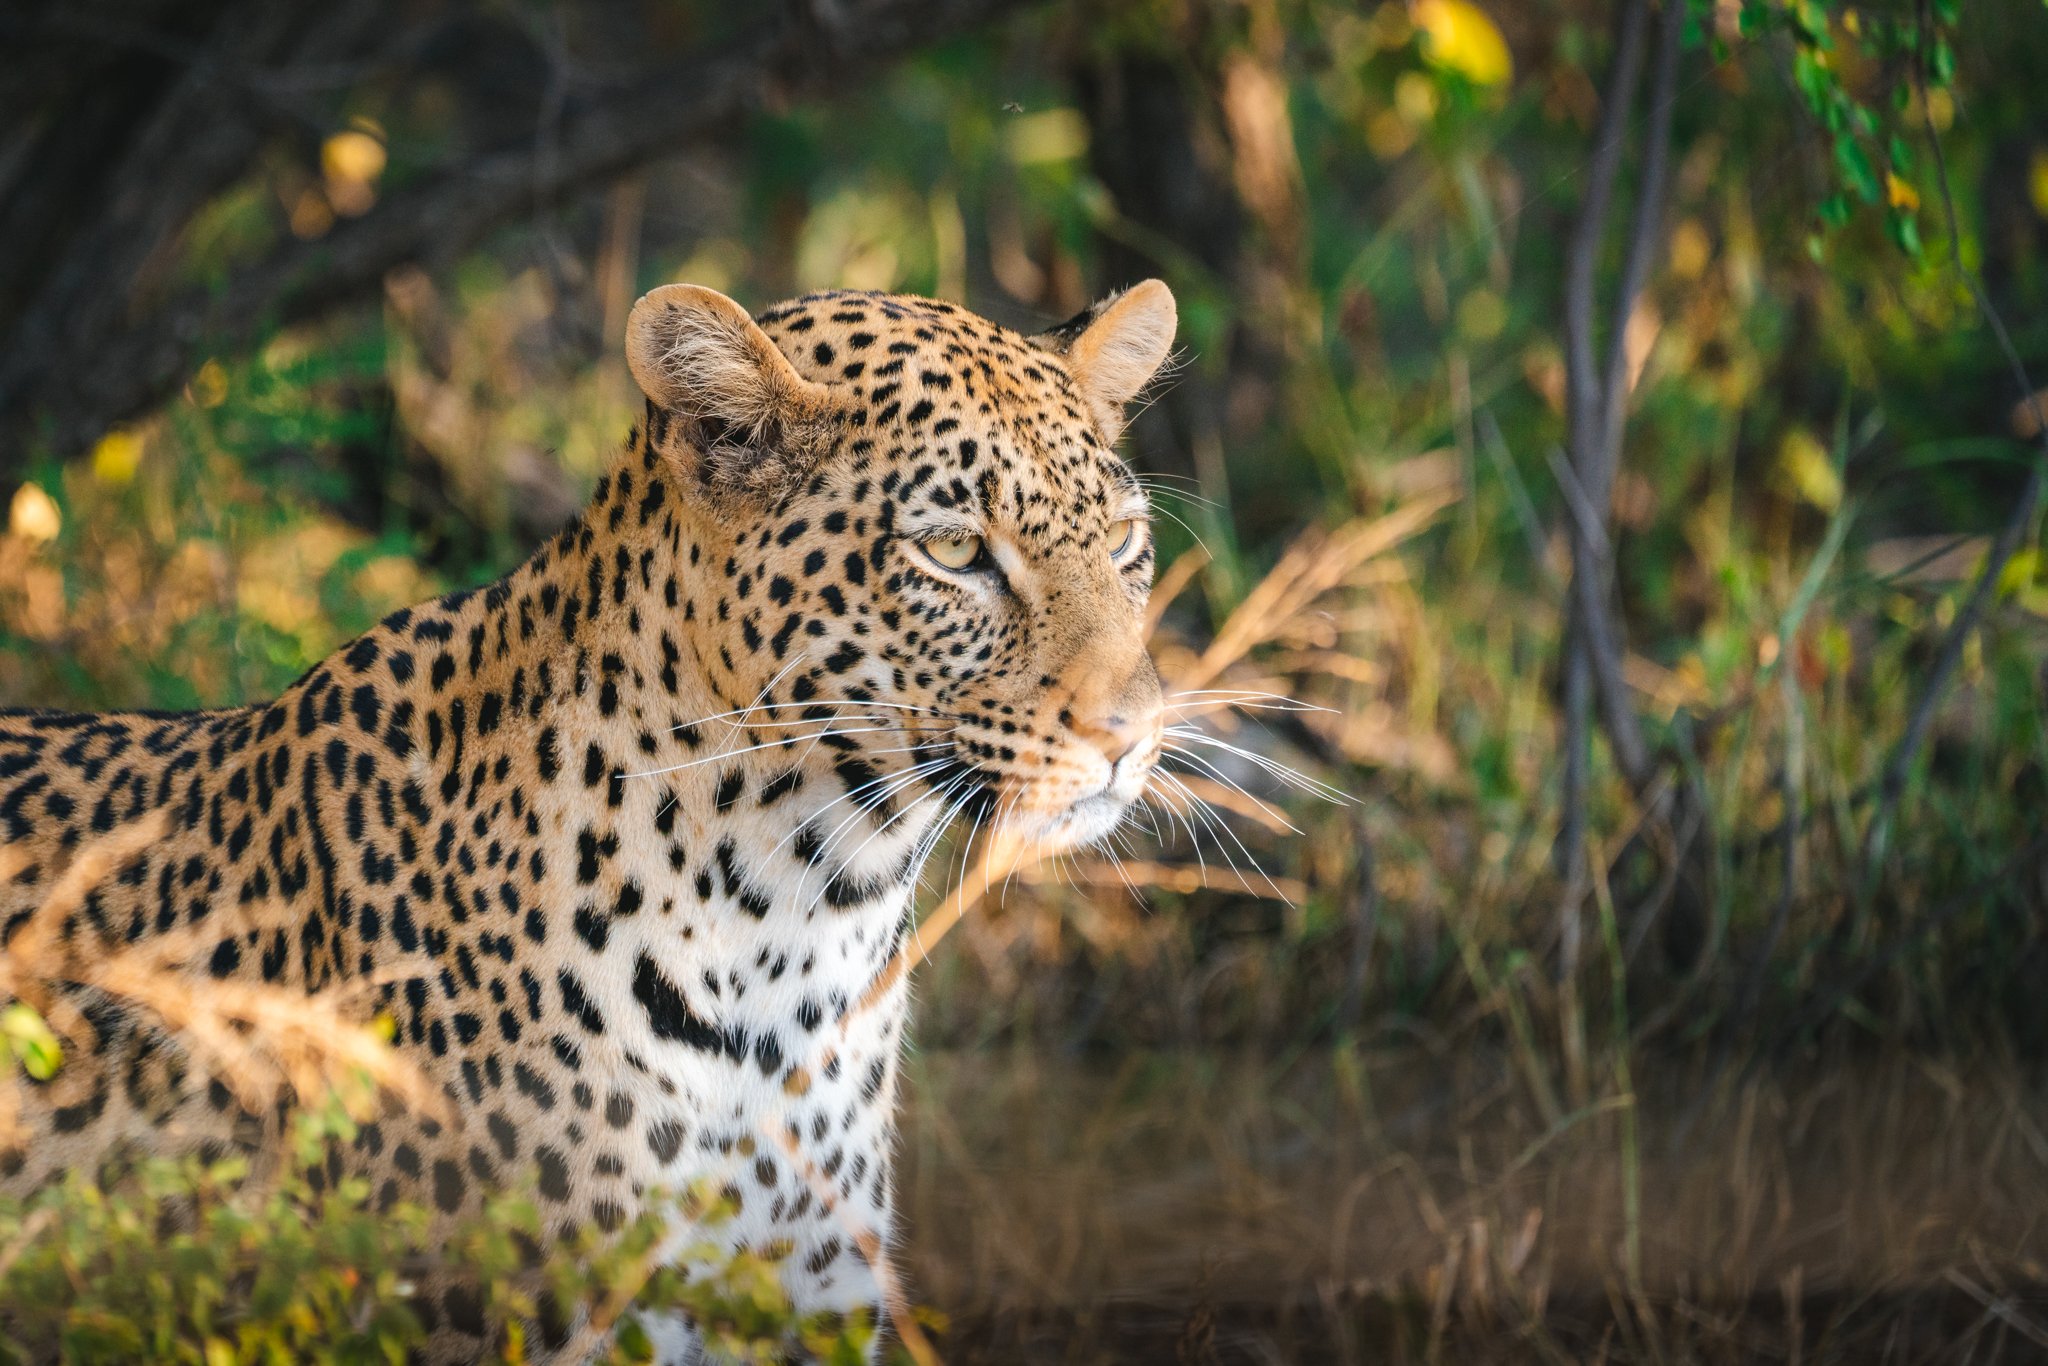
2. Don’t worry about cranking up the ISO
ISO is a term from film times and refers to how light-sensitive film was. A low ISO number (e.g. ISO 100) means low light sensitivity with little grain, and higher numbers (e.g. ISO 1000) have a higher sensitivity; resulting in brighter but grainier photographs (this is the tradeoff!).
In order to get your desired shutter speed, you will likely need to set your ISO to much higher than you might normally be comfortable with – but this is one of the secrets to stunning wildlife photography! If you’ve never raised your ISO above 500 – now might be the time!
Modern cameras have incredible sensors and take high resolution photographs, and modern photo editing software like Adobe Lightroom have incredible anti-grain capabilities; some even use AI to create a sharp image without grain. Which leads us to the next few wildlife photography tips …
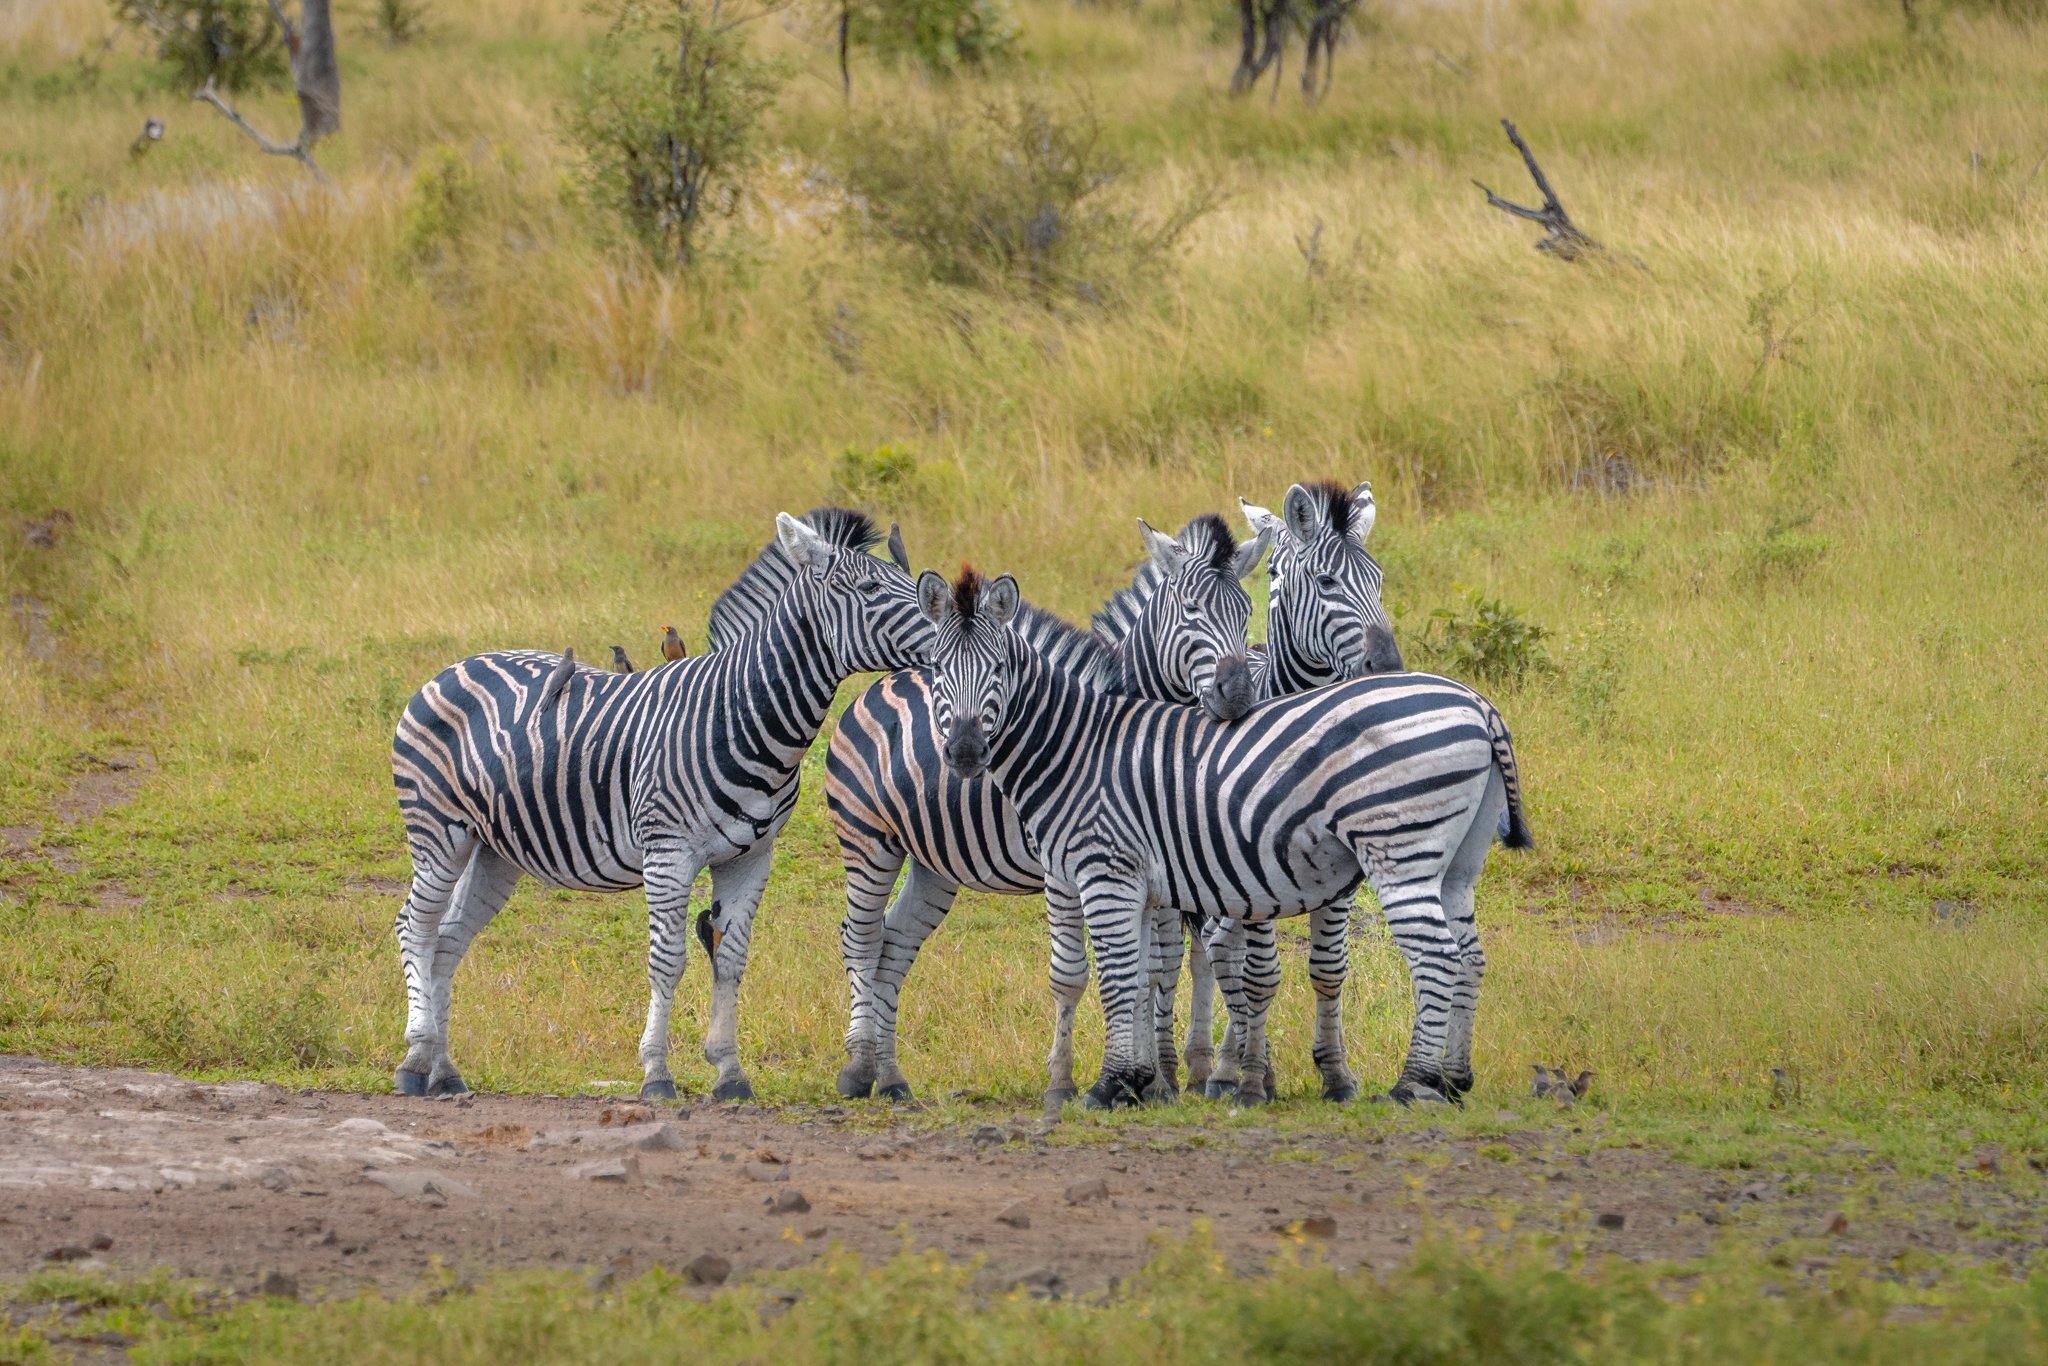
3. Shoot in RAW to have more editing capabilities
Always shoot in RAW format (i.e. NOT JPEG) – these are much larger file sizes and allow you to have a lot more editing capabilities and have more pixel detail than JPEGs, which are compressed files. The endings to these differ depending on your camera model, but you’ll know it’s right when it’s not .JPG or .JPEG, it will be something like .TIFF, .ARW, .CWR, .NEF, or other.
Note: When reviewing, RAW files may appear dull or lacking color, but don’t worry, this just means it has a lot of data to work with and once you edit, you’ll be able to bring all of the colors to life!
Wildlife photography tips for beginners: if you are not used to editing photos yet, you can have your camera take RAW + JPG, which means you’ll get one RAW and one JPG for every photo you take. You can then use the JPG version to see what the “realistic” colors “should” look like and edit your RAW to match or be similar – this is a great editing practice! But don’t be afraid to go past “realistic” or alter certain things – photo editing is an art form all on its own.
4. Try using some form of stabilization
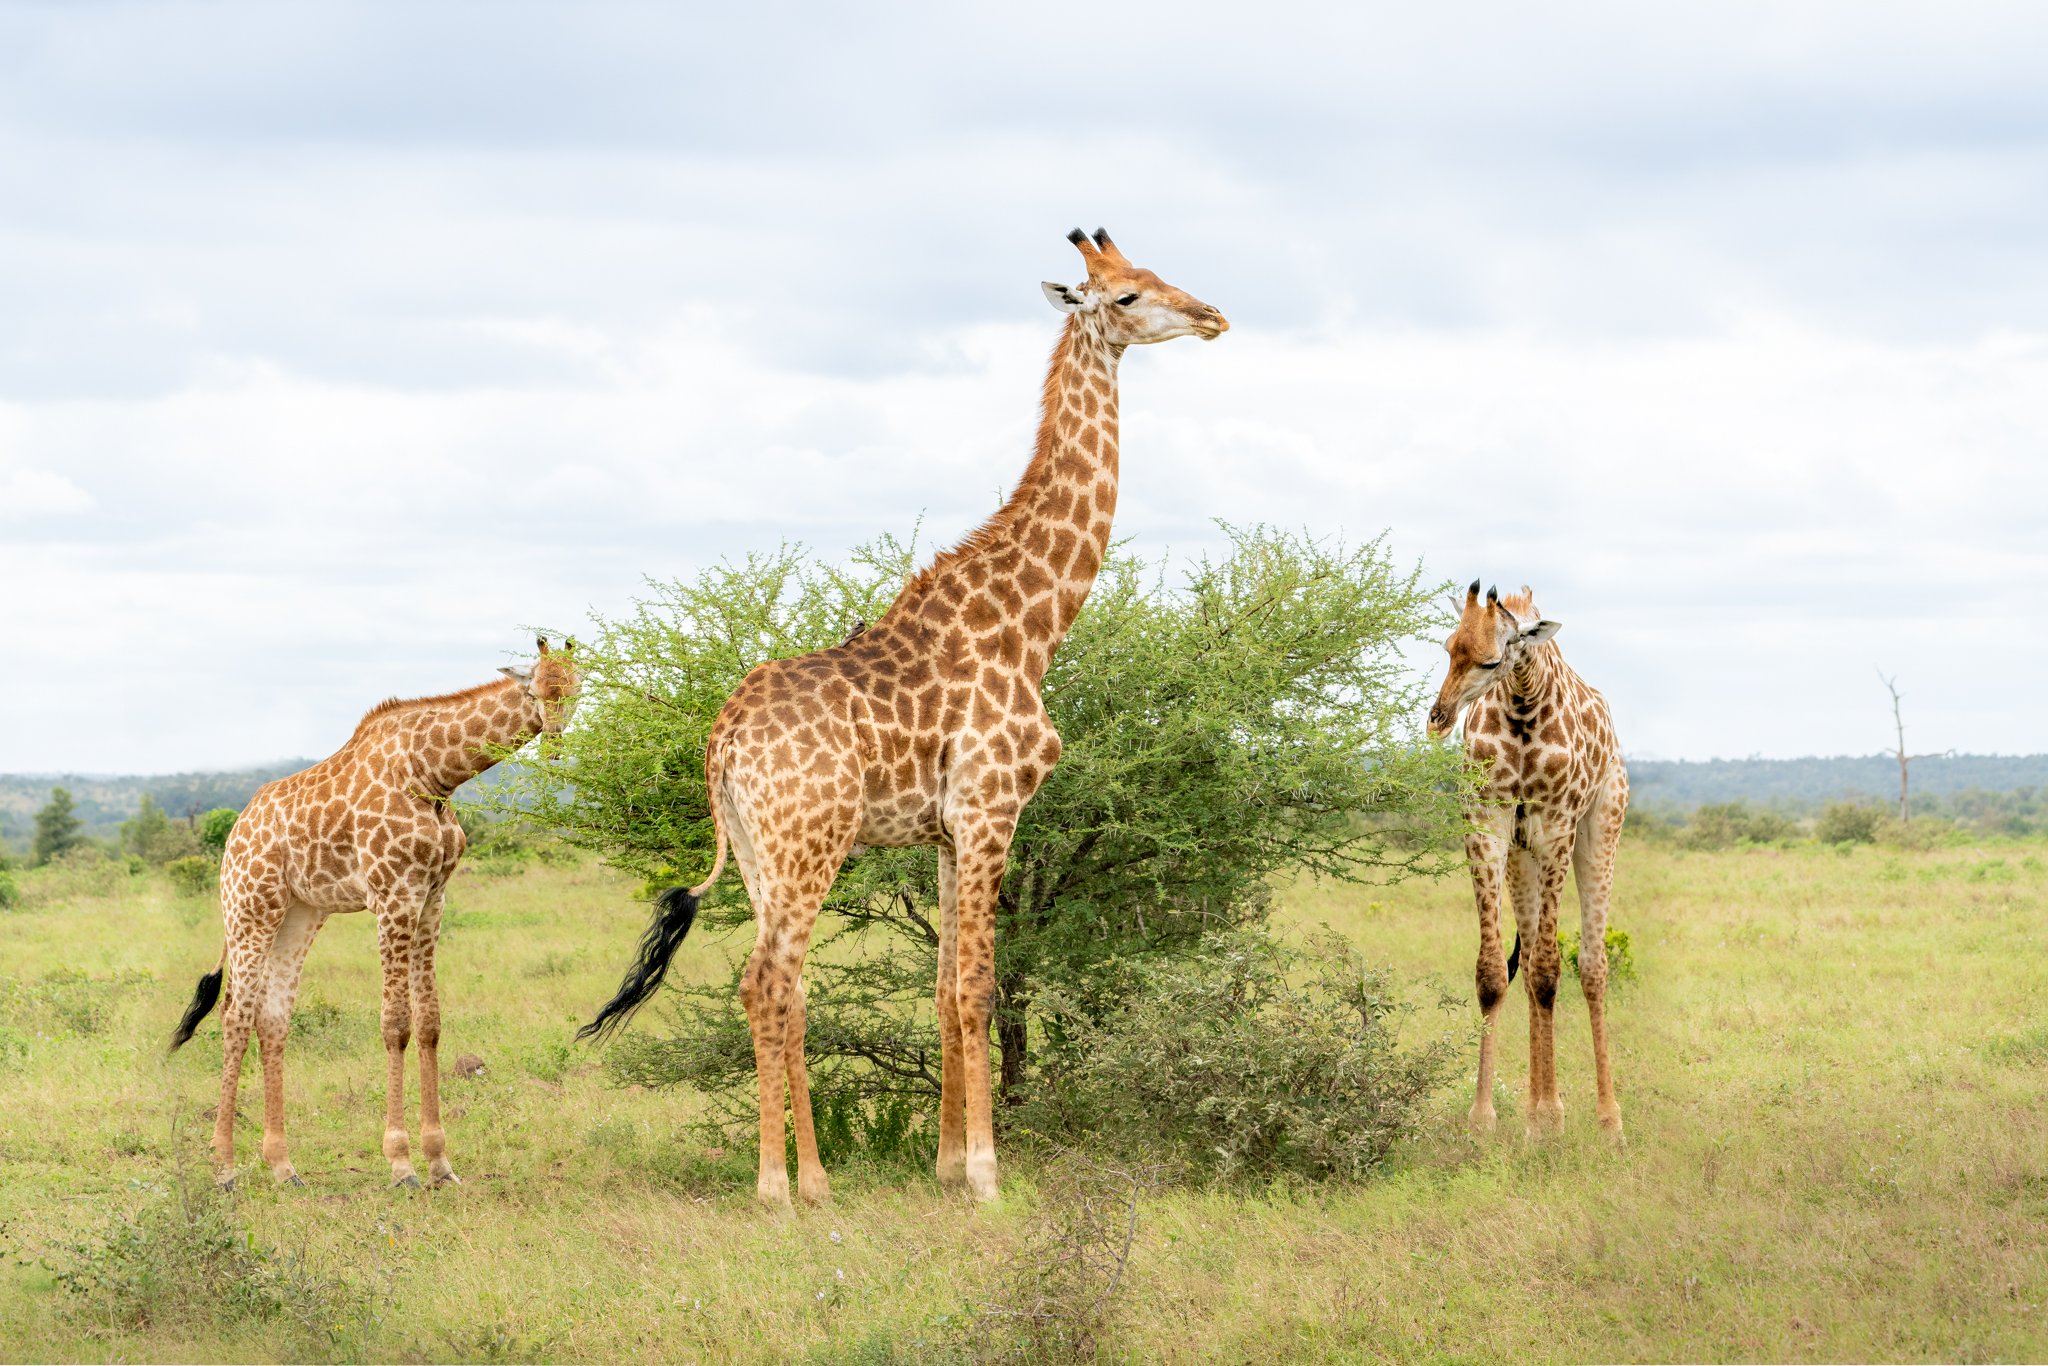
Some cameras actually have in-camera stabilization modes that can assist with getting sharp images. Read your camera manual or Google where to find this in your camera menu. Certain lenses also have stabilization modes – usually on a switch on the side of the lens that you can turn on and off. Just make sure to turn this mode off on both your lens and camera when you shoot on a tripod!
If you are not on a safari vehicle and are out shooting wildlife photography somewhere you can walk, try setting up and using a tripod as a form of stabilization. A monopod can be a great help for stabilizing heavy lenses as well.
If you’re photographing on safari, rest your arm or hand on the side ledge of the safari vehicle if the engine is turned OFF to gain extra stabilization. To support and protect your lens, purchase a photography bean bag to rest your lens on; these are designed for camera lenses and some are even specific to hanging over the side of a window or safari vehicle ledge! Caution: something to be aware of – if the vehicle engine is ON, resting a hand or lens could actually introduce a lot of vibrations and result in blurry images.
5. Rent or buy a “fast” zoom lens with a LARGE focal length
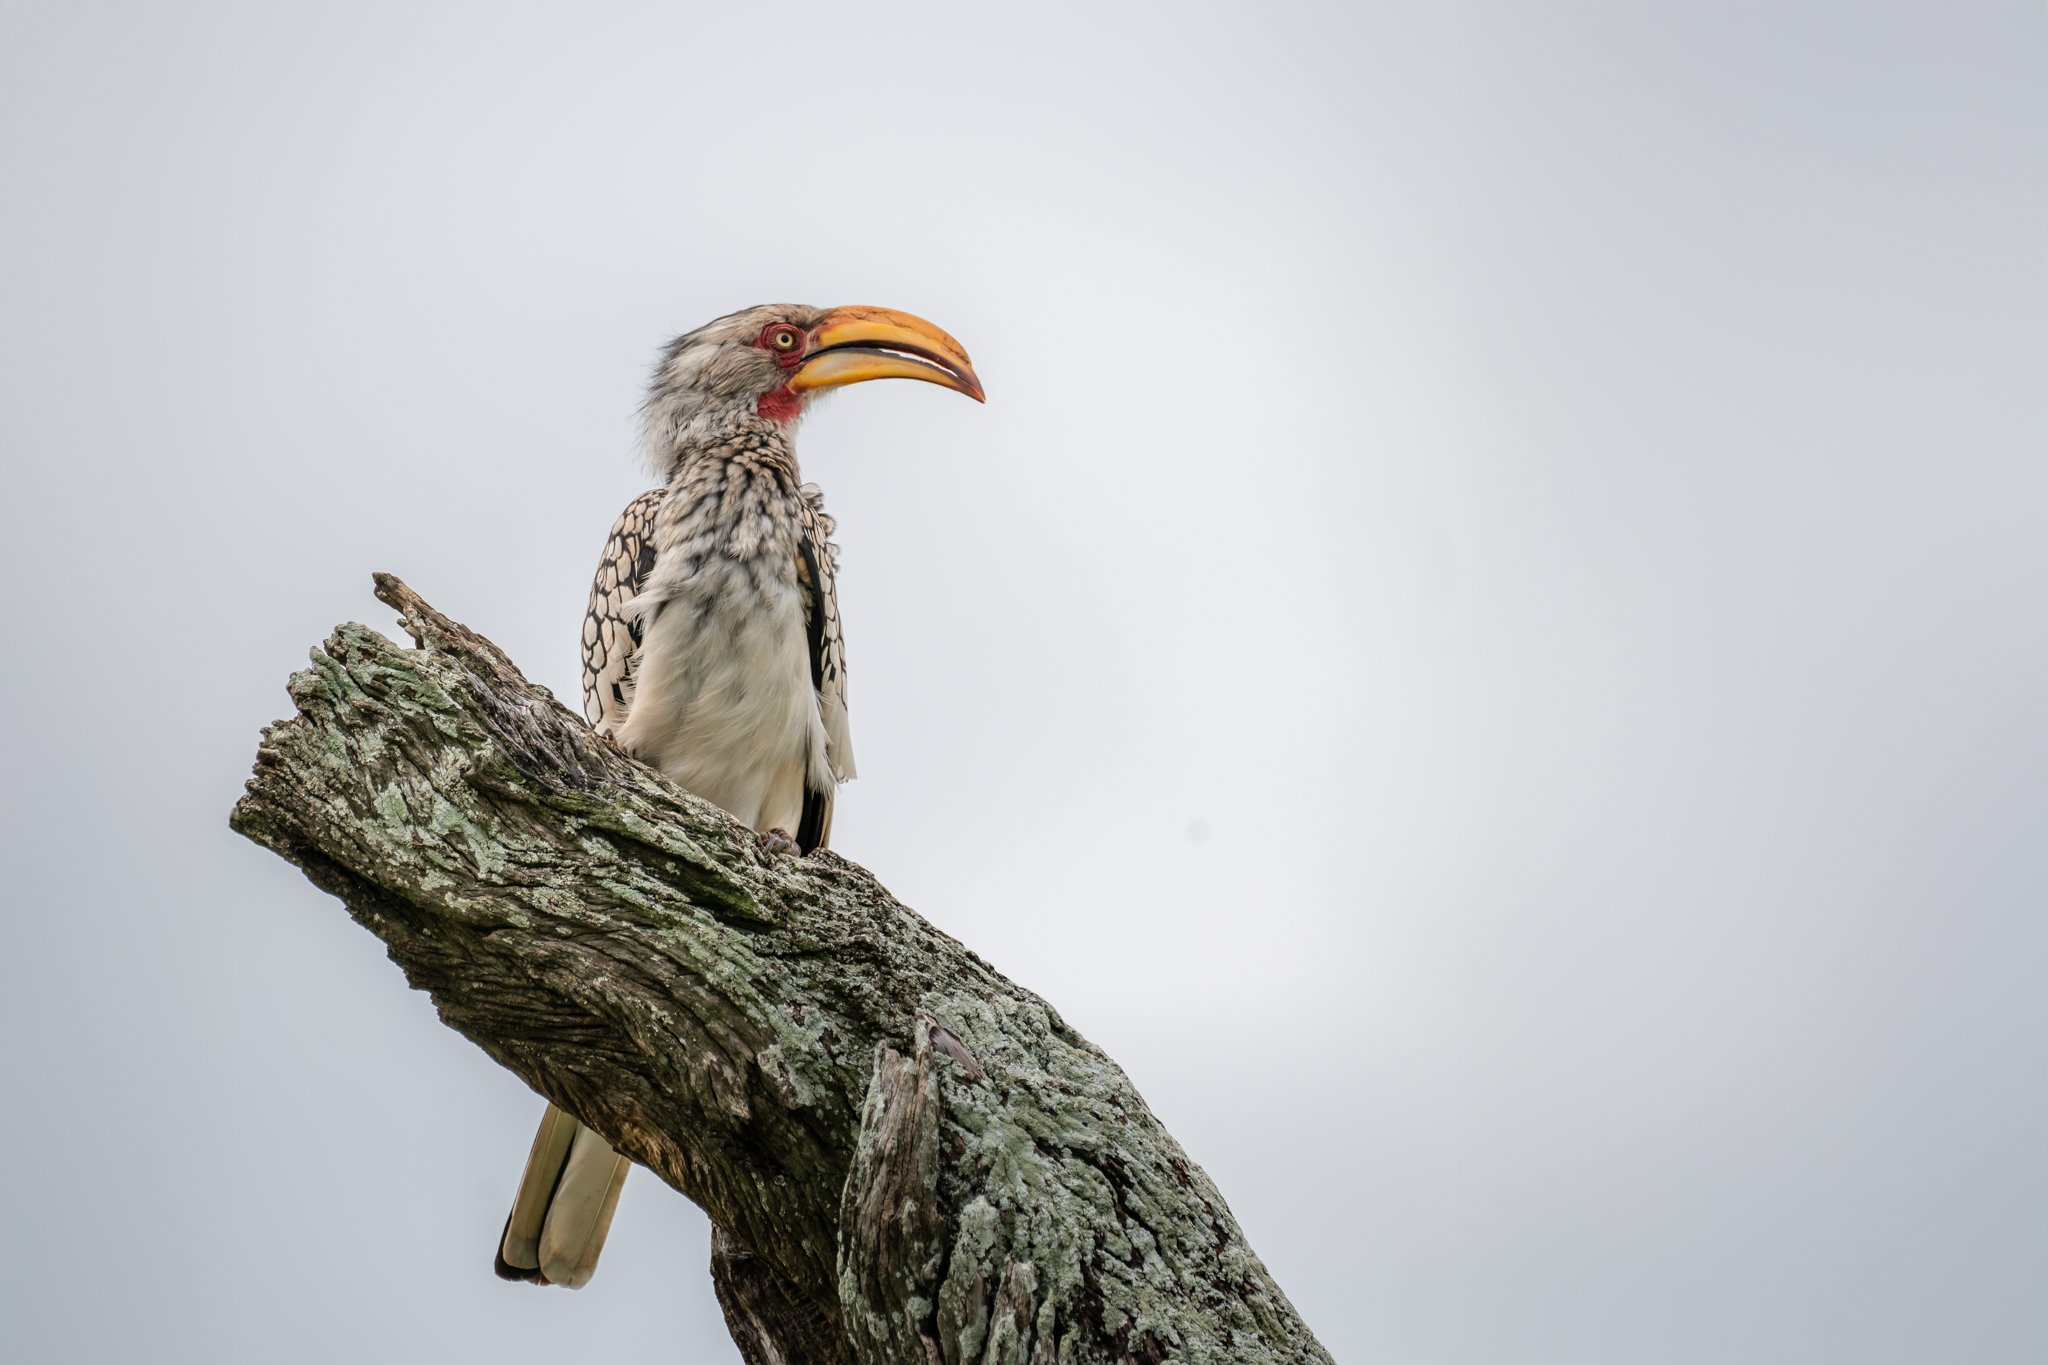
If this is your first safari or you don’t normally take wildlife photographs and want to test the waters, you can actually RENT camera gear! Google your local camera rental shop; they usually charge per day but give discounts for week-long rentals. If you have the funds, purchasing a high-quality, “fast”, zoom lens with a large focal length is WORTH the investment for their quality glass – it will result in sharper and higher-quality images!
Tip: “fast” lenses are lenses with a larger than average maximum aperture (a smaller minimum f-number such as f/2.8). This enables faster shutter speeds, are extremely useful in low-light situations, and allows you to capture motion blur or a shallow depth. As a Sony shooter, I personally love and use the G-master 70-200 f/2.8 zoom lens, G-master 100-400 mm f/4.5-5.6 zoom lens and the FE 600 mm f/4 GM OSS prime lens. Remember, the longer the focal length (measured in millimeters), the more zoom you have, allowing for more of a close-up wildlife photo!
6. Take photos in Shutter-Priority Mode
I LOVE shooting in manual mode, but if you aren’t quite ready for manual mode or you are taking wildlife photographs, try out shutter-priority mode instead. Professional wildlife photographers SWEAR by this mode – it allows you to choose your desired shutter speed, and the camera automatically chooses your aperture for you – which in turn allows you to quickly pivot to changing situations. Lighting conditions are constantly changing and wildlife moves quickly; and if you are shooting in manual, by the time you change ALL of your settings, you might have missed a critical moment. To really automate things, you can also put your camera into ISO-auto – but use this with caution, as it might put your ISO even higher than you’d like.

7. Set your camera on burst or continuous shooting mode for moving subjects
Burst mode is a setting that allows you to capture a quick sequence of photos by holding down the shutter button – taking multiple images for one single shutter button press (iPhones and phone cameras actually have this mode too!). Continuous shooting mode allows you to keep taking photographs as long as the shutter button is held down. Tip: if you don’t have a fast enough memory card, the camera might stop taking images to process! My favorite fast Sony memory card is this one. Taking a rapid succession of photographs increases the likelihood of at least one shot being sharp, and gives you more options to choose from. For example, maybe the animal blinks in one shot, but has its eye open in another.
8. Take photos in the early mornings or early evenings when wildlife is more active
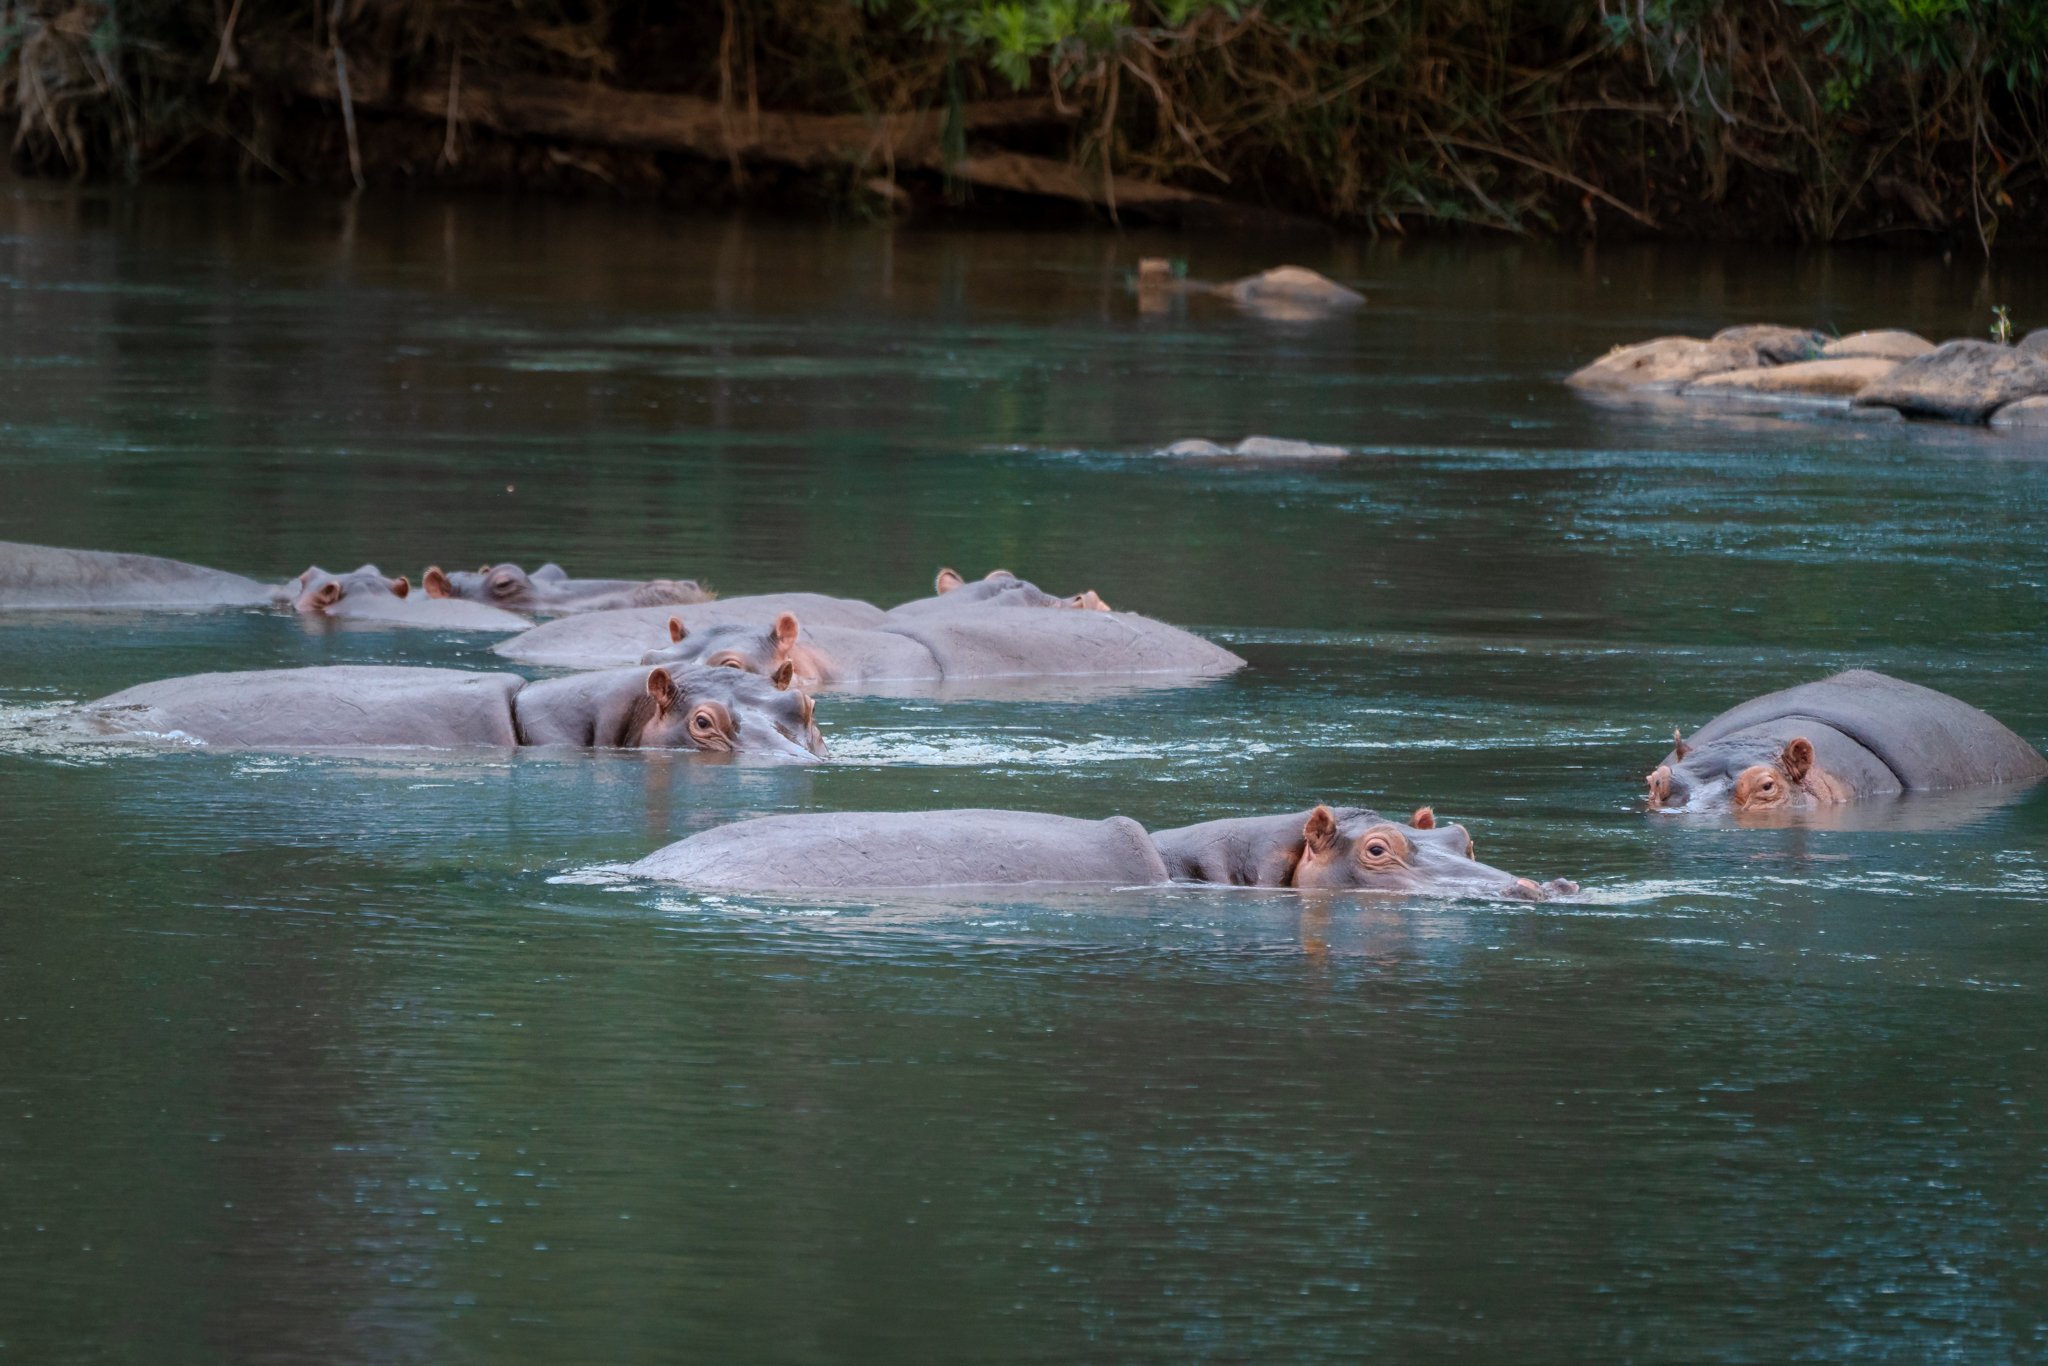
Once you’ve mastered the technical elements of wildlife photography, it’s time to dive into the next section of wildlife photography tips; learning animal behavior and modifying your own. In general, wildlife tends to be more active in the mornings or late afternoons, especially in safari areas as mornings are cooler than the hot, sunny afternoons. Think: dawn or dusk! Birds in particular are often most active pre-dawn and sunrise. Some wildlife, however, are more active at sunset or at night, so ask a local guide who is familiar with the animals when your desired subject is most likely to be out.
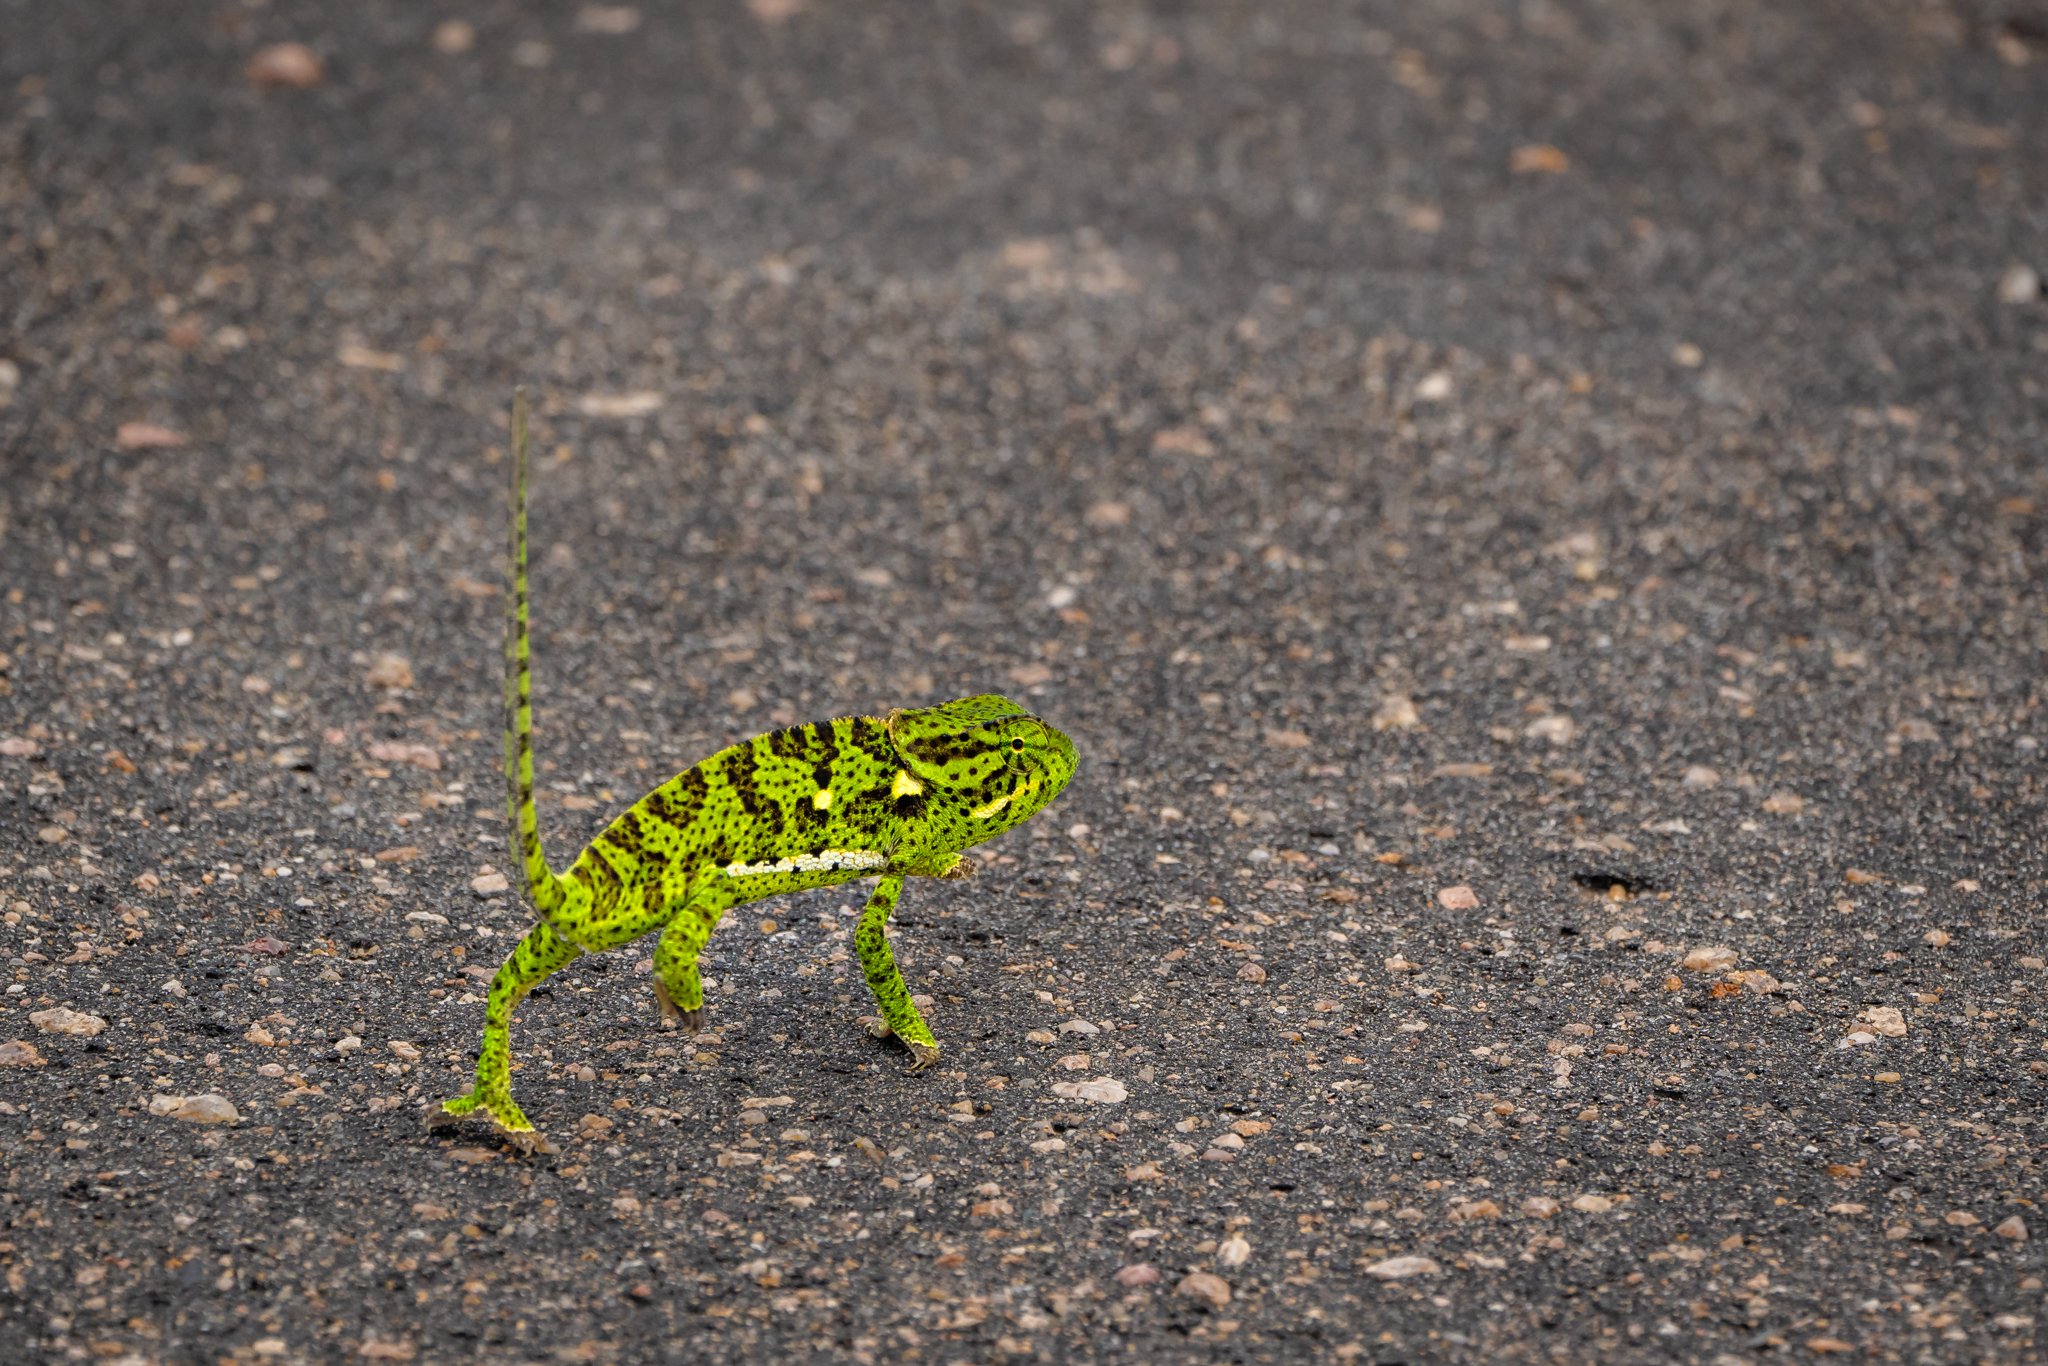
9. Keep your movements slow & be as quiet as possible
Humans tend to move at a speed that can be unsettling to wildlife, and human voices can also be distressing to wildlife. Try to keep your movements slow – trust me, I KNOW you are excited about a certain animal showing up, but reach for your camera and raise it up SLOWLY. Be as quiet as possible too, as your voice might scare off animals unused to those sounds. Turn off your shutter sound on your camera if possible as well!
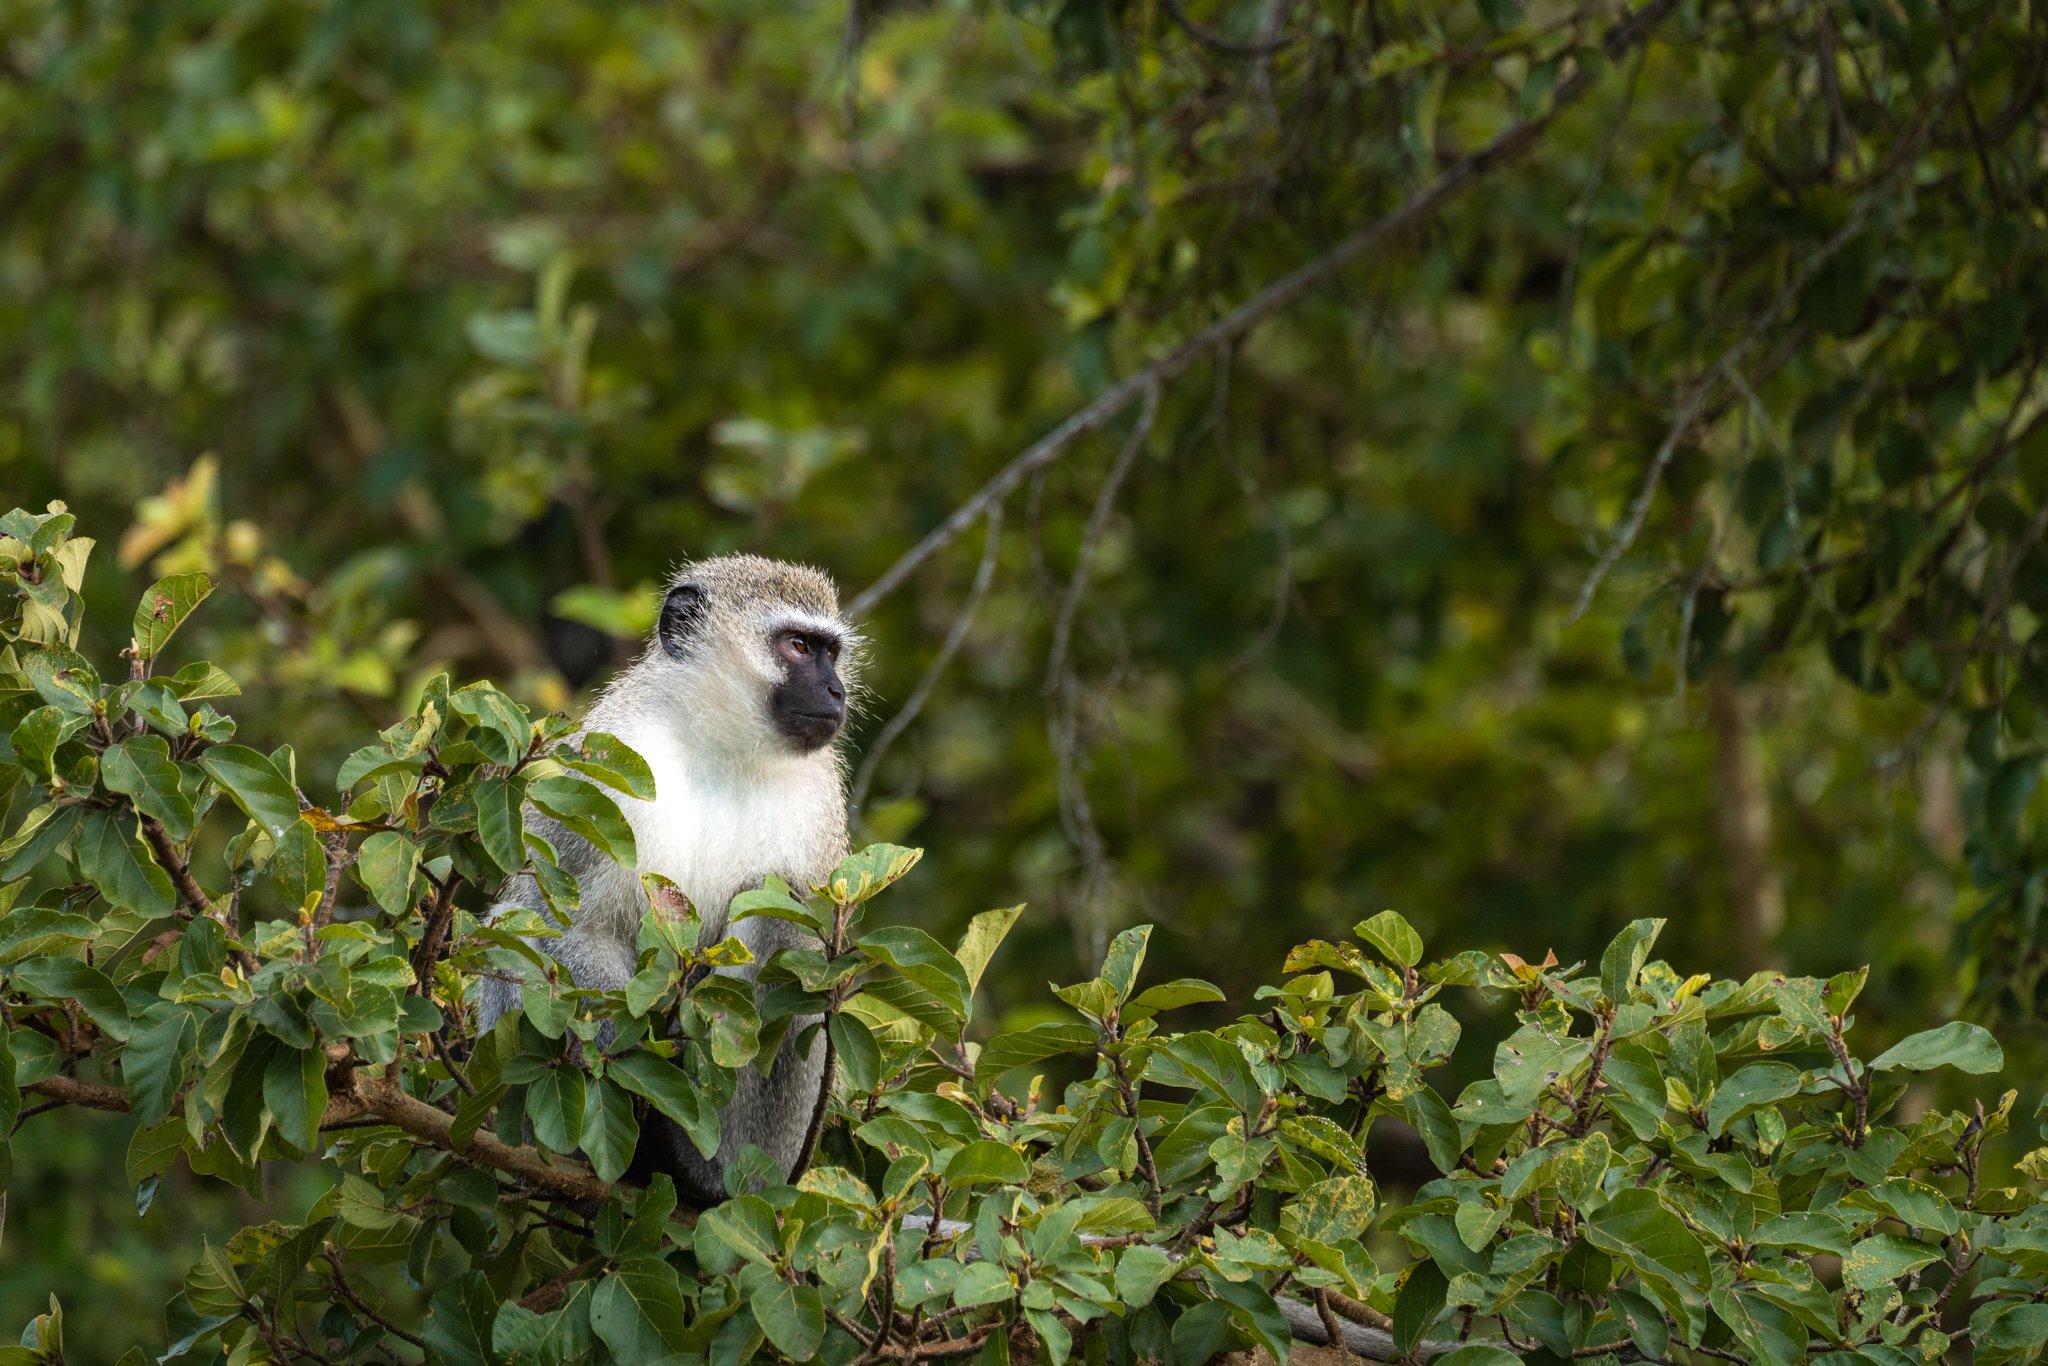
10. Be sure to hire an experienced LOCAL guide …
… who knows the behavior of the wildlife you’re photographing and is familiar with the area! An experienced local guide or species-specific biologist can be invaluable to getting epic wildlife photos. A guide who, for example, drives into Kruger National Park every single day probably knows exactly where the lions tend to hunt, where elephants like to graze, and even where new baby animals might be hiding out! Guides can not only teach you about the wildlife you are photographing, but can also help you be at the right place at the right time. Knowing animal behavior is one of the KEY secrets to stunning wildlife photography – it can make the difference between a “boring” portrait shot and getting an epic action shot instead.
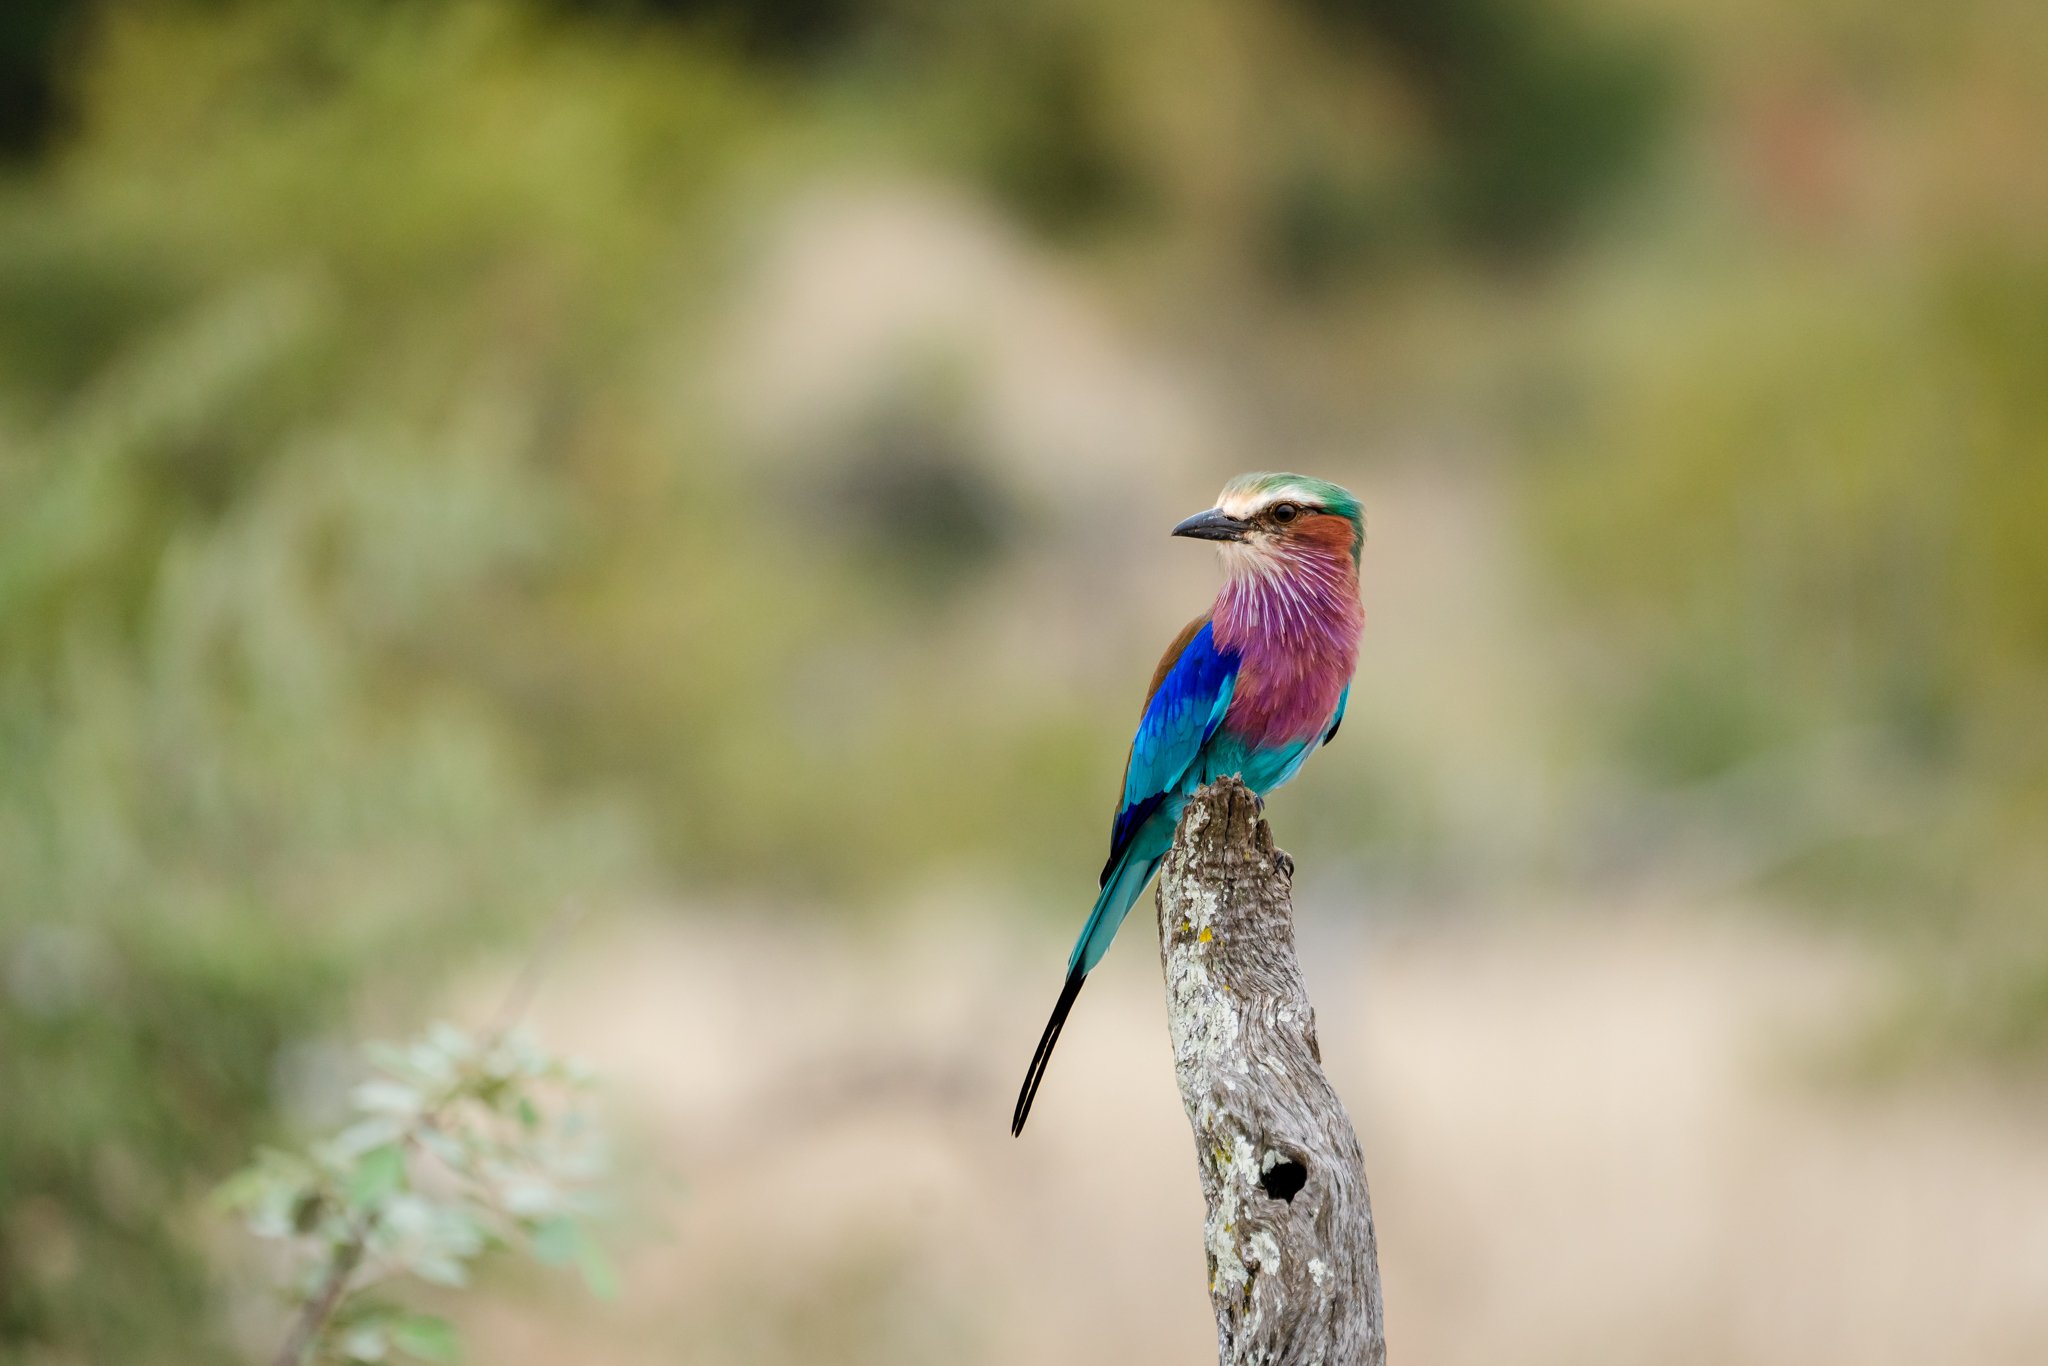
11. Try to be at eye level with the animal and set your focus on its eye
Getting on eye level (if possible) with wildlife you are photographing is one of the most subtle but crucial wildlife photography tips. That slight change of angle when taking a wildlife image can help the viewer connect with your subject on a deeper level. Always be sure to set your focus on the eye of the animal you are photographing as well (or at least its head) for the same reason. A tack-sharp eye allows the viewer to connect with the animal on a level much more engaging than any other feature. “Eyes are the windows to the souls” after all, right?! Note: on safari, due to the nature of sitting up in a vehicle, you might NOT be able to get on eye level, and that’s okay! If allowed, try altering standing and sitting for getting different angles.
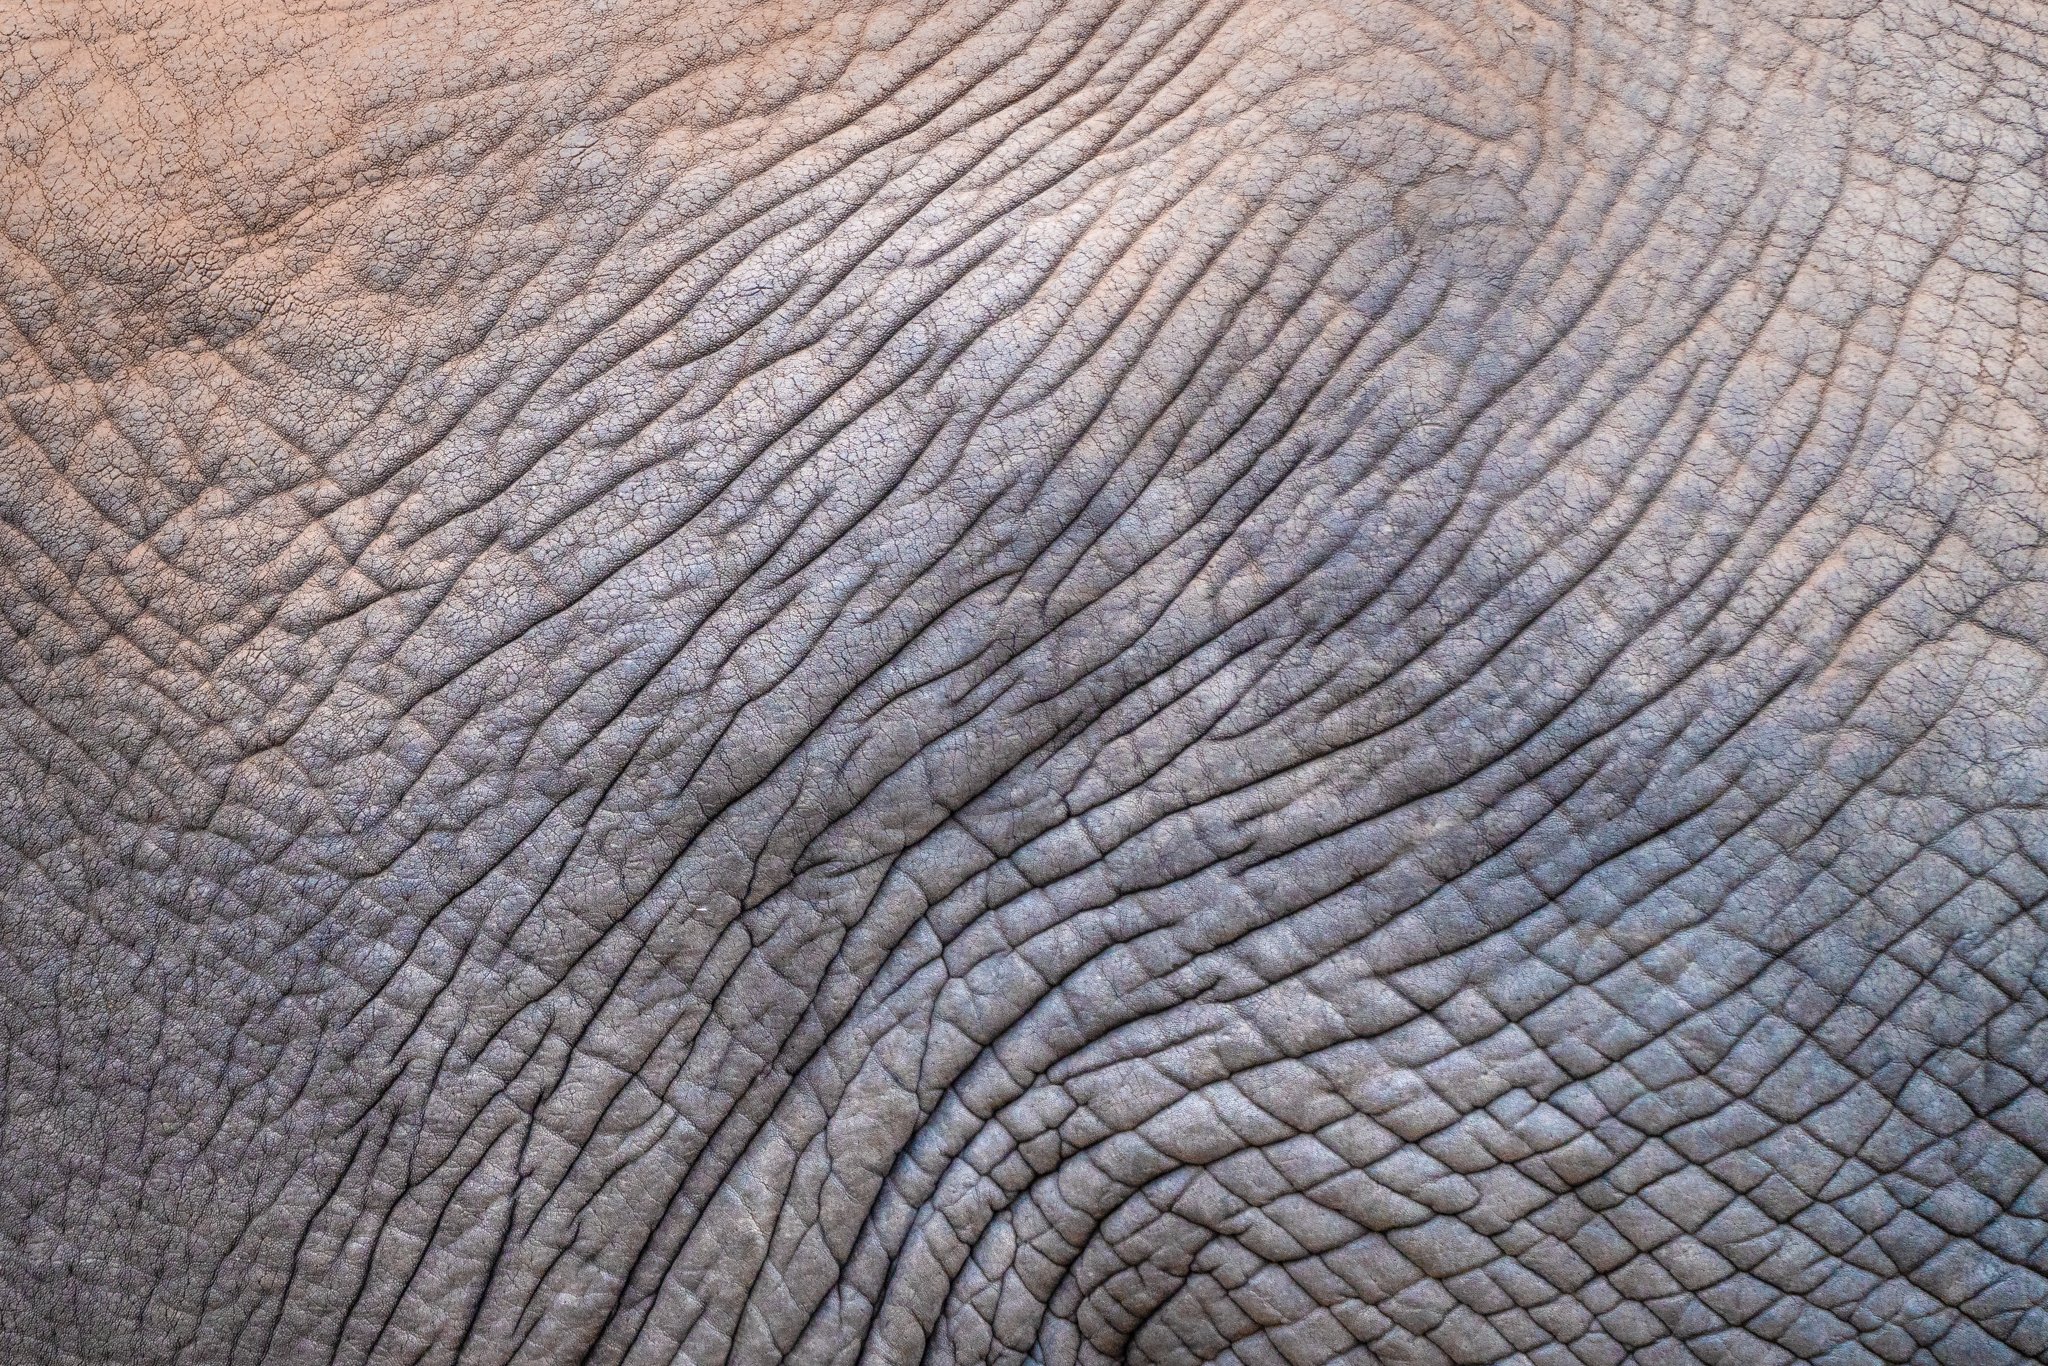
12. Take a mix of close-ups to show character & texture …
Close-up shots are some of the most exciting wildlife photographs to capture. Getting up close to your subject can really showcase its personality and character. And if you have a zoom lens big enough, playing with texture such as elephant skin creates a more abstract but highly visually interesting image. Getting that long focal length lens here is key!
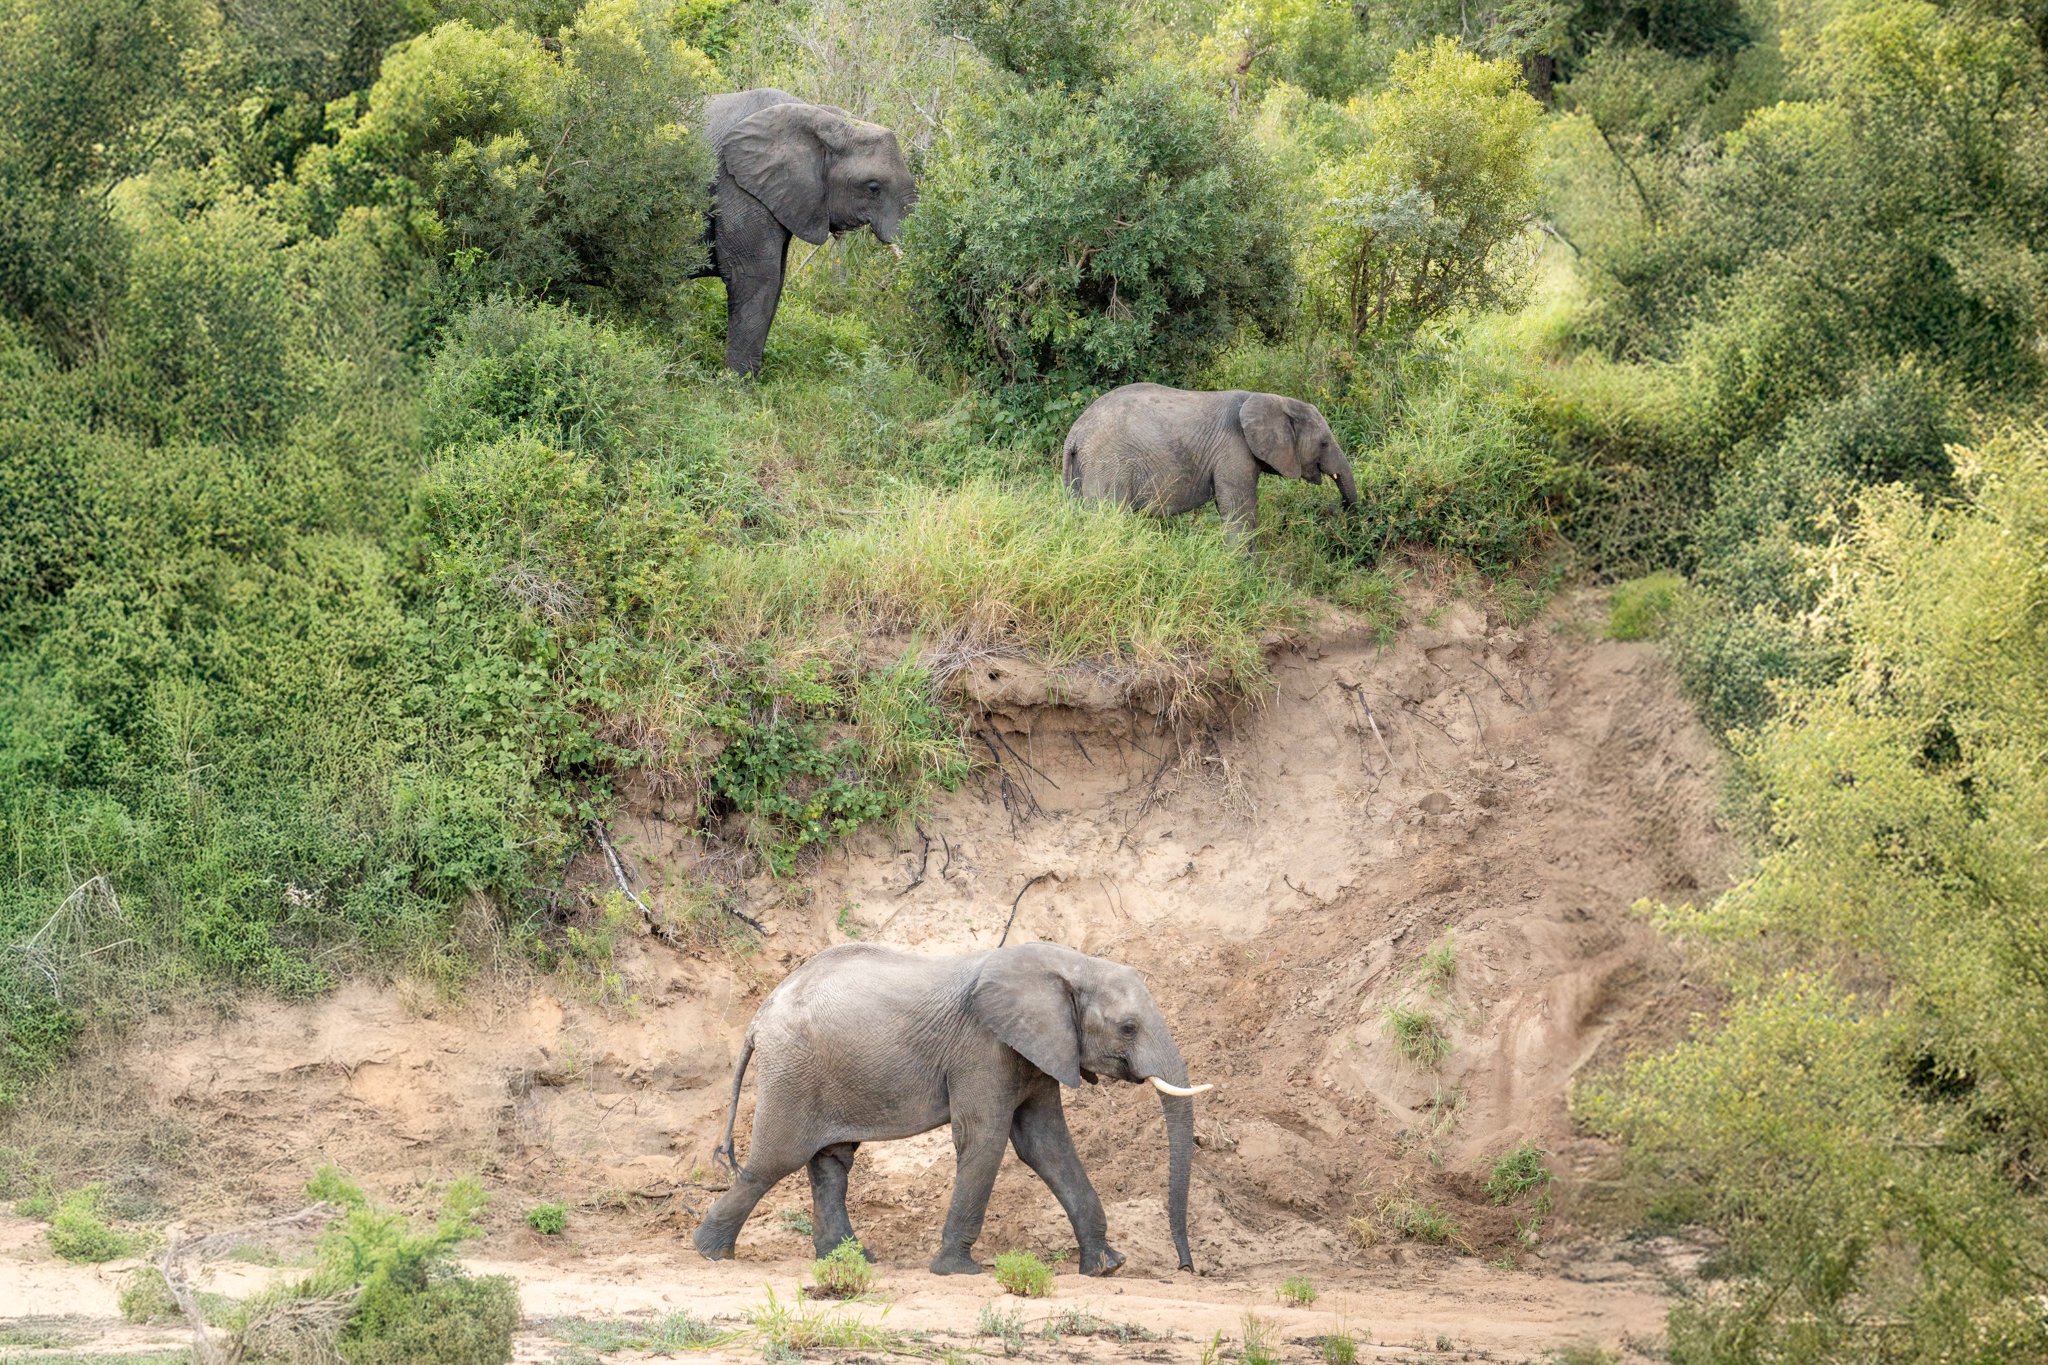
13.… and further away shots to show the environment & behavior
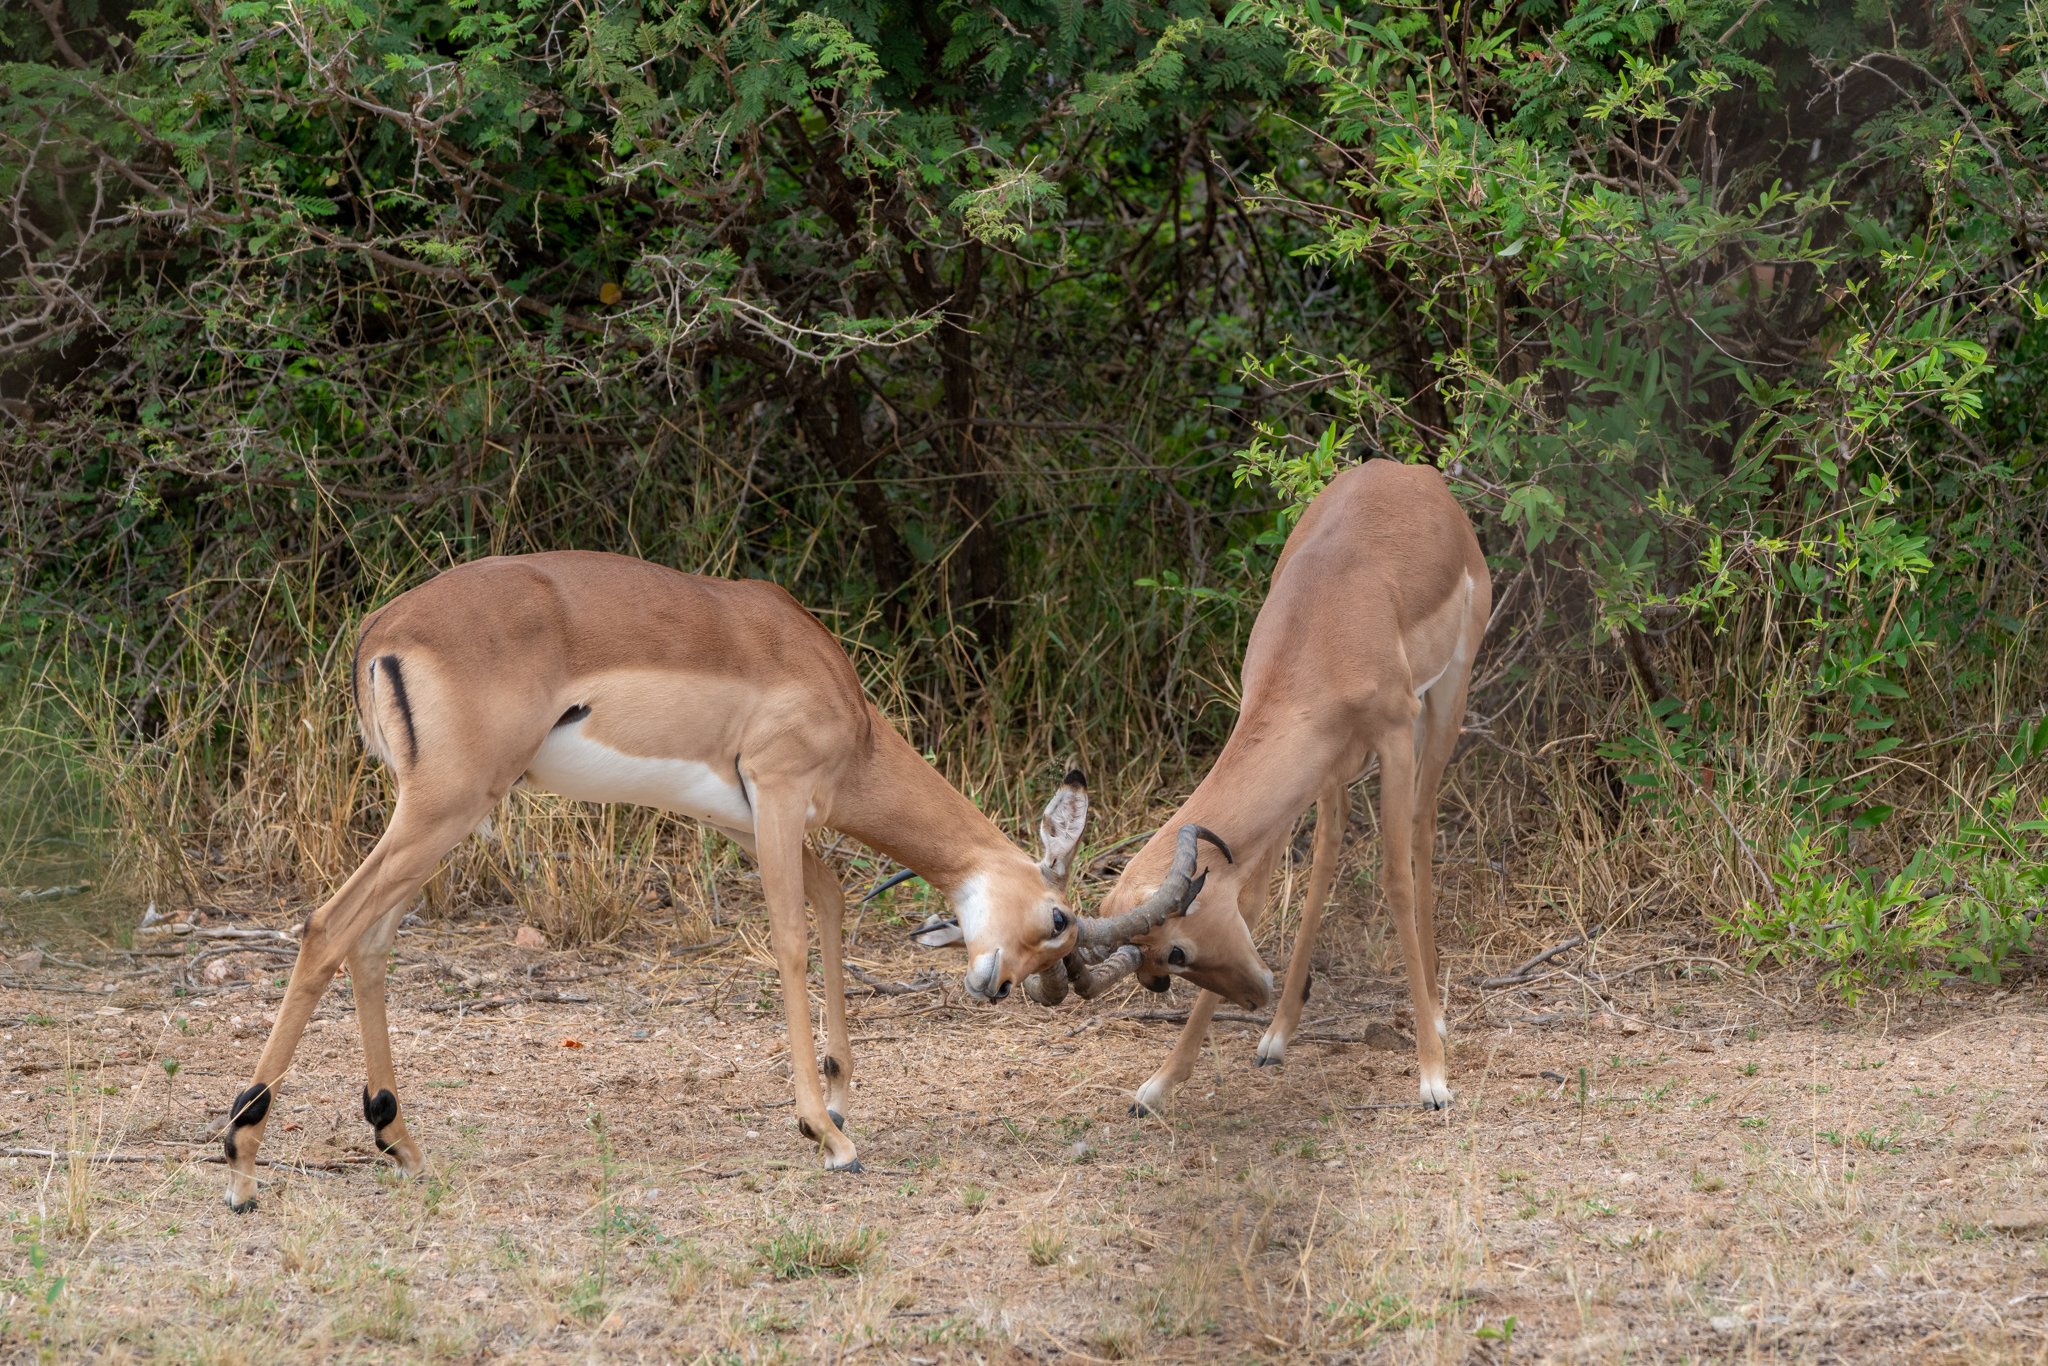
But one of the biggest mistakes beginning wildlife photographers make is taking ONLY up-close images. Make sure to zoom out and capture some further away shots that show the environment the animal is in. This can also help you capture interesting behavior and make sure it is all in frame – like two male giraffes fighting in a “necking” display.
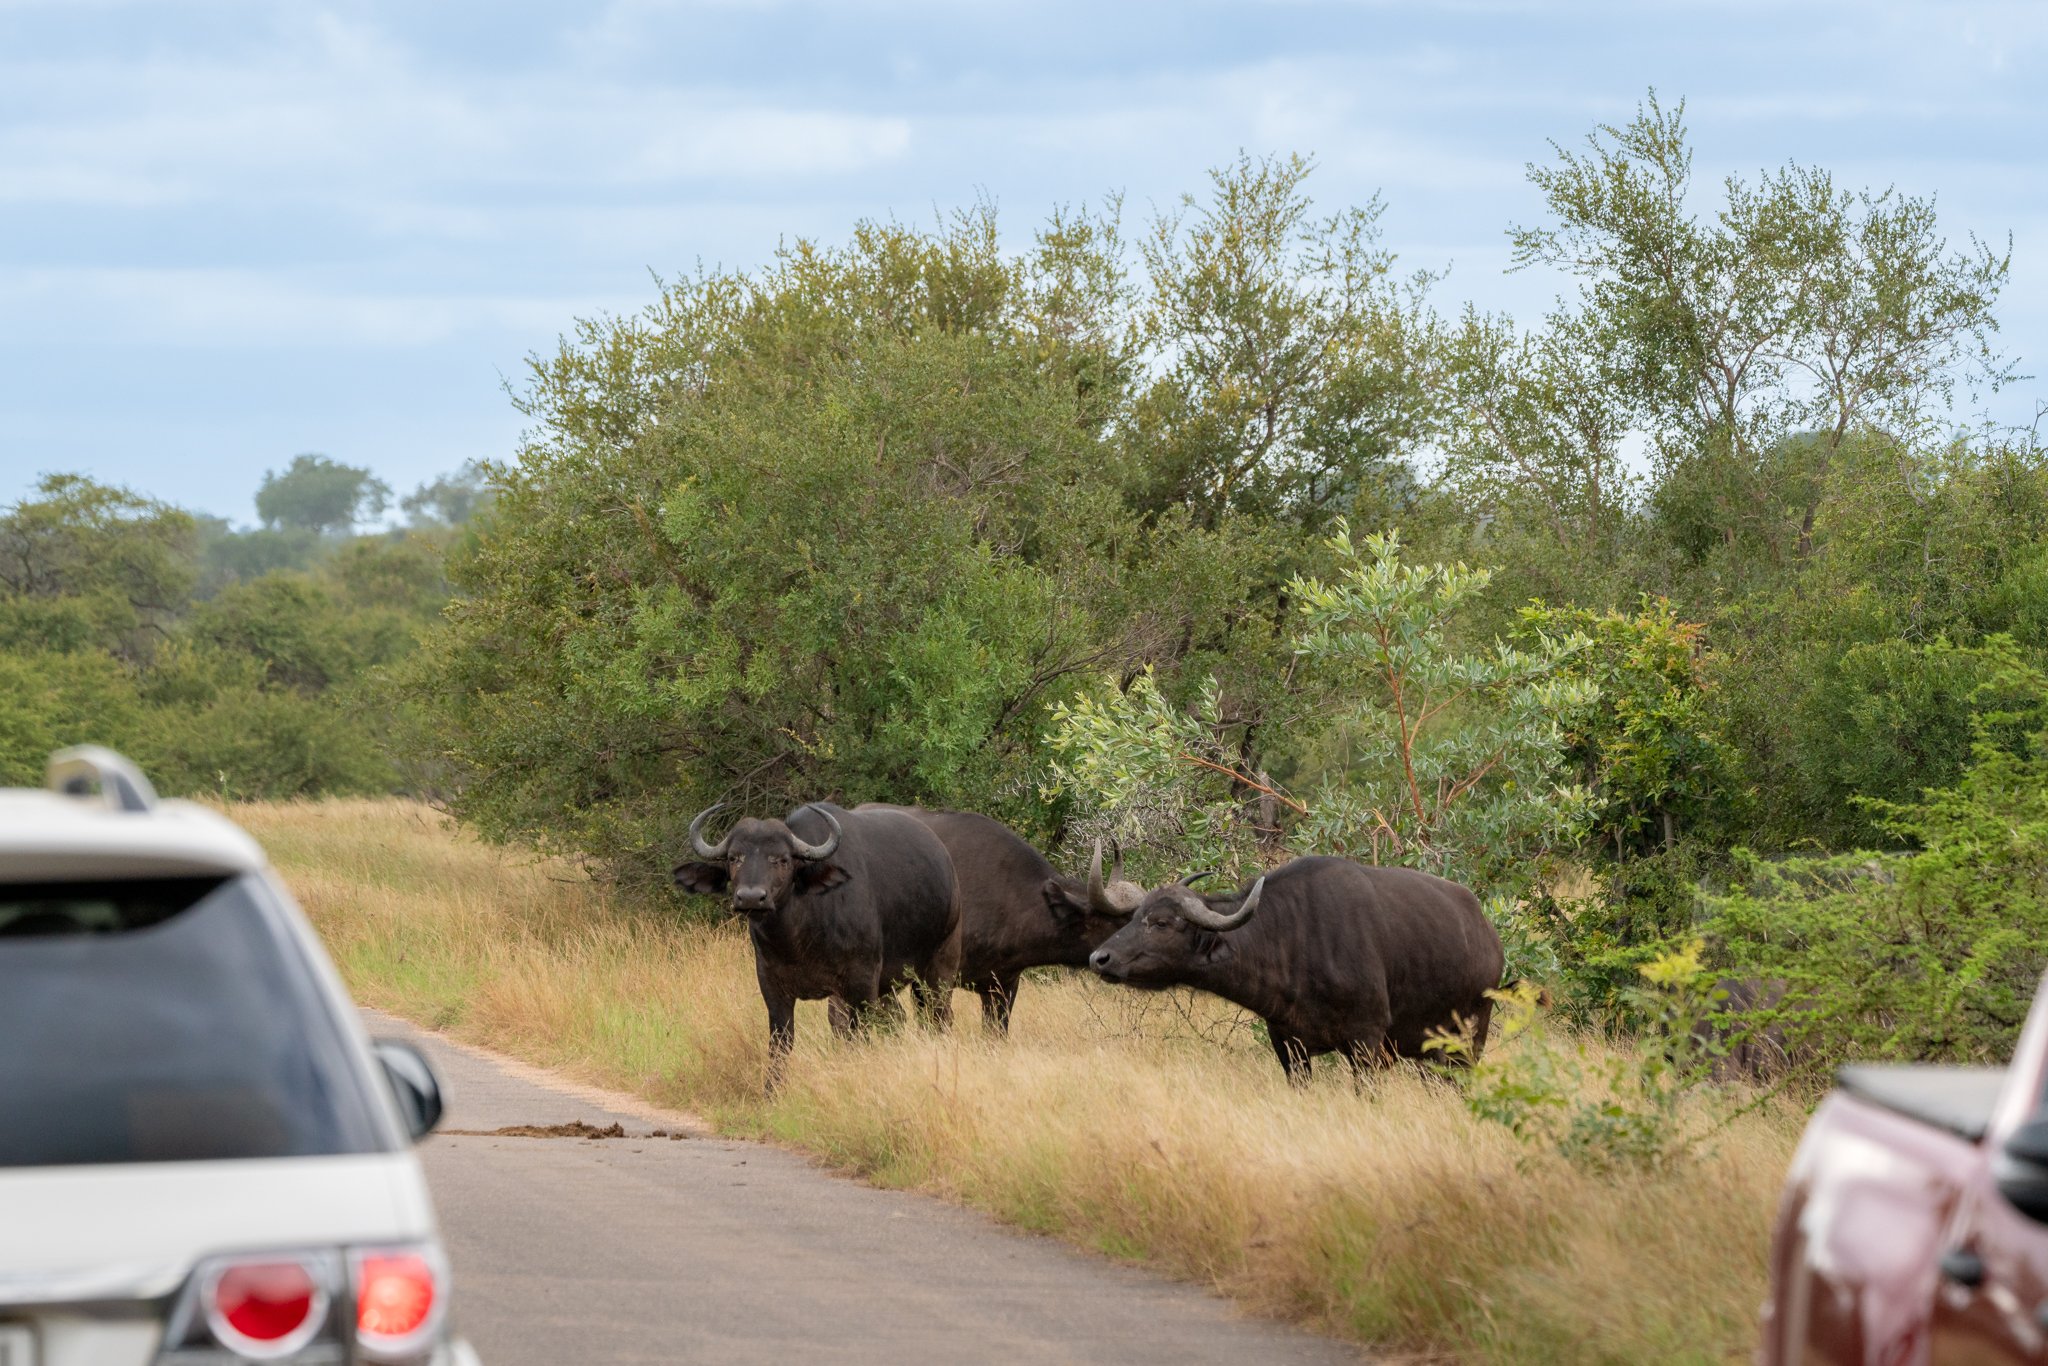
14. Take a variety of shots and don’t get stuck on capturing the same thing
It’s easy to fall into the trap of taking the same kind of wildlife photographs over and over – it’s the mistake I see many wildlife photographer beginners make. Photos such as the same zoomed-in, centered, head-on shot for every animal – just different species.
Wildlife photography tips for beginners: experiment with taking a variety of shots, such as at different focal lengths, from different angles, and playing with different compositions (e.g. try the Rule of Thirds instead of always centering your subject!).
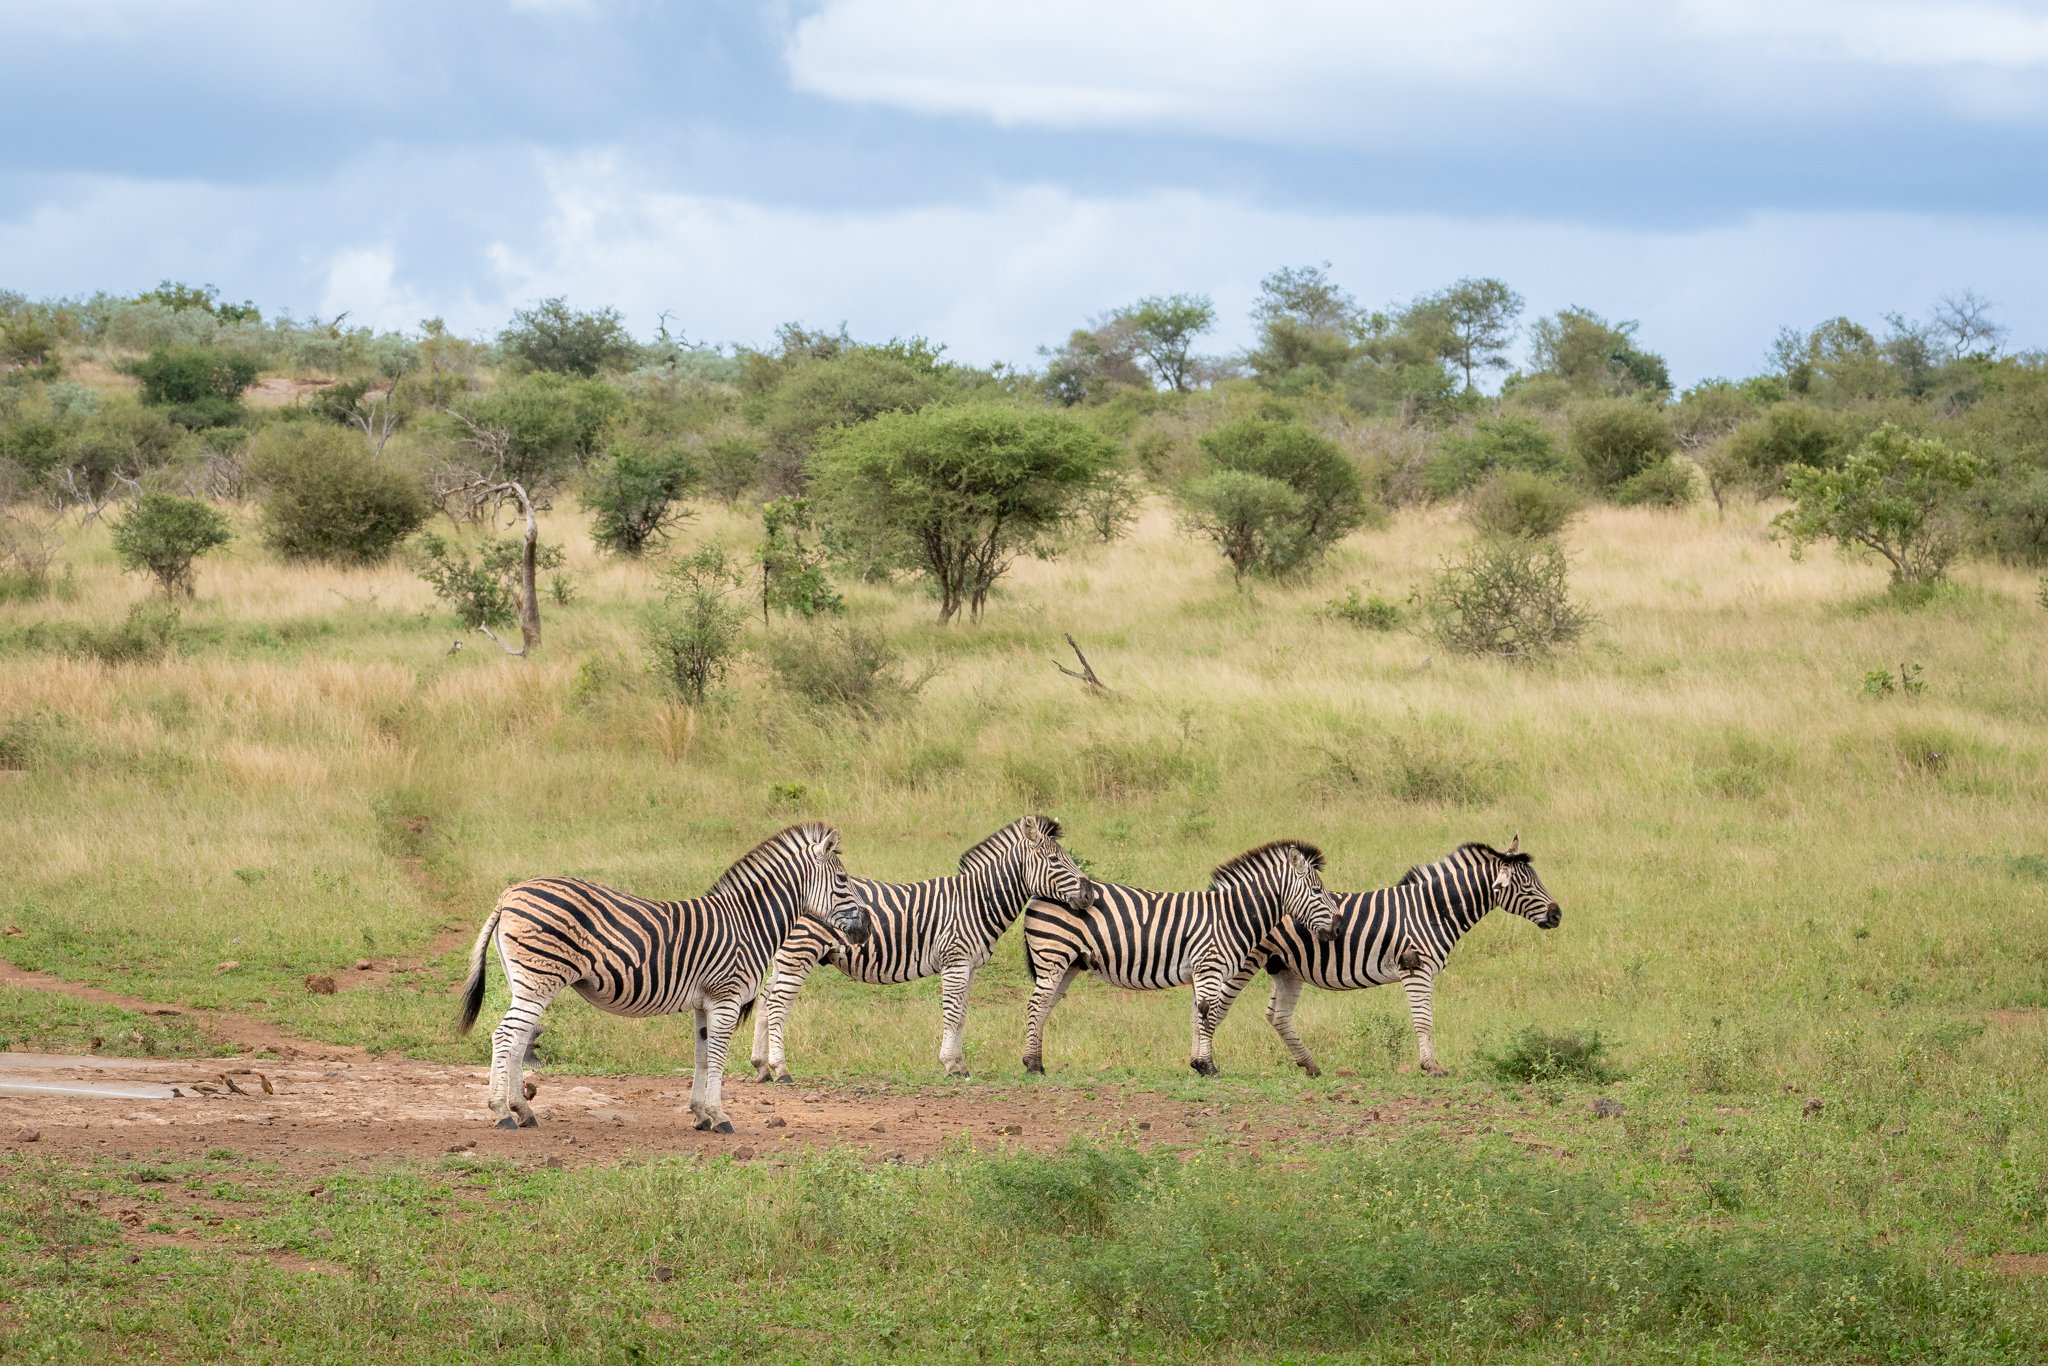
15. Play around with patterns, textures, and framing
On that note, try to vary up your shots and to play around with different styles by focusing on capturing patterns and textures, and by utilizing compositional techniques like framing. Patterns and textures can be made by entire animals or animal groupings, or can be fur patterns or skin texture. Framing is always a strong compositional technique – such as having foliage frame up your subject, or maybe even another animal framing your subject!
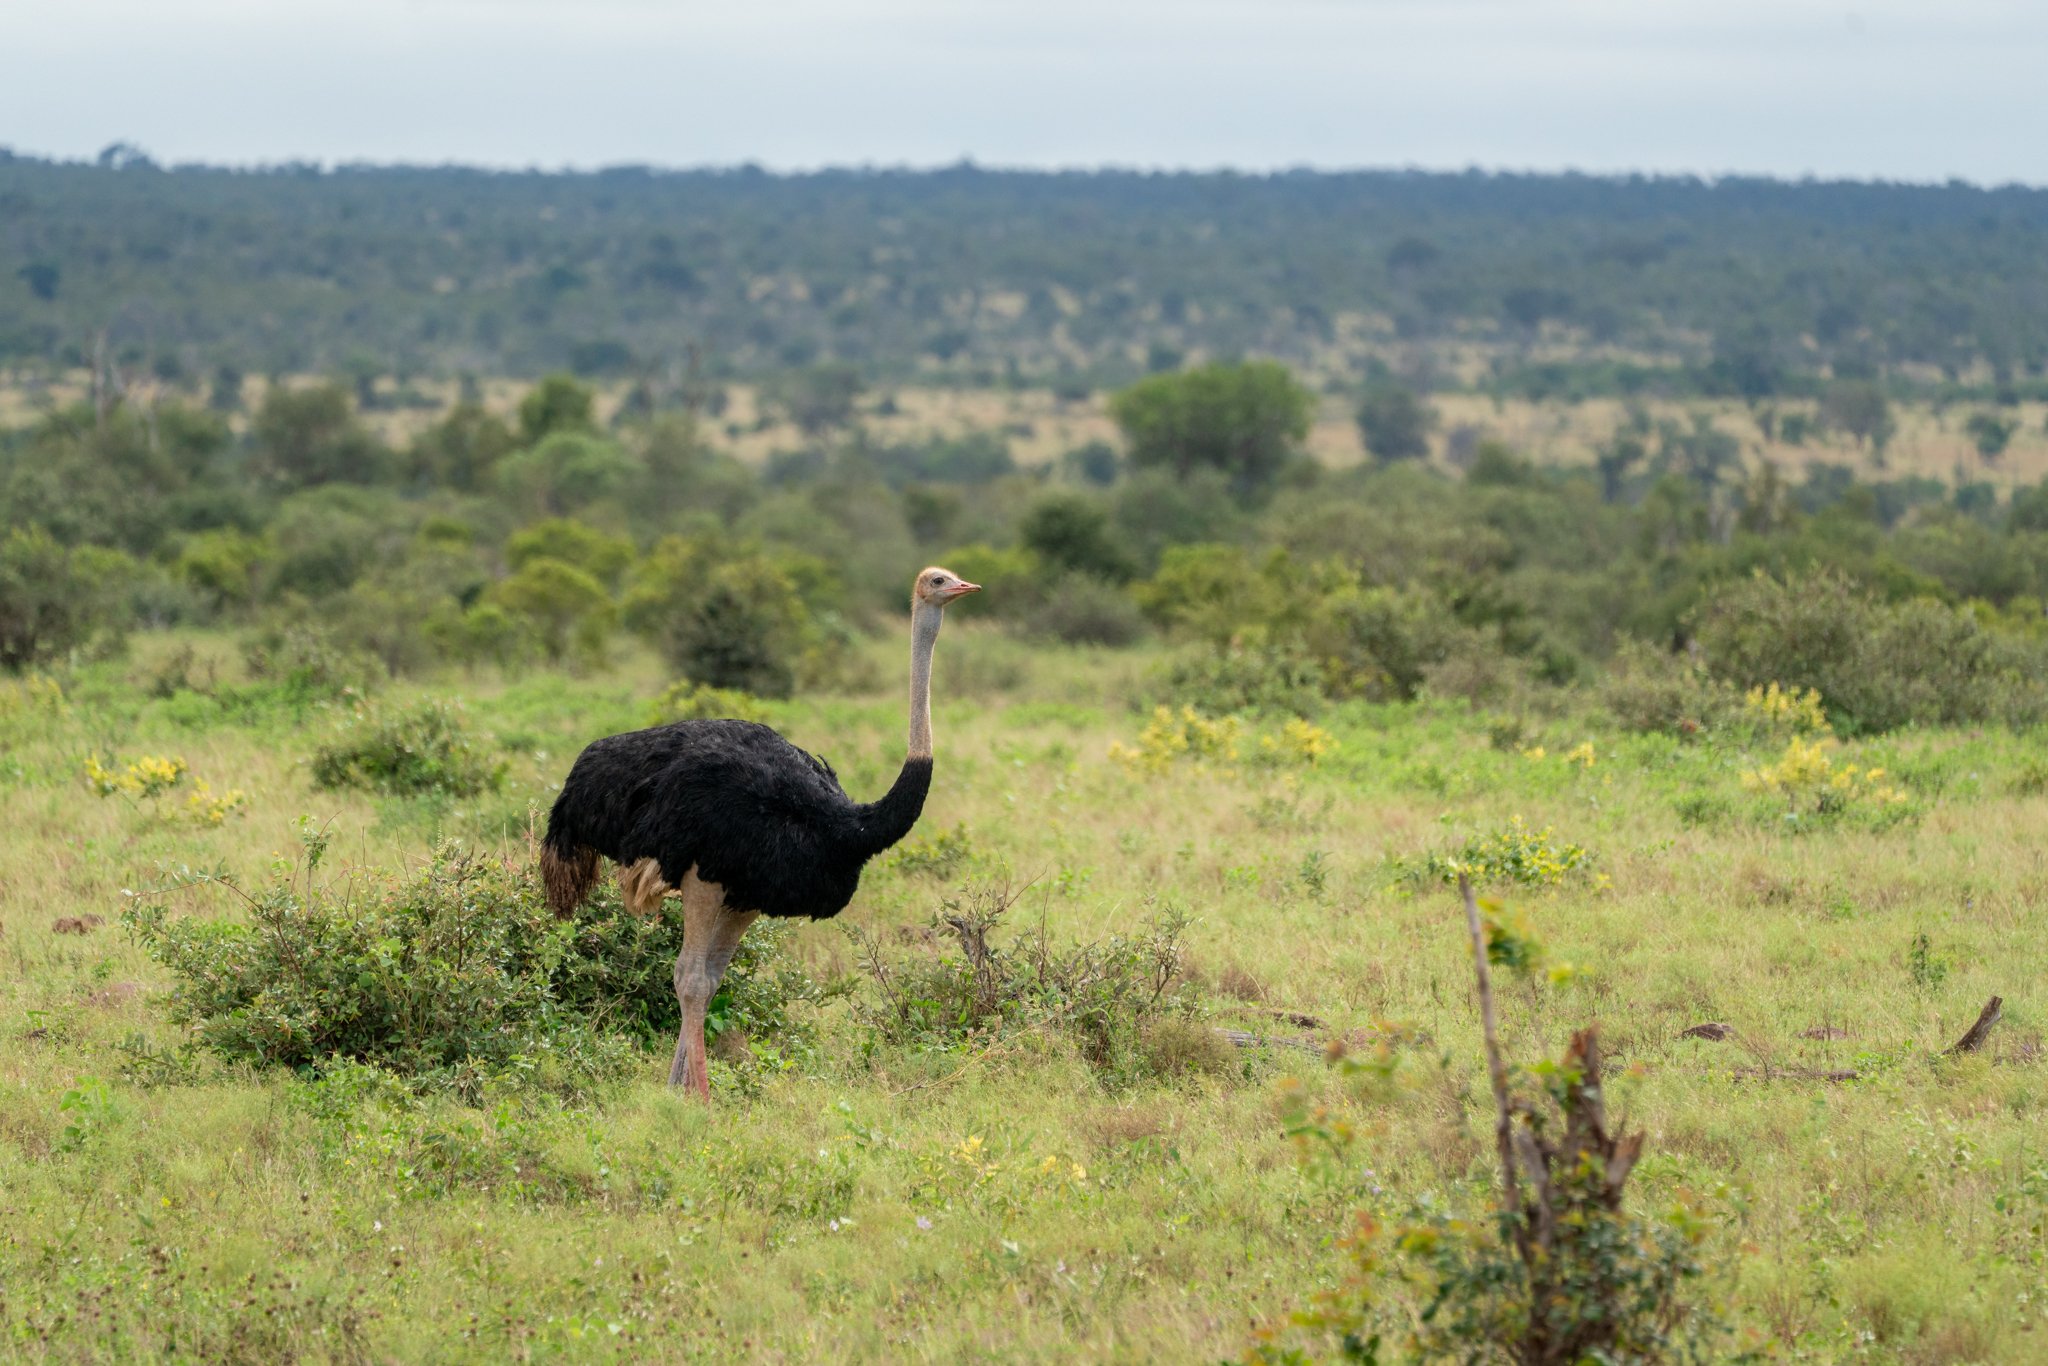
16. Try being out of sight
If you are not on safari or you are self-driving, using your car as a kind of hide can allow you to get closer to an animal than you could on foot. If you aren’t on safari and are photographing wildlife in your local area, create a hide or blind in your backyard, or google if your local nature reserves have hides. These are places where you are mostly out of sight, with a small window or flap for you to stick your camera lens out. Being out of sight or at least breaking up your form (why camouflage works!) will usually allow you to get closer to an animal without scaring it off – which can be essential if you don’t have a super high focal length lens.
17. Shoot in the “correct” light
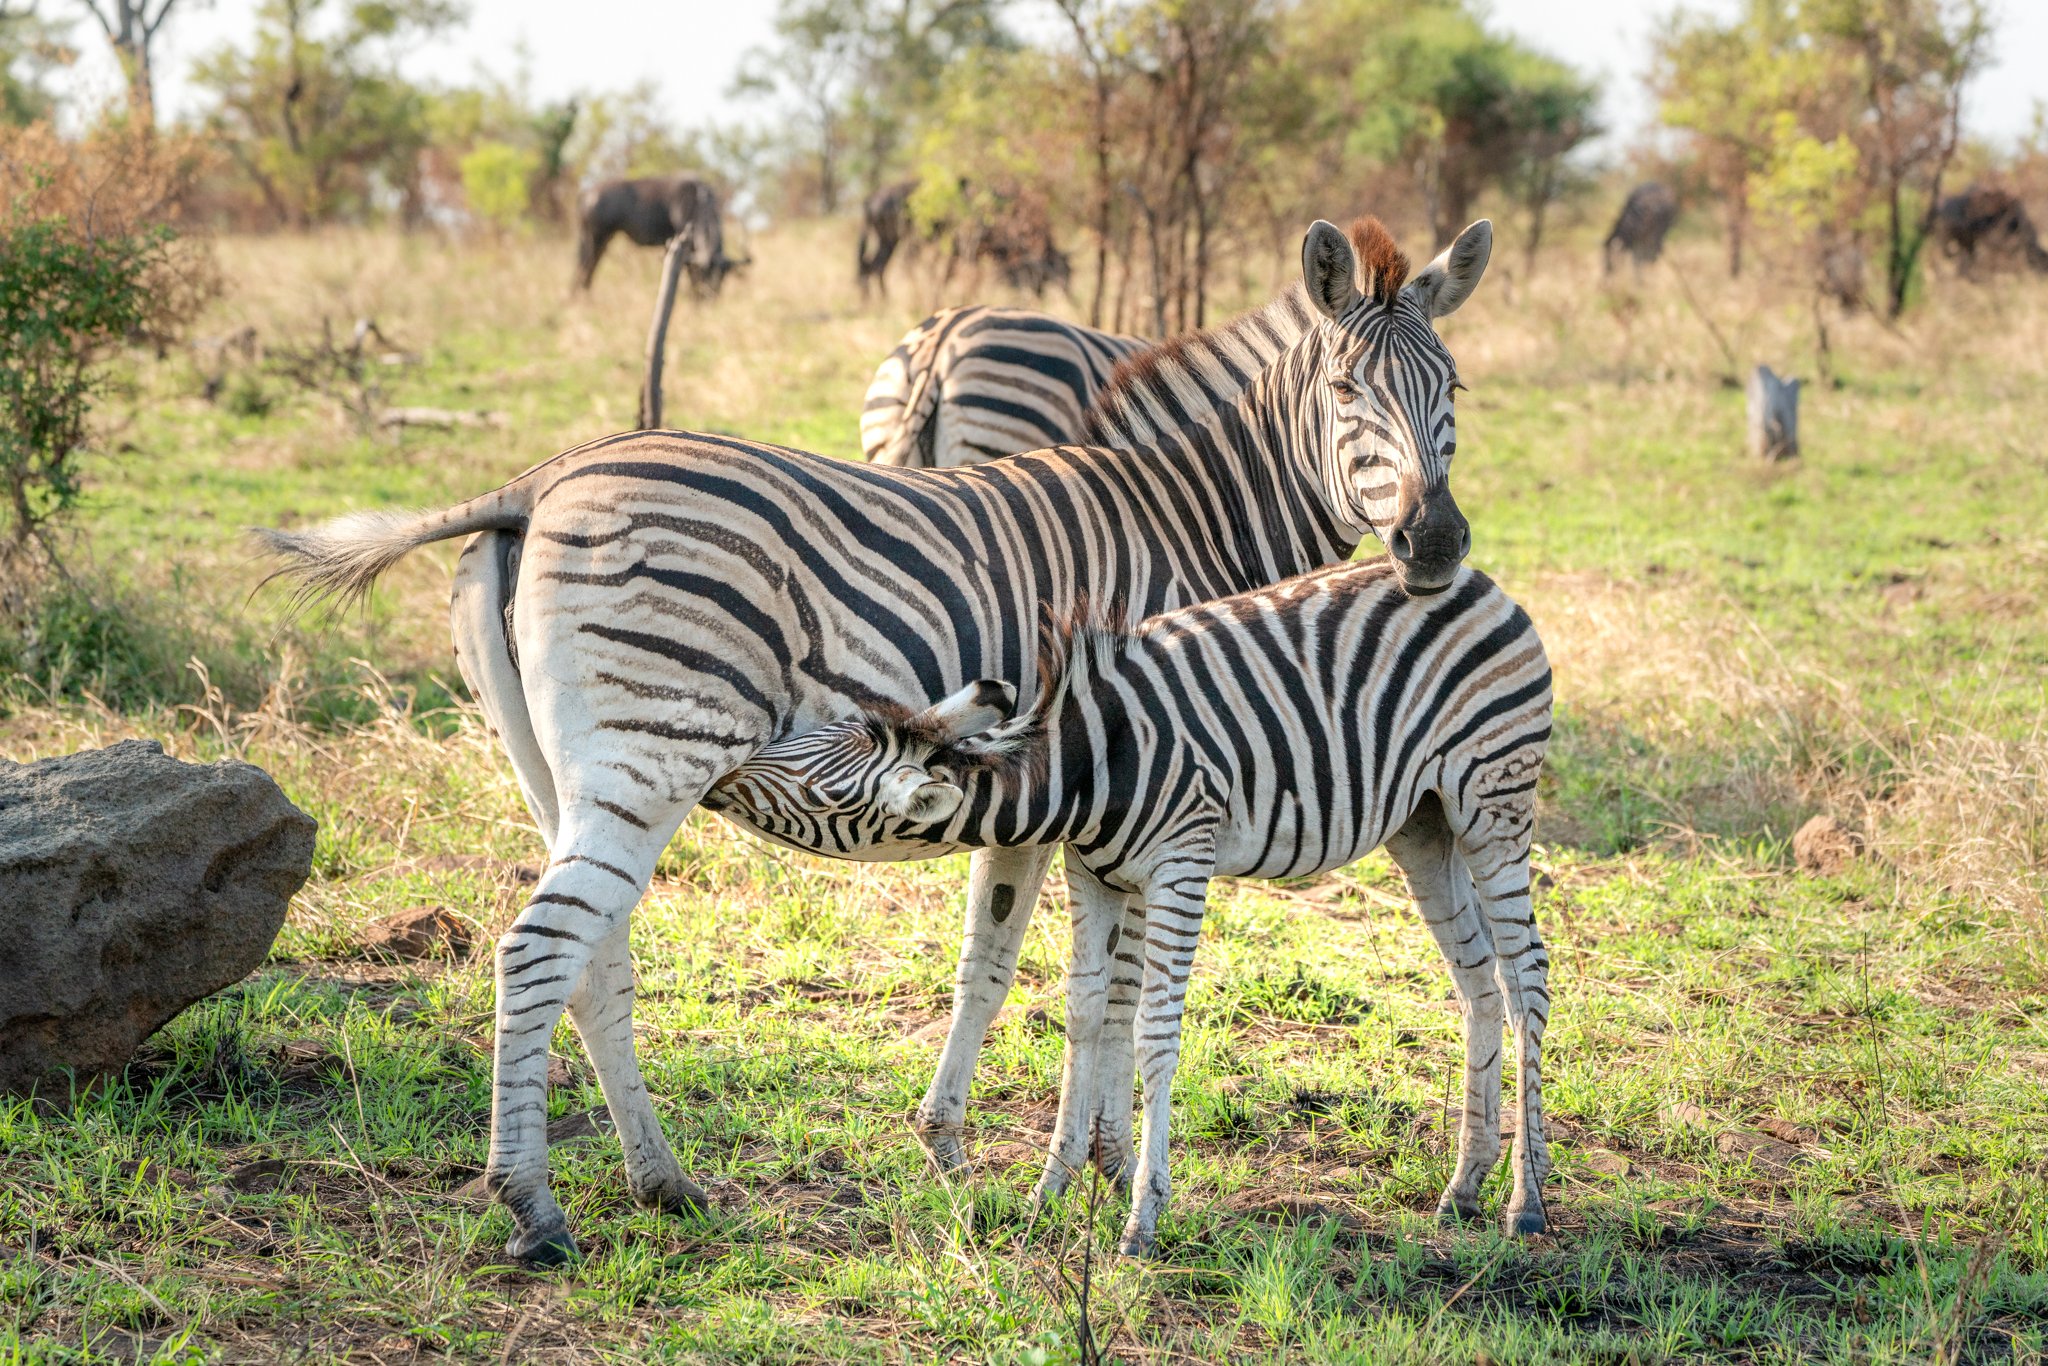
One of the challenges of wildlife photography is the ever-changing lighting conditions. Capturing an image in the “ideal” lighting can be the make or break of an epic, bucket-list shot. Golden hour, the hour surrounding sunrise and sunset, is a beautiful time to shoot because of the soft golden hues, but it is naturally darker and thus can be more challenging. Blue skies and colorful images are a recipe for success, but in the middle of the day, harsh sunlight can create high contrast light and dark areas, which is difficult to edit. On cloudy days, you’ll get a nice, soft, diffuse light, allowing you to shoot in “better” lighting for longer, but at the tradeoff of images sometimes coming out dull and less colorful.
There are tradeoffs to all of these lighting conditions and it takes experience to learn what lighting is “best.” The best wildlife tips for beginners are to take a variety of images to learn from different lighting situations, and to take photos from multiple angles – on safari, ask your driver if he can adjust where the vehicle is parked to get a better angle or better lighting. One thing to be aware of is backlighting; when the sun or light source is behind your subject. This can result in a blown-out sky combined with a too-dark subject. But this can also be a stylistic choice – backlit animals at sunset results in stunning, silhouette-style images.
18. Don’t use bait to get your wildlife photographs
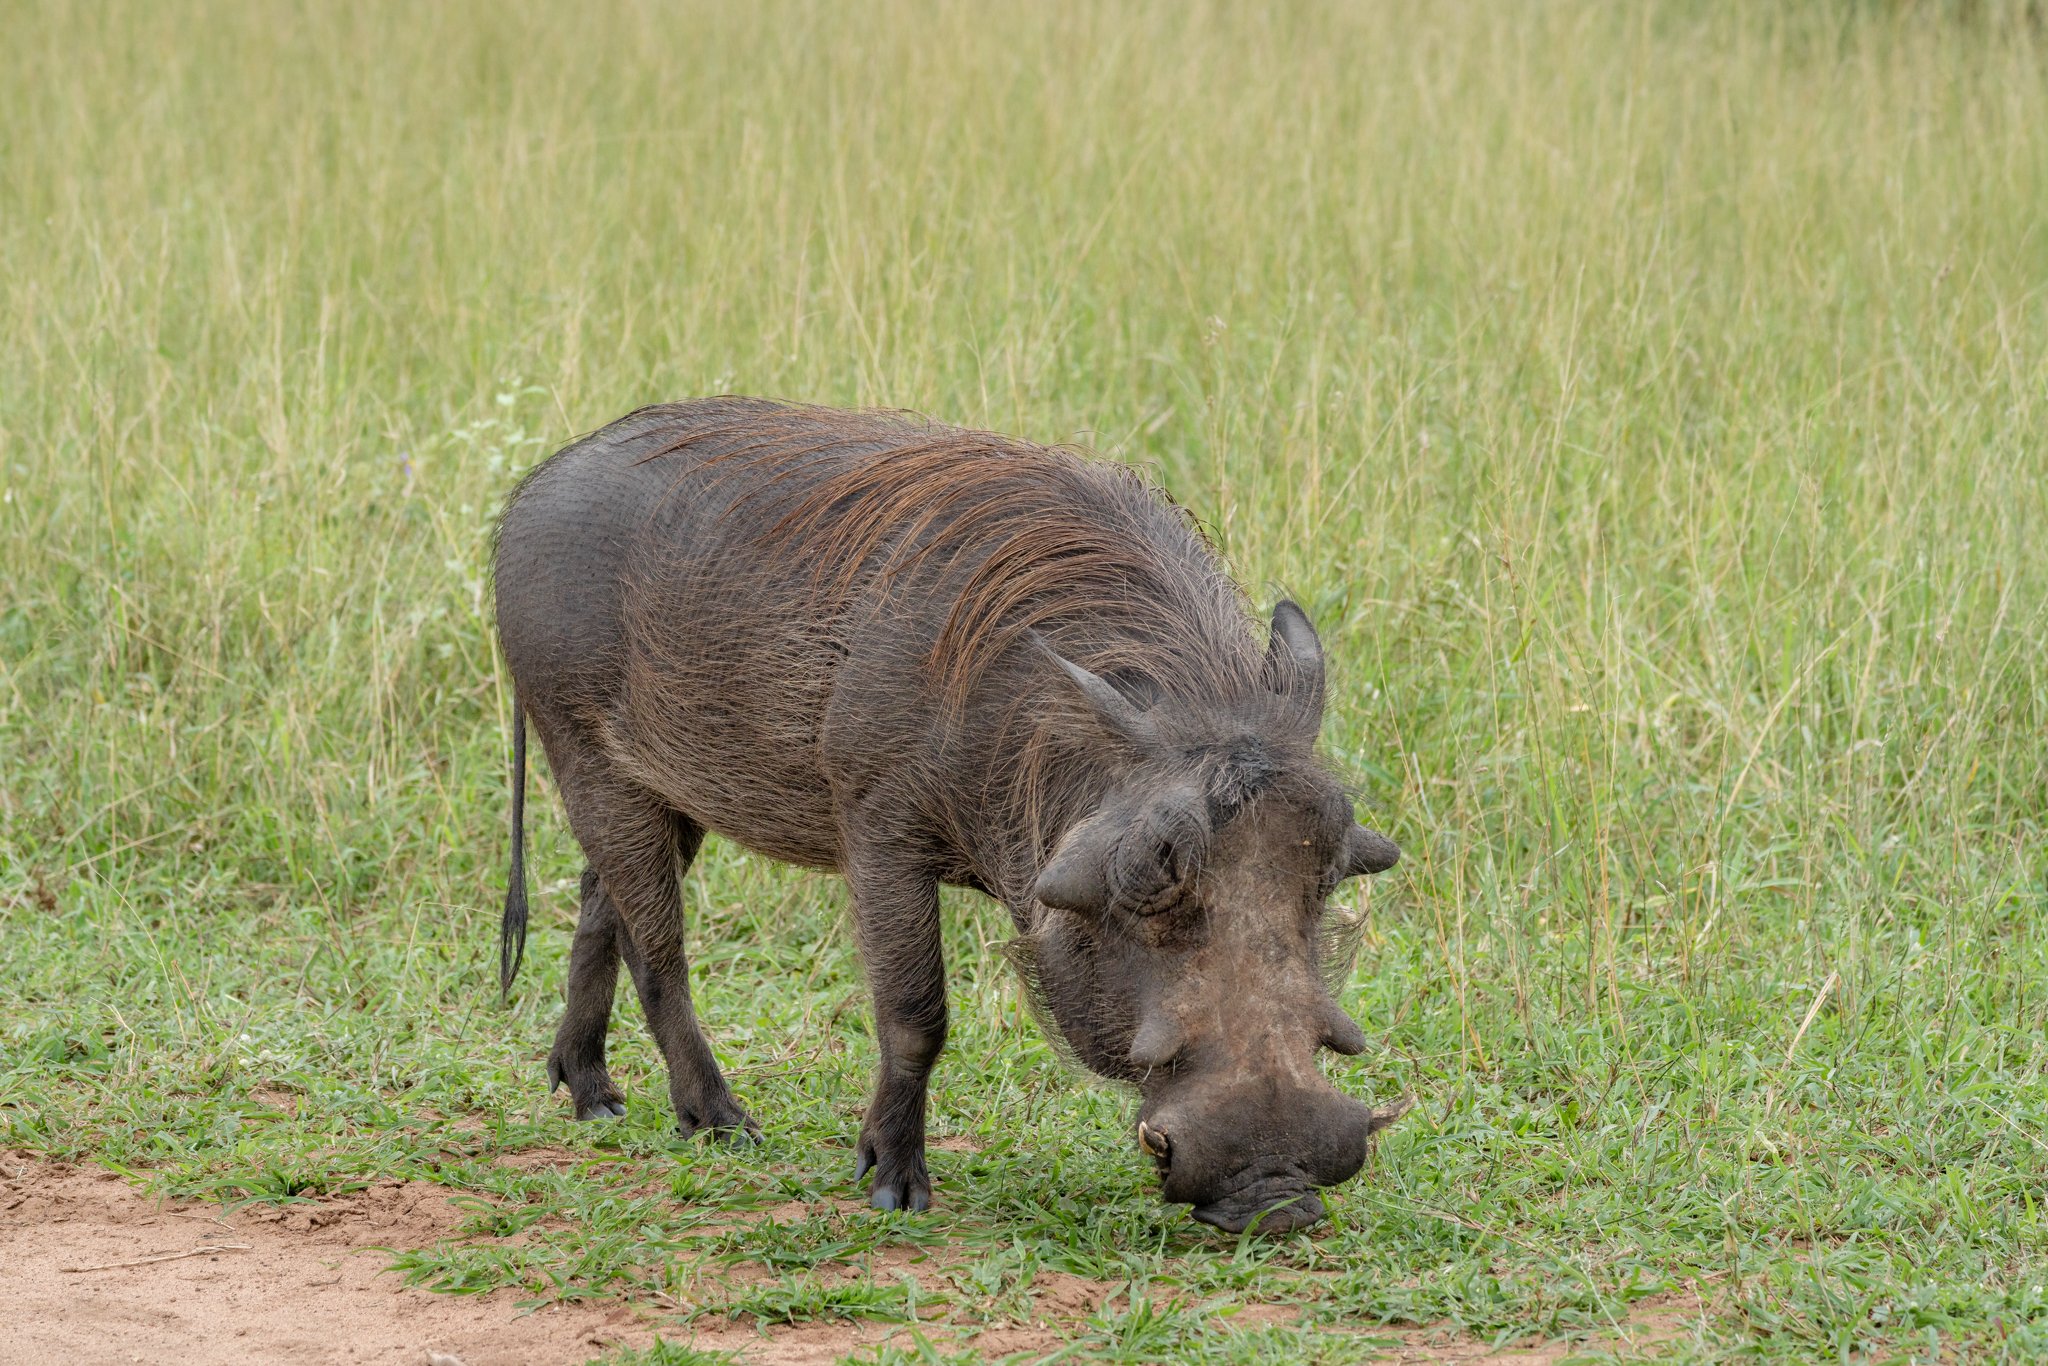
Baiting wildlife is WILDLY unethical (sorry, couldn’t resist a pun!). In all seriousness though, baiting or feeding wildlife disrupts their natural behavior and has extremely negative repercussions to their health and life. No photograph is worth baiting animals! It is our duty as wildlife photographers to educate others and act with integrity while photographing animals, so don’t be afraid to gently speak up if you see others feeding wildlife in an area where it is not allowed. Always respect signage and if in doubt, ASK local guides and park rangers for clarification or ABSTAIN from feeding animals at all. Realistically, there are VERY FEW areas in the world where feeding wildlife is allowed, and it is usually from a conservation standpoint where feeding wildlife is essential to a recovery process.
19. Keep your distance, listen to your guide, and observe any changes in animal behavior
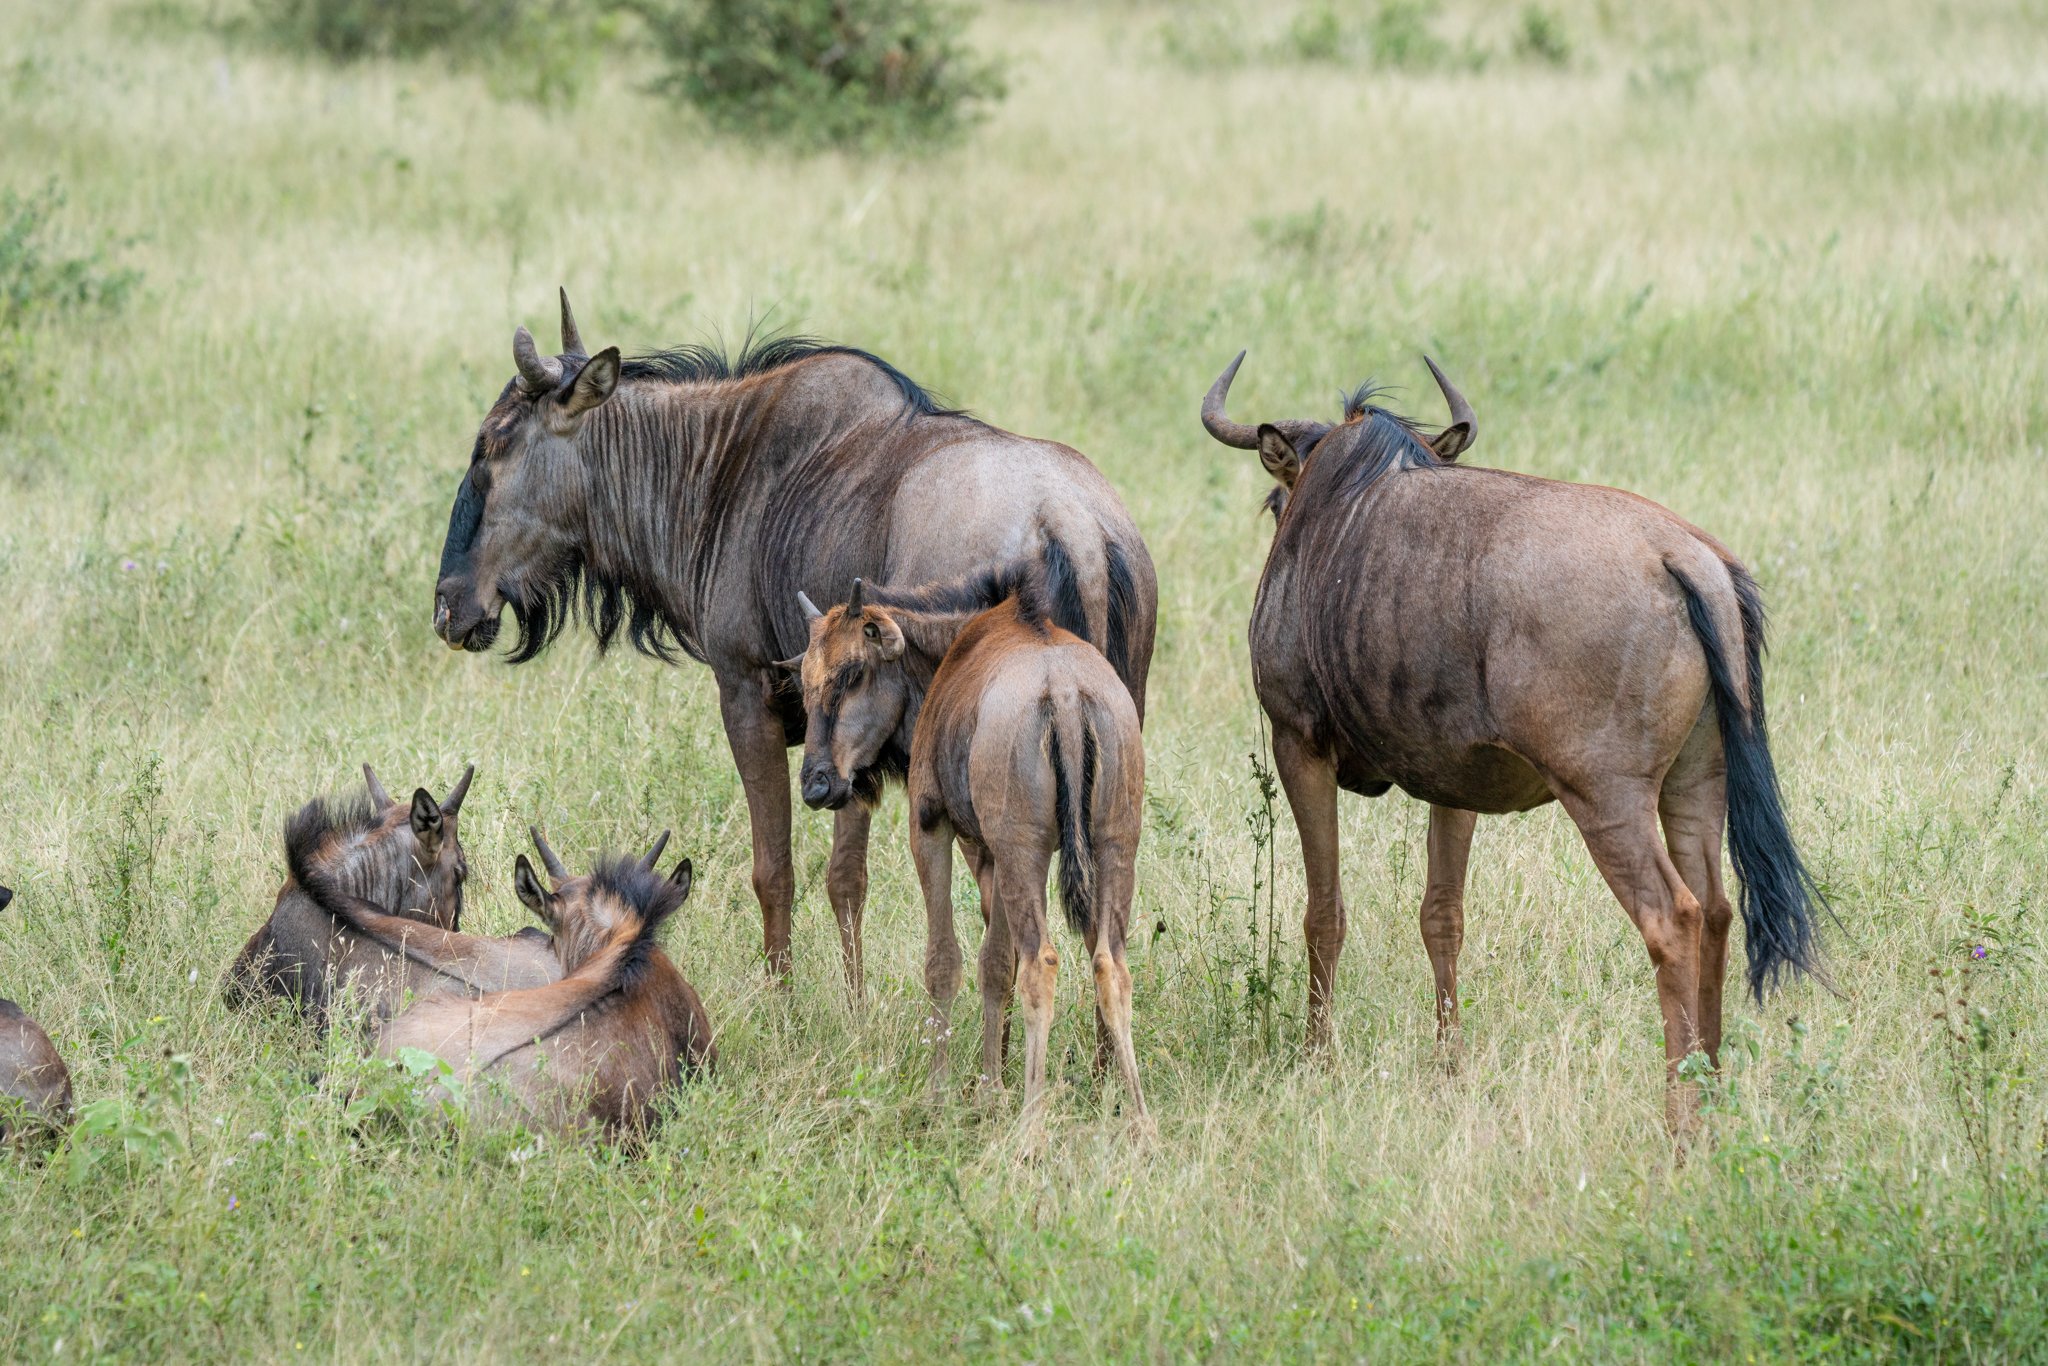
Photographing wildlife should come from a place of deep respect for the animal you are capturing. ALWAYS maintain a safe distance away from wildlife – this is essential to both YOUR safety and the safety of the animal. This can also include putting a car in between yourself and an animal, and staying at least 100 feet (or more) away at all times. Don’t be that tourist in Yellowstone getting gored by a bison! I know that is a dramatic example, but wildlife are WILD – meaning they are unpredictable and act differently to animals in captivity and act differently than pets.
On safari, listen to your guide at ALL times. They are (usually) the experts and should know how close or far away to be (i.e. they might be able to get you closer to an animal than you can in your own car, as they recognize stress or aggression signs). That being said, unfortunately not all guides you encounter on safari are experts, so it’s up to you to do your research to go on a tour with experienced and knowledgeable guides from a reputable tour company.
As you are photographing an animal, make sure to observe any changes in its behavior – this could mean it is stressed and that you should immediately stop photographing the animal, break any eye contact, and move away. Stress behaviors can be subtle, and can include behaviors such as looking directly at you, moving away from you, and panting. Wildlife can also be highly and sometimes unpredictably aggressive, so maintaining a distance at all times is imperative to your safety. If an animal appears aggressive, assume it is, and slowly and quietly create distance (if on foot, slowly back away, do not RUN away, and do not turn your back).
20. BE PATIENT – epic shots take PRACTICE and OPPORTUNITY
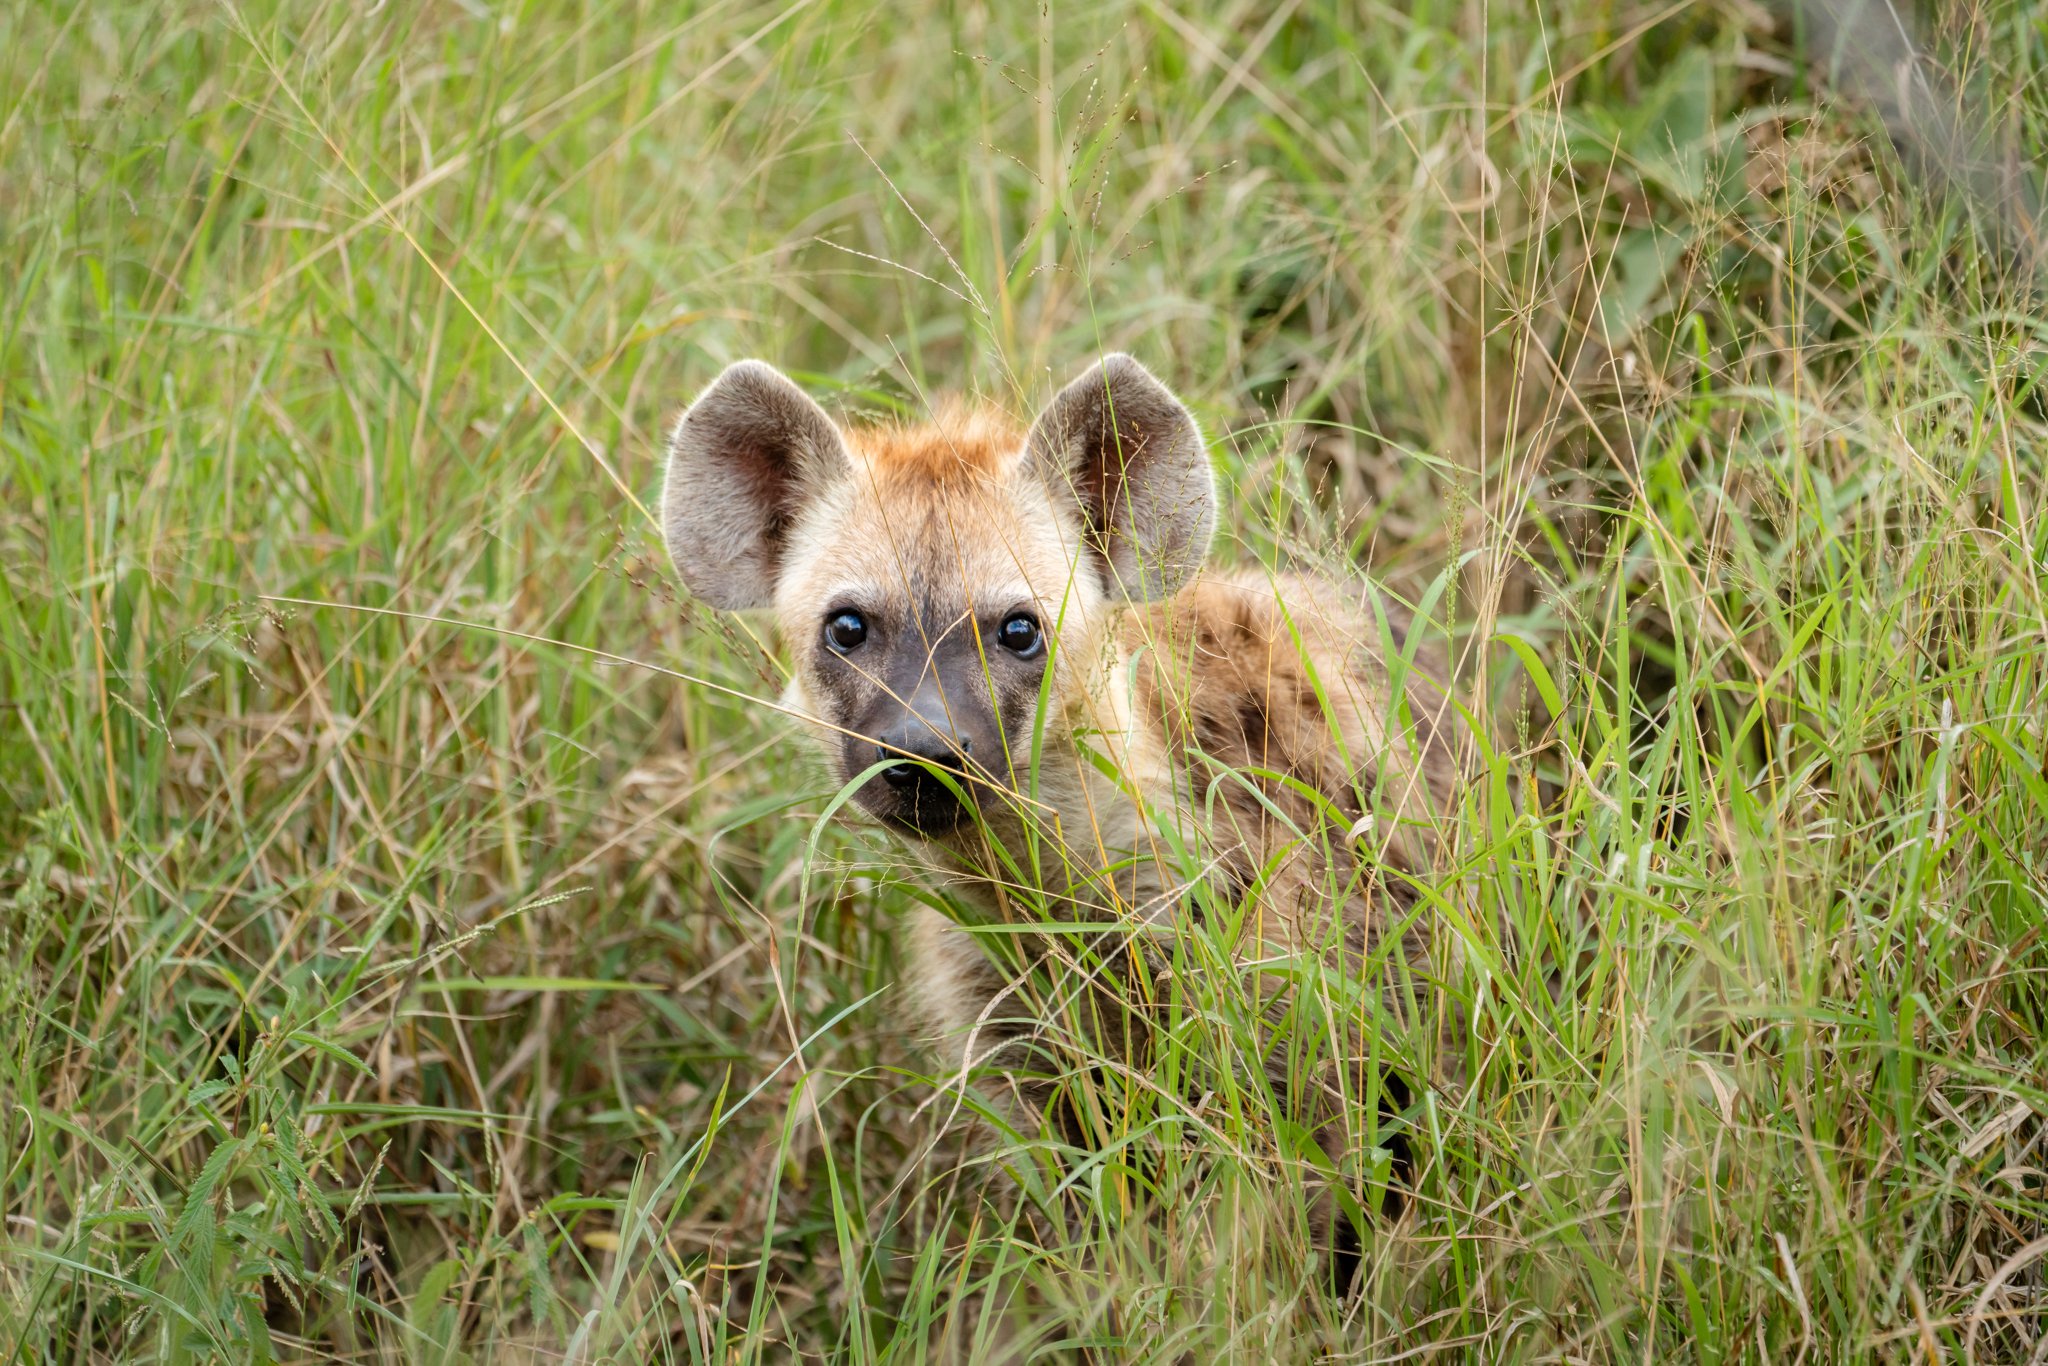
Of all my wildlife photography tips, being patient is truly key! It takes a lot of time and practice, even for experts, to get an amazing shot. It may take returning to the same area over and over, or at different times of day, to get your bucket list shot. One of the secrets to stunning wildlife photography that no one talks about is the HUNDREDS of “bad” images you will take just to get “the one” epic shot. Remember, this is particularly true on social media where you are only seeing someone’s BEST work and not the scores of images they did not choose to edit. But don’t be discouraged, wildlife encounters can sometimes happen when you least expect it! Sometimes the portfolio-worthy shot truly is due to a lucky opportunity, and you were just perfectly ready to go. Tip: on safari, have your camera ON and lens cap OFF at all times (battery permitting – bring LOTS of backups and stay charged!) so you don’t miss a critical moment.
Read this next!
Did you find these wildlife photography tips helpful? Did I leave out any essential secrets to stunning wildlife photography? Let me know in the comments below or ask me anything about wildlife photography so I can help YOU get your bucket list shot!
2 Comments
Submit a Comment
More adventures

Ultimate 5 Day Costa Brava Itinerary: The Best Beaches, Hidden Coves, & Medieval Villages on Spain’s Underrated Coastline
Hidden coves, medieval stone villages, and Dalí's surreal seaside town – this is the ultimate Costa Brava itinerary for anyone craving Mediterranean magic without the crowds of the Balearics. It’s truly the MOST underrated coastline in Spain!Let me tell you a secret:...

Where to Stay in Barcelona: Hotels I Would Actually Recommend for First Time Visitors
Wondering where to stay in Barcelona? My honest, first-timer-friendly picks for the best neighborhoods and hotels at every budget in the city.Figuring out where to stay in Barcelona can honestly make or break your trip, and after multiple visits to this city, I've...

Hey I’m Rebecca!
I’m a travel & outdoors photographer, blogger, and content greator living in the US but you can find me adventuring around the globe! On this blog I share tips to help you improve your photography, inspiration and advice to explore the outdoors, destination guides, travel tips, and more to plan your own adventures!
Categories
Photography
Destinations
Travel
National Parks
Recent posts
Where to Stay in Barcelona: Hotels I Would Actually Recommend for First Time Visitors
Wondering where to stay in Barcelona? My honest, first-timer-friendly picks for the best neighborhoods and hotels at every budget in the city.Figuring out where to stay in Barcelona can honestly make or break your trip, and after multiple visits to this city, I've...

What to do in Barcelona: First Timer’s Guide to Spain’s Vibrant City
Your first-timer's guide to what to do in Barcelona – Gaudi's icons, hidden gems, and tips for the perfect trip to Spain's most vibrant city.Barcelona was the city that hooked me on Spain for good, and I still think about my first time seeing Gaudí's work;...

Learn Spanish in Barcelona with Expanish: Here’s My Honest Review of the Immersion Spanish School
Thinking about trying to learn Spanish in Barcelona? My honest Expanish Barcelona review covers the school, classes, cost, and if it's worth it.Most people take a holiday to relax and yet I ...? I took a holiday to do homework (!). This summer I spent two weeks in...


Thank you so much for those Tips – I have recently started again to take photos and would have liked to see those tips before going on a Wildlife Trip … your tips helped me to figure out some of my mistakes and how to improve. Thank you!
I’m so glad you found them helpful! Happy photographing 🙂