
The ULTIMATE 10 Day Patagonia Itinerary: The Best of Patagonia for Epic Hiking & Unbelievable Views

See epic glaciers, hike in stunning national parks, take in breathtaking mountain views, and more – this is the ULTIMATE 10 day Patagonia Itinerary for hiking & nature lovers!
If you are looking to self-book and skip an expensive tour, read this guide for how to day hike Patagonia; from Torres del Paine in Chile to El Chalten in Argentina.
Sweeping landscapes, towering mountains, sky-blue waters, rainbows, unique wildlife, and world-class hiking – is Patagonia on your bucket list yet?! If it isn’t yet, add it IMMEDIATELY, trust me! While Patagonia is ridiculously remote – located on the tip of southern Chile & Argentina – and can be expensive, it is so worth the long travel time to see this breathtaking place for yourself.
I spent almost two weeks in Patagonia and booked everything myself to save money and be able to have the flexibility to trek and photograph wherever I wanted, and to customize my itinerary to fit my adventure travel needs. Many people book a tour in Patagonia – like the famous W Trek in Chile – but you can absolutely day hike and create an epic self-tour that hits all the best parts of the W Trek PLUS get to hike in Patagonian Argentina, which is just as spectacular.
I spent WEEKS researching Patagonia and honestly found the information of visiting without a tour either confusing, difficult to find, or both. To save you the headache, I’m detailing my hard-earned knowledge to save you not only the time and effort, but so you can take this bucket-list trip sooner!
Here is the most EPIC 10 day Patagonia itinerary – the one I WISH I had when I started planning my trip – packed full of everything you need to know for Patagonia and featuring the very best of Patagonia so you can have the trip of a lifetime. Let’s go!
Disclaimer: This blog post may contain affiliate links, which means I get a small commission if you click the link and make a purchase – at no extra cost to you! I only share things I genuinely love and think my audience would love too! This is one of the ways I’m able to keep making these free resources and guides for you. Thank you so much for your continued support! Learn more about my affiliate policy here.
The ULTIMATE 10 Day Patagonia Itinerary: The Best of Patagonia for Epic Hiking & Unbelievable Views
Quick Start Patagonia Travel Guide
Patagonia is a region at the southern end of South America, which encompasses both Chile and Argentina, separated by the Andes Mountains.
🗺️ How big is Patagonia?
Patagonia is HUGE; it encompasses 738,100 square miles. The Chilean side has glacial fjords and a temperate rainforest, while the Argentinian side has grasslands, deserts, and arid steppes.
📅 How long to visit Patagonia?
How long to visit Patagonia depends on how much time you have and how much you want to see: 5 days is just enough time but only to see EITHER Chile or Argentina, 7-10 days is ideal for seeing the highlights of Patagonia in Torres del Paine and El Chalten but it will be high activity and high-pace, 2 weeks is best for exploring and hiking with an easier-paced itinerary, and 3 weeks gives you ample time to explore even more of Patagonia outside of Torres del Paine and El Chalten – such as Tierra del Fuego, Ushuaia, and more
☀️ When to visit Patagonia?
Summertime from late November to early March is the best time to visit. Peak hiking season in Patagonia is December – February, when the weather is warm (remember in the southern hemisphere, seasons are opposite!). To avoid the crowds, visit in spring or fall during the shoulder season for milder weather than winter, but be sure to pack a raincoat and dress warmly.
✈️ How to get to Patagonia?
Patagonia is extremely remote, but is accessible via airplane and car/bus. There are several airports in Patagonian Chile and Patagonian Argentina to fly into. The major international airport in Chile is in Santiago, Arturo Merino Benítez International Airport (SCL), while the major international airport in Argentina is Ministro Pistarini International Airport (EZE), outside of Buenos Aires.
From either of those airports, to fly closer to Patagonian Chile, you fly into either Presidente Carlos Ibáñez del Campo International Airport (PUQ) in Punta Arenas, a 4+ hour drive from Torres del Paine, or Teniente Julio Gallardo Airport (PNT) in Puerto Natales, about a 1+ hour drive from Torres del Paine.
From Santiago or Buenos Aires to get to Patagonian Argentina, you fly into Comandante Armando Tola International Airport at El Calafate (FTE), about a 2+ hour drive or bus from El Chalten.
🚗 How to get around Patagonia? Do you need a car in Patagonia?
To get around Patagonia, you either need a rental car, to take a bus, OR to take a tour. Personally, I enjoyed renting a car for the freedom & flexibility, and while it was more expensive than public transportation, it was less than a traditional Patagonia tour.
But there are buses connecting much of Patagonia, so you definitely do not need a rental car, especially in El Chalten, Argentina, where you could easily walk to the start of the main hikes from your accommodation. If you are staying inside the park in Torres del Paine in Chile, you can take buses to get around and likely do not need a car (it’ll just be a bit harder to get around), but if you are staying outside Torres del Paine National Park, you might want to consider a rental car (here’s where I book my rental cars).
🛂 How to cross from Patagonian Chile to Patagonian Argentina?
There are 3 main ways to cross between Chile and Argentina; drive in a rental car (with special permission & pre-approval from your rental car company), take a bus or shuttle (as part of a tour or on your own), or fly between.
🏠️ Where to stay in Patagonia?
There are several options for accommodation in Patagonia; it largely depends on your comfort and budget, and where exactly you plan on hiking.
Patagonia accomodation in Chile:
For Patagonian Chile, I’d recommend staying in the refugios, which must be booked WELL in advance (minimum 6 months, ideally 9-12 months out for the most availability). There are multiple refugio and campsite options depending on where you choose to hike to (read the guide below for more detail). If you don’t want to deal with the hassle of multiple campsites/refugios, book a W Trek tour with a tour company or guide, who will book the campsites or other accomodation for you. But if you want the most magical and memorable stay of your life, stay in my personal favorite accommodation in all of Patagonia, the EcoCamps – a perfect blend of camping and comfort, with the most INCREDIBLE views.
If you want to stay more comfortably in Torres del Paine National Park and want a luxury stay, I’d recommend Hotel Las Torres Patagonia. If you have a more strict budget, I’d recommend to stay outside Torres del Paine and commute in each day. Stay in Puerto Natales and stay at El Establo, which is just a 7-minute walk from the bus station, or stay at Hotel Glaciares for free parking if you have a rental car.
Patagonia accomodation in Argentina:
For Patagonian Argentina, the accommodation options are much easier; you can stay in the small town of El Chalten where many of the main hikes you can easily WALK to (and for any further out, take a taxi). To stay on a budget, I recommend Refugio Chalten Hostel, where I stayed, which had a kitchen on site, or Rancho Grande Hostel for another budget pick.
For a luxury stay, stay at Destino Sur Hotel & Spa de Montaña – it has an incredible spa to relax at after your hikes!. For a mid-range stay with the BEST views, stay at Hosteria Senderos.
💰️ Is Patagonia expensive?
Yes, it is one of the most expensive regions due to its remoteness. That being said, if you book WELL in advance and plan well, you can do Patagonia on a medium-budget (but I wouldn’t say you could fully do budget travel in Patagonia) instead of a more luxury budget.
🌡️ How cold is Patagonia?
Patagonia is famous for its strong winds – even in summer, high up in the mountains it can be downright chilly, rainy, and even snowy! Average daytime temperatures in summer typically range from 59°F to 72°F (15°C to 22°C), but I honestly would recommend you pack layers for the warmer valleys, and dress like it will be winter at the summit of your hike.

Day 1: Arrival into Patagonian Chile
Begin your Patagonian adventure by flying into Chile. From international destinations, you’ll likely fly into Santiago, Arturo Merino Benítez International Airport (SCL). From there, fly to either Presidente Carlos Ibáñez del Campo International Airport (PUQ) in Punta Arenas, or Teniente Julio Gallardo Airport (PNT) in Puerto Natales. Note: I would NOT recommend driving from Santiago to Patagonia – it’s 34 hour drive (!!!).
Pick up your rental car if you decided to drive yourself, and drive to Torres del Paine National Park, which is about a 4+ hour drive from Punta Arenas, or a 1+ hour drive from Puerto Natales. If you opted not to rent a car, take the bus from the airport to the park. Tip: if you need any gear for the week, I personally can vouch for Rental Natales – I grabbed a pair of trekking poles (honestly, they are ESSENTIAL for the high elevation Patagonia hikes) and they completely saved my knees.
Get settled into your accommodation and rest up for your big Patagonia trekking day tomorrow! For those staying in the park, I’d recommend overnighting at Refugio Paine (which will require you to jump on the ferry – see day 2 for details!) to get a head start on tomorrow; but if you couldn’t secure a spot there, don’t worry! I’ll cover multiple options in case you are commuting into the park each day OR chose to stay in one place for the entire week.

Day 2: Gray Glacier Boat Tour and Torres del Paine W-Trek to Grey Glacier
For the first half of this trip, you will explore Patagonian Chile – completing the best of the W Trek as a self-guided tour with optional bonus hikes and variations to best suit what YOU like to do best in your adventure travels – feel free to adjust accordingly depending on your accommodation as well. Note: Make sure you have paid your Torres del Paine National Park entrance fee and have the QR code saved offline – there’s pretty much no service in the park!
On your first day, you have three options: 1) start your day with a boat tour of Grey Glacier; here’s the one I’d recommend from inside Torres del Paine and here is a Grey Glacier tour starting from Puerto Natales if you are staying outside the National Park. 2) Spend a full day completing the first hike of the W Trek: from Refugio Paine Grande to Refugio Grey and back down to Refugio Paine. Or 3) begin your day with the Grey Glacier boat tour and day hike to Refugio Grey in the afternoon; completing it as an out-and-back and simply turning around when you’ve hiked enough.
To hike to Refugio Grey to enjoy the epic glacier views, you’ll need to take the Lago Pehoe catamaran (the ferry) from Pudeto to the Paine Grande Refugio. With a rental car, drive up early and park at the ferry, or take the bus. Check the ferry schedule here and make sure you have enough time to hike back to catch the last ferry if you are not overnighting at Refugio Grey. You can either day hike the entire trail as an out-and-back (13.8 miles with 2,4111 ft elevation gain according to AllTrails), hike to Refugio Grey and overnight there, or simply turn back when you’ve trekked your fill.

For this itinerary, I’d recommend spending 2-3 nights at Refugio Paine for simplicity if you choose to camp – your first night before this hike, completing the Grey Glacier trek as a day hike, and overnighting at Refugio Paine one or two more nights. For even more simplicity, stay for your entire week at EcoCamp Patagonia (for the most EPIC VIEWS it’s so worth it!) and drive or take the bus to the start of day 2 and day 3 hikes.
On your hike (and all others), make sure you pack these essentials in your backpack: a refillable water bottle, layers (from hot to very cold), a rain jacket and/or windbreaker, high-protein snacks, and sunscreen. I think trekking poles are another essential but that’s up to you! Even though the trail is VERY straightforward, easy to follow, and there are tons of other hikers around to ask for directions if need be, I would also recommend downloading the hike trail offline.
One of the most amazing part about Torres del Paine is that the water is incredibly clean – so you can fill your water bottle pretty much anywhere (I’d recommend running water) – no need to bring any special water treatment. But if you’re concerned about water safety, you can use this Lifestraw water bottle or this UV SteriPen that I used for my South America travels. After your hike, eat a large dinner, drink lots of water, and rest up for your next day of Patagonia hikes! Tonight, spend one final night at Refugio Paine if you plan on trekking to Frances Glacier Lookout, otherwise, camp at Lake Pehoe for the alternate hike options (see day 3!), or stay elsewhere within or outside of the park.

Day 3: Torres del Paine W-Trek through Frances Valley to Frances Glacier Lookout OR Trek to Los Cuernos Viewpoint
Today you’ll set out on the second notable W Trek hike, starting your day once more from Refugio Paine. If you are staying outside the park or not at Refugio Paine, take the ferry once again to get started. From Refugio Paine, you’ll trek to Italiano Camp, and then turn to hike through and up Frances Valley. The trek through Frances Valley is GORGEOUS, and at the peak of the hike you’ll reach the Frances Glacier lookout. This trek is DEFINITELY not for the faint of heart: to complete this as an out-and-back day hike, you’ll be trekking a cool 16.7 miles with a 3940 foot elevation gain. Head back down when you’ve taken in the views, and choose to overnight once more at Refugio Paine, or take the ferry across the lake to get back to your accommodation.

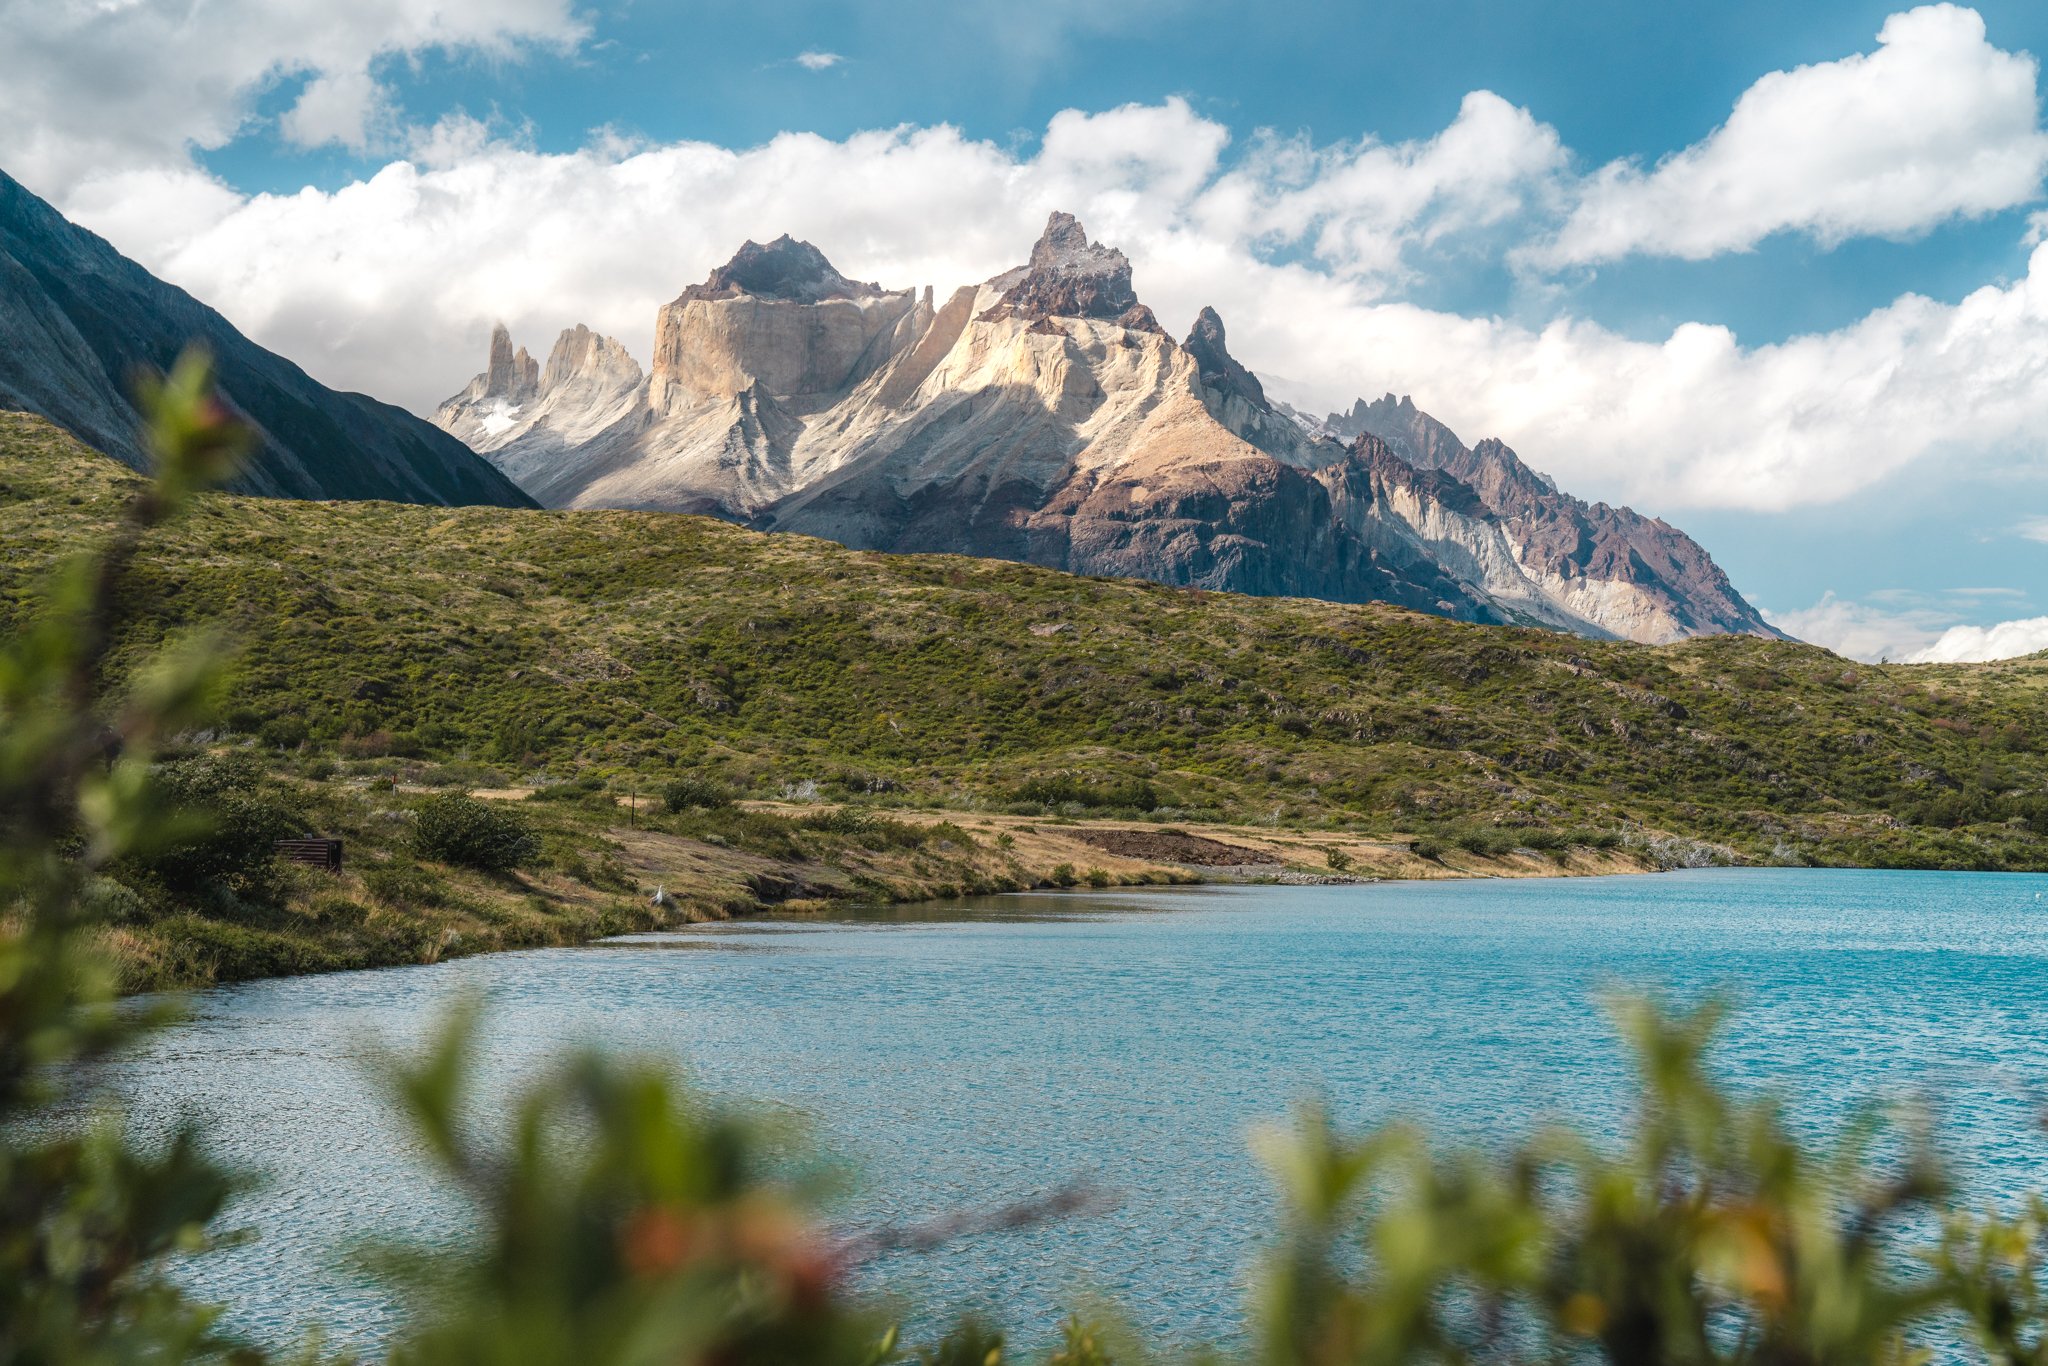
Alternatively, if you are feeling sore from the previous day hike or are looking to have an easier middle day of hiking – I’d highly recommend exploring some of the fun, shorter hikes around Torres del Paine. My personal favorite was the Mirador Los Cuernos trail, AKA Cuernos Lookout, because it had both a dramatic waterfall lookout, Mirador Salto Grande Viewpoint, and some of the most BREATHTAKING views of the Los Cuernos (“The Horns”) – which are one of Patagonia’s most famous views. This trail is an easy 4 miles with 557 foot elevation gain, grab lunch and jump on another hike in the afternoon.

In the afternoon, take a rest or complete another quick hike; such as the Condor Lookout (1.5 miles with 646 foot elevation gain), Mirador Salto Chico (under a mile), or Mirador Nordenskjöld (3.8 miles and 472 foot elevation gain).
Make one last stop today to take photographs at Lake Pehoe – the water color is UNBELIEVABLE. Takes your time taking in the views – Torres del Paine National Park is truly spectacular. This evening, get an early night sleep for your final big day of adventuring in Patagonian Chile. Spend the night at Refugio Las Torres Norte or Refugio Las Torres Central to get a jump start on the trail for tomorrow, if you are not staying already at Hotel Las Torres or elsewhere within or outside the park.
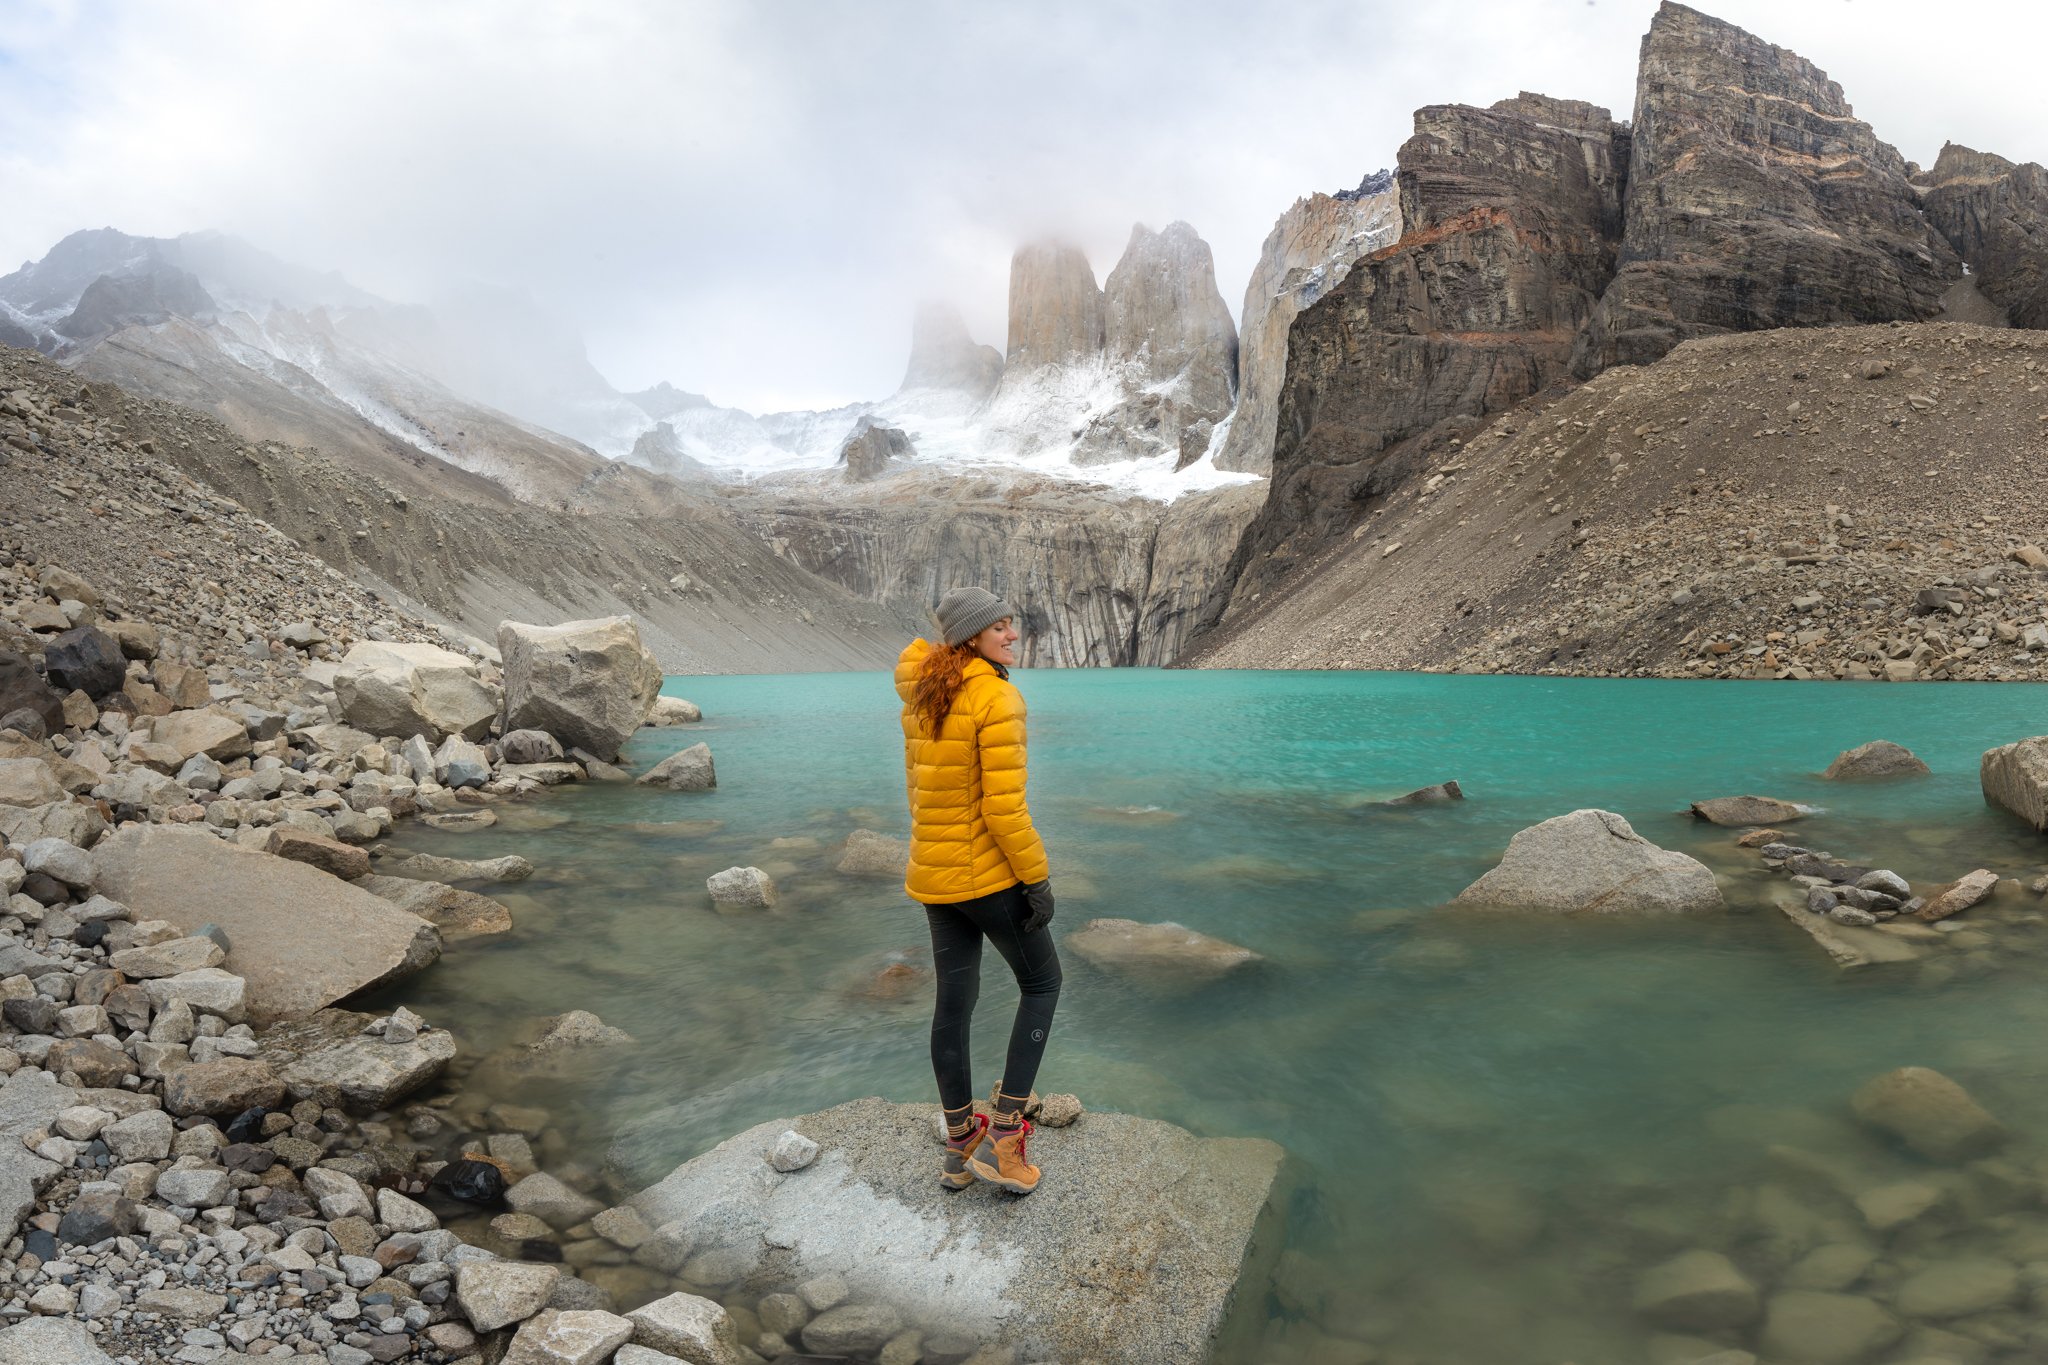
Day 4: Torres del Paine W-Trek or Horseback Ride to Mirador Base Las Torres
It’s your last day on the Chilean side of Patagonia, so we’re hiking the most EPIC and memorable part of the W-trek: the hike to Base Torres. Note: If you check a map of the W-Trek, you’ll notice we’ve skipped just one section – between the base of Frances Valley to Refugio Cuernos, and from Refugio Cuernos to Refugio Las Torres Norte/Central; but in my opinion this section is the least exciting, so I decided to cut it to better fit in the W-Trek as day hikes.
Begin your hike from Hotel Las Torres / Refugio Las Torres Norte. The Base Torres hike as an out-and-back is a total of 12.5 miles with 3326 foot elevation gain, so pack a lunch (many of the Refugios offer a boxed lunch as an add-on!). You’ll slowly gain elevation and pass through Refugio Chileno, which is a great place to take a break, grab some snacks and drinks, before continuing on.
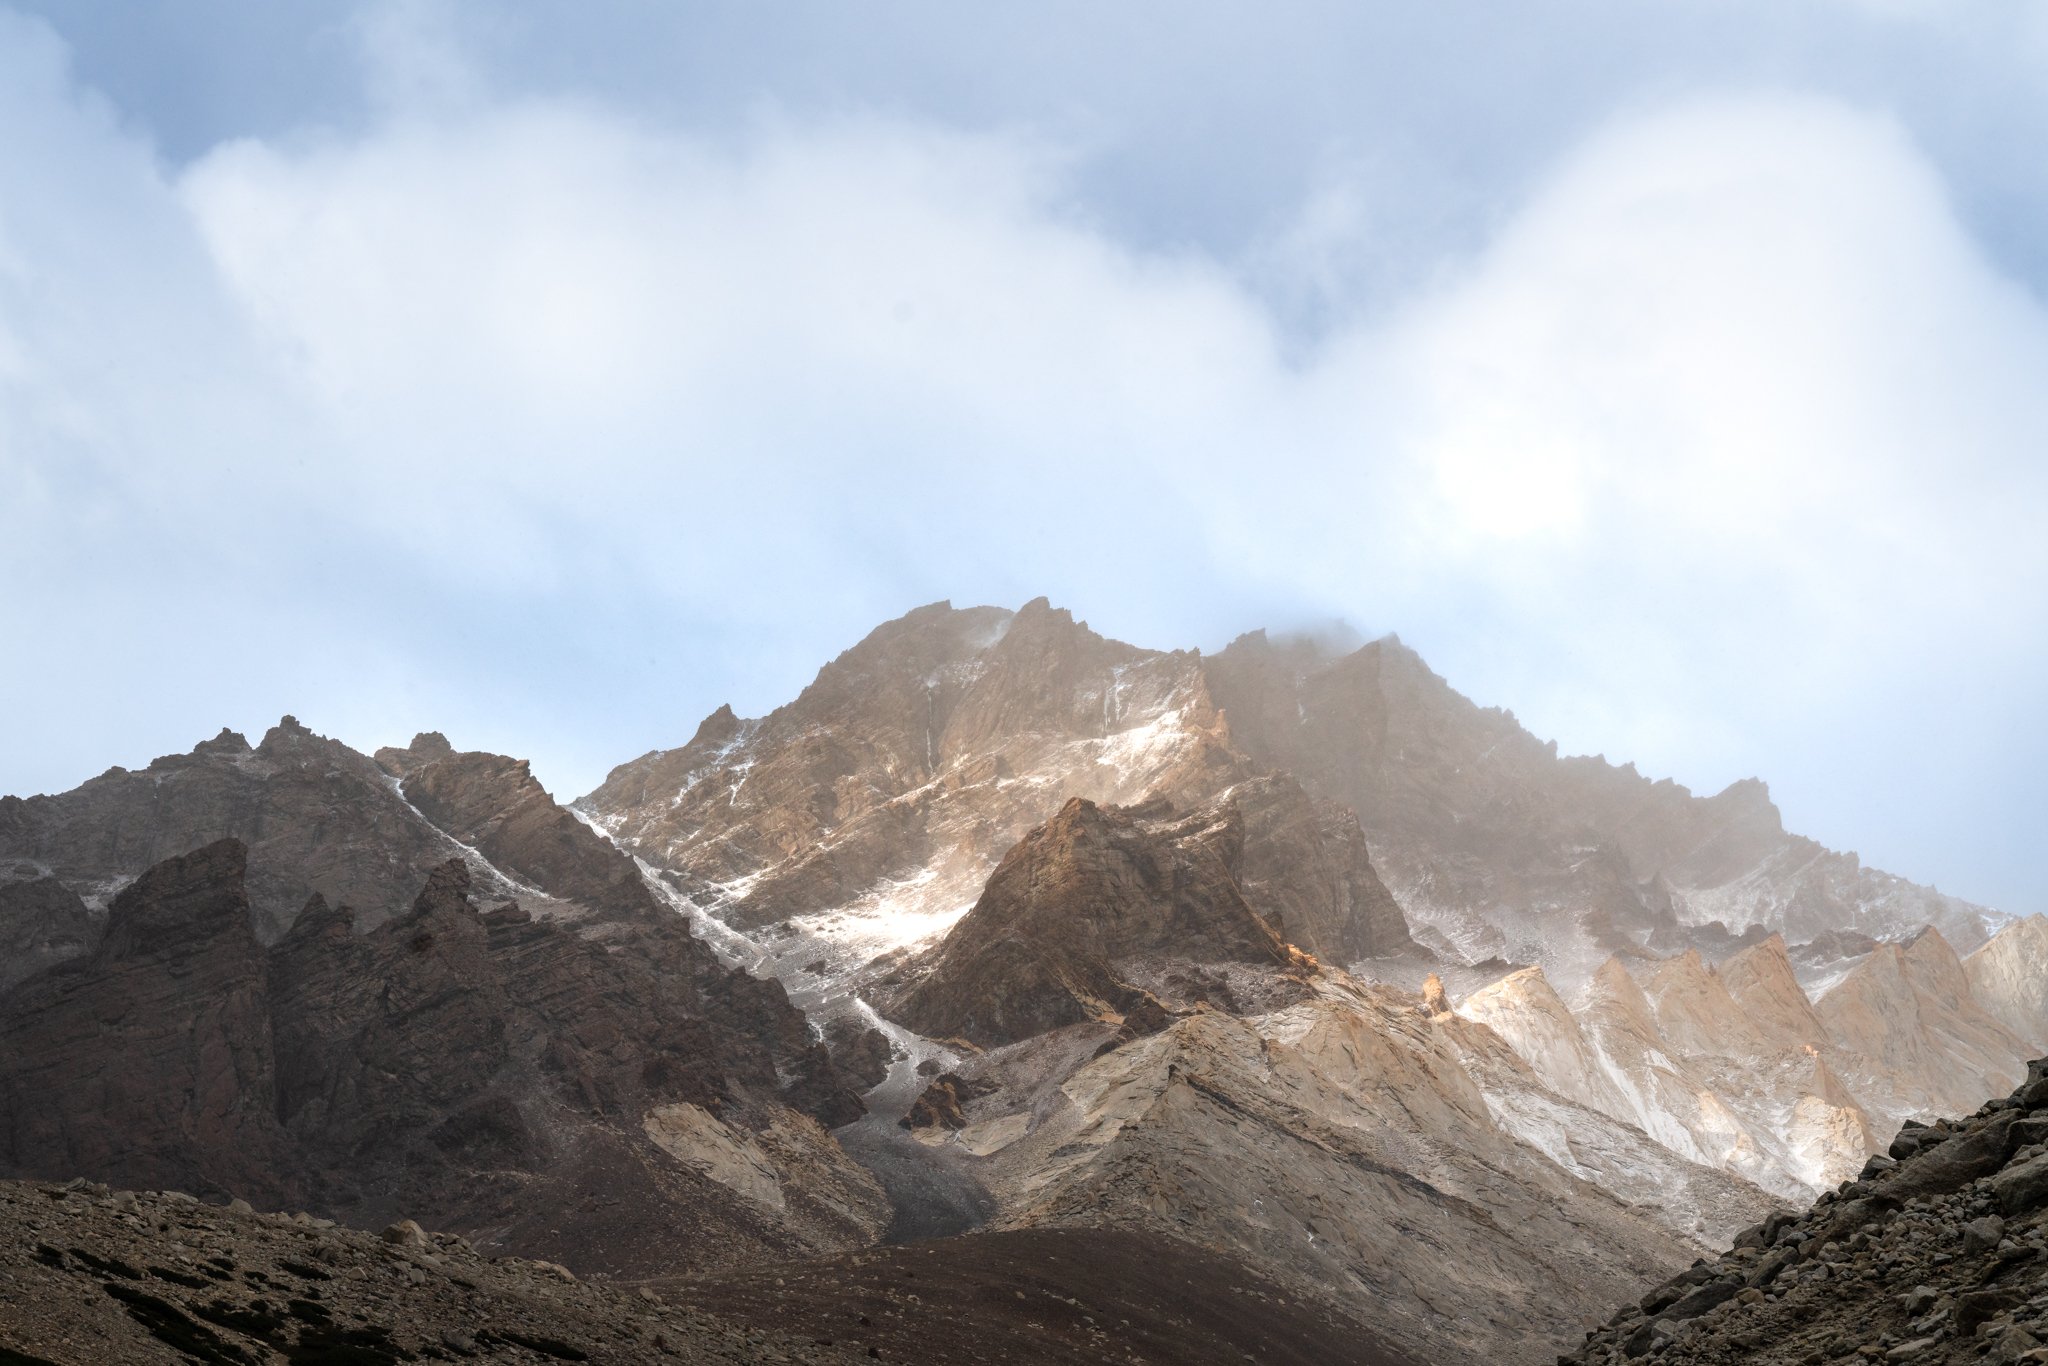
Spend one more night at Refugio Las Torres Norte or Refugio Las Torres Central, treat yourself to a well-earned night at Hotel Las Torres, or return to your other accommodation option.

If climbing up this last trek seems daunting, I’d recommend a unique and fun way to spend your last day in Torres del Paine National Park: by horseback riding up to Base Torres instead! Horseback riding has deep cultural roots in Patagonia, and one of the most memorable parts of my own trip was learning about Patagonian gaucho culture and traditions. For avid horseback riders, you can even try a traditional Patagonian saddle to see how it differs from what you are used to.
If you choose to hike on your own to Base Torres and still want to experience horseback riding in Patagonia, or want a shorter riding option, I can’t recommend this Airbnb horseback riding experience from Puerto Natales enough. It’s a 4 hour tour hosted by Lynn, who shared so much about the area and gaucho culture – I even got to try traditionally made Yerba Mate. And don’t worry – if your hike took up the full day, try this horseback ride tomorrow before your drive to Patagonian Argentina to fit in one last Chilean adventure!

Day 5: Travel from Patagonian Chile to Patagonian Argentina
After all that hiking, today’s travel day is a brief respite (at least for your legs!), as you will be leaving Chile behind and heading north to experience the Argentinian side of Patagonia; El Chalten.
There are a few different options to reach Argentina from Chile: driving yourself, taking a bus, going with a tour, or flying. If you choose to fly, just head back to Puerto Natales and fly from there to Comandante Armando Tola International Airport at El Calafate (FTE), and from there either drive or take a bus about 2+ hours to El Chalten.
I would highly recommend saving money on the flight and driving yourself or at least taking the bus – the views are INCREDIBLE! Depending on where you leave from, the drive will take about 5-6 hours to reach El Chalten, so make sure to pack a lunch as there is not much on the road in between and FILL UP YOUR GAS in advance! Note: if you choose to drive yourself, you will need special and ADVANCE permission from your rental car company, as they will need to prepare forms for the border crossing – so as soon as you book your car, let the company know.

Whether you drive or take the bus, expect to stop at the border crossing to present your passport. If you drove, you will be required to show your rental car documents along with the extra forms the rental car company will complete, and your license, along with your passport.
When you arrive in El Chalten, get settled into your accommodation. If you need rental gear, you can visit BajoZero, Camping Center, or Viento Oeste. I would highly recommend at least grabbing trekking poles again for the next few days of hiking!
This evening, rest up for an early morning hike. El Chalten is a pretty small town, and many of the hikes are accessible by foot just from town! So as long as you stay within El Chalten, you likely won’t need a rental car for the next few days, but you can also take a taxi if you need. If you flew in, the bus stop for El Chalten is right in town so it makes it super easy to get to your accommodation from there.

Day 6: El Chalten Trekking: Laguna de Los Tres
On your first day in Patagonian Argentina, you will start your week with the toughest but most jaw-droppingly beautiful hike in El Chalten: Laguna de Los Tres. It will be a grueling 13.7 miles out-and-back, via the Monte Fitz Roy Trail, with an elevation gain of 3503 feet – but after hiking difficult trails in Torres del Paine you are no stranger to a challenge!
Laguna de Los Tres is one of the most ICONIC trails in all of Argentina, and you’ll be rewarded with stunning views of the Los Tres Glacier, Cerro Madsen, and most excitingly, Mount Fitz Roy.
You can also try the El Pilar variation to Laguna de Los Tres; which is 13.1 miles point to point, with an elevation gain of 3,274 feet. For this variation, you’ll need to take a taxi or drive to the trailhead, which is about 10.56 miles away from El Chalten – and then return on foot or arrange transport once more back to El Chalten from where you end the hike (which is NOT the same as the beginning!). On this route, you’ll have an easier, less steep start, and you’ll get a chance to see Rio Valley, Blanco, the Piedras Blancas viewpoint, the Fitz Roy and Glaciers viewpoint, all of which you miss out on if you do the Monte Fitz Roy trail.
Whichever you pick, you are sure to have the most INCREDIBLE views of the lagoon with Mount Fitz Roy towering overhead. There is, however, always the chance you could get clouded out so always make sure you check the weather before beginning your hike!

Day 7: El Chalten Trekking: Mirador Los Condores & Chorrillo de Salto
Today you’ll slow down after the big hike yesterday and do some shorter hikes around the area to stretch out sore muscles. I’d recommend Mirador Los Condores, which is an easy 1.6 mile out-and-back hike, with just a 426 foot elevation gain to see beautiful Mt Fitz Roy views – probably one of the easiest hikes to see views like this!
After Mirador Los Condores, grab an early lunch or head out on another hike. I’d recommend Chorrillo de Salto, which is a 4.1 mile out-and-back, 456 foot elevation gain hike to a waterfall. Want to skip the hike altogether? If you have a rental car or call a taxi, you can actually drive to a parking lot only 1,640 feet from the falls.
If you’re feeling good and want a bit more of a challenge, try Laguna Capri, a 5.9 mile out-and-back trail with 1,410 foot elevation gain, to reach Mirador Rio De Las Vueltas – a viewpoint overlooking a stunning river valley – before viewing the lagoon itself, along with beautiful views of Fitz Roy Massif.

Day 8: El Chalten Trekking: Laguna Torre
For your last full day hike in Patagonia, get an early start and head to the trailhead at the end of Los Charitos Street in El Chalten for Laguna Torre (Torre Lagoon). Laguna Torre is a challenging 10.9 mile out-and-back hike with 1,643 foot elevation gain. The trail winds through Fitz Roy Valley, and has multiple panoramic viewpoints; Cerro Solo, Cordon Adela, Cerro Torre, and of course, a view of Mount Fitz Roy.
When you’ve completed your hike, grab a delicious dinner in El Chalten – you deserve it after all this hiking! Rest up tonight and prep for either a relax day or a travel day for Day 9.

Day 9: Travel south back to Chile OR have a final relax day in El Chalten
This is your final exploration day in Patagonia; and you have a few options. You can head south back to Chile in the morning today, spend the afternoon walking around and shopping in Puerto Natales, and fly home on Day 10, OR you can spend one last day to relax and enjoy the restaurants & shops of El Chalten, and do your entire trek home from Argentina to home on Day 10.
If you stay to relax in El Chalten, you should check out:
- Spa Yaten: spa and wellness center with beautiful views
- La Cerveceria: beer garden & brewery
- Local shops: Pueblo artesanal Etherh Aike, Krea Noe, Etnia Patagonia, and more
- Local restaurants: El Parador, Maffia Trattoria, Chaltenos (you MUST get alfajores, a local specialty cookie!), and more

If you explore Puerto Natales, I’d recommend checking out:
- La Costanera: the boardwalk along the water
- The Singular: a historical hotel
- Baguales or Basecamp: Puerto Natales’ first microbrewery
- Galpón Cultural Center: a small gallery and cafe
- Museo Histórico: small museum featuring local history about the indigenous populations and the early settlers in the region
- Local shops: Viento Oeste, Marcopolo Bookstore, and more
- Local restaurants: Cafe Kaiken, JAU Restaurant, Restaurant Y Pizzeria Alcazar, and more
Whatever you pick, you can’t go wrong! Splitting up the two travel days so it’s not all in one day is a great option, but so is having one day to just relax and take in Patagonia one last time. If you stay in El Chalten and don’t have a rental car to return, you could easily fly home via Argentina to save time heading back down to Chile. If you decide to head to Chile today, read on for Day 10 where I’ve detailed the entire process of returning back south.

Day 10: Say farewell to Patagonia and fly home
It’s your last day in Patagonia! I’m sure the trip will have FLOWN past and if you’re anything like me, you’re already thinking about when you can return!
If you’re already in Puerto Natales (or went all the way back to Punta Arenas), all you have to do today is jump on a flight this morning and head back home, likely via Santiago. It’ll be a long flight day so definitely head out as early as possible!
If you’re starting from El Chalten today, you’ll need to jump in your rental car or on the bus, and from there either head all the way back to either Puerto Natales or Punta Arenas in Chile, OR head right to the airport in El Calafate, which is the fastest option. From El Calafate, you can fly south back to Chile, or directly head back home via Buenos Aires, Argentina.
From El Chalten, driving back to Punta Arenas will be about 8.5 – 9.5 hours and to Puerto Natales it will be about 5.5 – 6.5 hours (and remember you’ll once more have to stop at the border to present your passport and any relevant documents you came through with).
From either Chilean airport (Presidente Carlos Ibáñez del Campo International Airport (PUQ) in Punta Arenas, or Teniente Julio Gallardo Airport (PNT) in Puerto Natales), you’ll likely fly back through Santiago, Chile, and from there you’ll make your way back home – it’ll be a VERY long travel day, but so worth it for this incredible South American adventure you’ve had!

Have a bit more time to spend in Patagonia?
Here are optional add-on adventures for
this trip or a future visit:
- Ushuaia and Tierra del Fuego: Ushuaia is the capital of Tierra del Fuego, the dramatic landscapes at the very southern tip of Chile and Argentina, famous for stunning coastal views and its colony of penguins (!)
- Perito Moreno Glacier: Patagonia’s most famous glacier, located in Argentina, that you can actually hike on! Only glaciers in Antarctica and Greenland are larger than Perito.
- Puma spotting in Torres del Paine: Torres del Paine National Park has the largest concentration of pumas in the entire world! Try a puma-tracking trip to see this elusive wild cat.
- Atacama Desert: the desert plateau in north Chile, famous for being driest nonpolar desert in the world. It’s filled with some of the most breathtaking sand and rock landscapes you will ever see!
- Carretera Austral: Chile’s Route 7 partially-paved 770-mile highway extending from Villa O’Higgins in the south to Puerto Montt in the north – perfect for road tripping to see glacial waterfalls, dolphins, marble caves, tropical plants, and more
- Antarctica: if you’re already headed to Ushuaia and have a deeper budget for this trip, Ushuaia is known as the “Gateway to Antarctica” and is the perfect start to your explorations of the most remote and striking continent on earth.
What about a 14 day Patagonia itinerary?
Here’s what I would recommend, based on the itinerary I shared above + extra days for a slower pace trip; there is SO much hiking in Patagonia it’s worth it to spend a few more days just to have rest days!
- Day 1: fly into Santiago, Chile. Optional: fly to Puerto Natales and pick up your rental car.
- Day 2: spend a day exploring either Santiago or Puerto Natales (whichever you chose for day 1), and get acclimated. If you spend the morning in Santiago, take a flight to Puerto Natales in the evening and drive up to Torres del Paine National Park.
- Day 3: begin your trekking day 1 in Torres del Paine National Park by either exploring the Grey Glacier on a boat tour and/or completing the Grey Glacier hike.
- Day 4: spend a full day hiking a portion of the W-Trek through Francis Valley to Frances Glacier Lookout OR do 1-3 shorter hikes I detailed in the itinerary above on Day 3.
- Day 5: take a well-earned day off – resting, relaxing, or having a low-key explore day in Puerto Natales.
- Day 6: enjoy your last full hike in Torres del Paine, hiking up to Mirador Base Torres.
- Day 7: take a horseback ride through the park or have a horseback ride experience in Puerto Natales to learn more about gaucho culture.
- Day 8: take the day to travel from Torres del Paine National Park in Chile to El Chalten in Argentina.
- Day 9: for your first trekking day in El Chalten, hike to Laguna de Los Tres.
- Day 10: Spend a second, shorter hiking day in El Chalten, to Mirador Los Condores, or take a longer hike to Laguna Capri.
- Day 11: take your second hard-earned day off hiking by exploring El Chalten, relaxing, or having a spa/massage day.
- Day 12: wrap up your El Chalten explorations by hiking Laguna Torre.
- Day 13: spend the day traveling from El Chalten all the way back to Puerto Natales. Rest up before your long flight home. Optional: have one last relax day in El Chalten, and on Day 14 fly home from Argentina instead of heading south to Chile.
- Day 14: take an early morning flight to Santiago (or Buenos Aires via El Calafate if you stayed in El Chalten), and fly home from there!
What about a 5 day Patagonia itinerary?
Personally, I think 5 days isn’t quite enough in Patagonia! But if you are pressed for time, I’d recommend picking EITHER Torres del Paine National Park in Chile OR El Chalten in Argentina and completing the hikes I recommended from the 10-day itinerary from whichever side of Patagonia you chose.
Patagonia was at the top of my bucket list for YEARS and I am so glad I had the chance to explore this breathtaking region. I hope you get the chance to try out this itinerary and see it for yourself! Let me know – did you find this guide helpful? If you have any questions about this 10 day Patagonia itinerary, if you tried it out and have feedback, or you have something else to share with me, let me know in the comments! I would love to hear from you.
Looking for Even More Patagonia Adventures?
Looking for even more to do in Patagonia? There are a ton of tours and adventures I am dying to try next time. Patagonia has sooo much more to be discovered – get ideas below:
More Tips to Help Plan
Your Patagonia Trip
✈️ Flights: find cheap deals using Skyscanner – this is what I used to find the best flights down to Chile!
🏠️ Accommodation: Easily compare prices, reviews, locations, and more with Booking.com – it’s how I personally find my budget-friendly accommodation!
🚗 Transportation: For Patagonia, the best form of transportation to get around is to rent a car. Get the best prices and availability by using RentalCars.com!
📸 Tours: Explore Patagonia with GetYourGuide – my TOP go-to that has an incredible selection of tours!
📶 Connection: Always stay connected by using an ESim – and for that I cannot recommend Airalo enough! You’ll have access to data WITHOUT having to spend a ton on your at-home plan, change your number, or buy a physical sim.
🗺️ Travel insurance: NEVER travel without insurance! Here’s why. I recommend World Nomads for adventure travel as it covers a lot of high-risk sports (like some of the adventures mentioned in this blog post!) and covers your gear too, or SafetyWing for longer trips as it’s less expensive for long-term and/or multi-country travel (and it’s especially great for digital nomads!).


More adventures

What to do in Barcelona: First Timer’s Guide to Spain’s Vibrant City
Your first-timer's guide to what to do in Barcelona – Gaudi's icons, hidden gems, and tips for the perfect trip to Spain's most vibrant city.Barcelona was the city that hooked me on Spain for good, and I still think about my first time seeing Gaudí's work;...

Learn Spanish in Barcelona with Expanish: Here’s My Honest Review of the Immersion Spanish School
Thinking about trying to learn Spanish in Barcelona? My honest Expanish Barcelona review covers the school, classes, cost, and if it's worth it.Most people take a holiday to relax and yet I ...? I took a holiday to do homework (!). This summer I spent two weeks in...

Hey I’m Rebecca!
I’m a travel & outdoors photographer, blogger, and content greator living in the US but you can find me adventuring around the globe! On this blog I share tips to help you improve your photography, inspiration and advice to explore the outdoors, destination guides, travel tips, and more to plan your own adventures!
Categories
Photography
Destinations
Travel
National Parks
Recent posts

Ultimate Lofoten Itinerary: 10 Days Road Tripping Under Norway’s Midnight Sun
Plan the ultimate Lofoten itinerary with this 10-day Lofoten road trip guide – epic hikes, fjord cruises, saunas, and midnight sun magic.If you've been dreaming about jagged granite peaks rising straight out of turquoise fjords, tiny red fishing cabins perched on...

Where to Stay in Santorini, Greece (My Honest Picks for Every Traveler)
Wondering where to stay in Santorini, Greece? Here are my honest picks for the best areas and hotels, from budget to luxury.Santorini has a way of making you feel like you have stepped into a postcard. The white-washed buildings, the blue domes, the caldera dropping...

15+ Unforgettable Things to Do in Santorini, Greece (That Aren’t Just Sunset in Oia!)
Explore the best things to do in Santorini beyond sunset in Oia — from volcanic hikes to black sand beaches, ancient ruins, & more from a 50+ country world traveler!Let's be honest — when most people picture Santorini, they picture one thing: a glass of wine in...


0 Comments