
Drone Photography for Beginners: 15 Simple Tips to Elevate Your Aerial Photography

Drone photography for beginners: these are the 15 stupid-simple drone photography tips that will take your images from basic to brilliant! Bonus: a quick start guide of what drone to buy for beginners, overall drone tips for beginners, and more!
As a travel photographer, my drone is one of my absolute favorite and go-to pieces of my photography gear that has completely changed my photography for the better. The aerial perspective you can get with a drone is unlike any other shot you could take, and it’s so fun to play with patterns, perspectives, and even self-portraits.
If you are a beginner to flying a drone, or even a novice drone pilot looking to improve your photos, this guide is for YOU! Drones don’t have to be daunting – you absolutely can jump in and quickly get good shots. Plus, recent drones have so many safety features that make them SO easy to fly – you’ll be taking epic travel photos in no time. Ready to fly? Let’s dive into my top tips for drone photography for beginners!
Disclaimer: This blog post may contain affiliate links, which means I get a small commission if you click the link and make a purchase – at no extra cost to you! I only share things I genuinely love and think my audience would love too! This is one of the ways I’m able to keep making these free resources and guides for you. Thank you so much for your continued support! Learn more about my affiliate policy here.

Quick Start Guide to Drone Photography
🚁 The best drone for beginners
Don’t have a drone yet? I currently have the DJI Mini Pro 3 and I would 100% recommend the DJI Mini Pro 4 for both beginners and for travel photographers – it has EVEN more safety features and upgrades that make this already all-around epic drone even better. This drone is lightweight (very easy to travel with!), easy-to-fly for beginners, and has insanely good quality photos and video capabilities.
🎒 The best drone gear for travel
Once you’ve got your drone and controller, there are a few drone accessories I’d recommend. I personally love this compact drone travel bag, and having this multi-port battery charger saves you the time and effort of individually charging each battery. For better photography, invest in these neutral density filters that allow you to take photos on bright days, and this circular polarizer filter that make midday- and water-drone photos pop.
I’d also highly recommend having a few spare batteries (I have at least 3 at all times) as well as multiple memory cards so you never run out of space. My top tip: every time you change a battery, change your memory card too – JUST IN CASE anything were to happen to your drone on your next flight, you at LEAST have your earlier photos and videos back safe in your bag. And speaking of just in case, grab these spare propellers – any time you see even a SLIGHT nick or bend in your propellers, it’s best to immediately swap out to a new pair for optimal performance.
✅️ Quick overall drone tips for beginners
1.) Before you start your flight, research local drone laws and regulations – here’s a great resource for where you can fly in the US. Apply for permissions if necessary, and ALWAYS double check when you arrive on location for any signs or updated information. Always respect the rules!
2.) Download helpful apps such as B4UFLY, DJI Fly, Air Control, and an advanced weather app that displays current conditions, including wind speeds.
3.) Make sure all your batteries are charged up before you go – I’d recommend making a quick pre-flight checklist so you never forget anything!
4.) Next, make sure your memory cards are cleared and loaded into the drone (after you’ve dumped and backed up your previous images & videos of course).
5.) For safe flights – take a moment to check what is around you and your drone. LOOK ABOVE YOUR HEAD from where the drone is taking off. Note any branches/trees/wires/buildings/etc. Once in the air, KNOW where your drone is in relation to everything around it and identify potential crash hazards so you can avoid them.
6.) Take a moment to update and set your return to home settings: what height it should return to home at (change this depending on obstacles in your current area and for wind speeds), and WHEN it should return to home (eg if your drone gets disconnected from your controller).
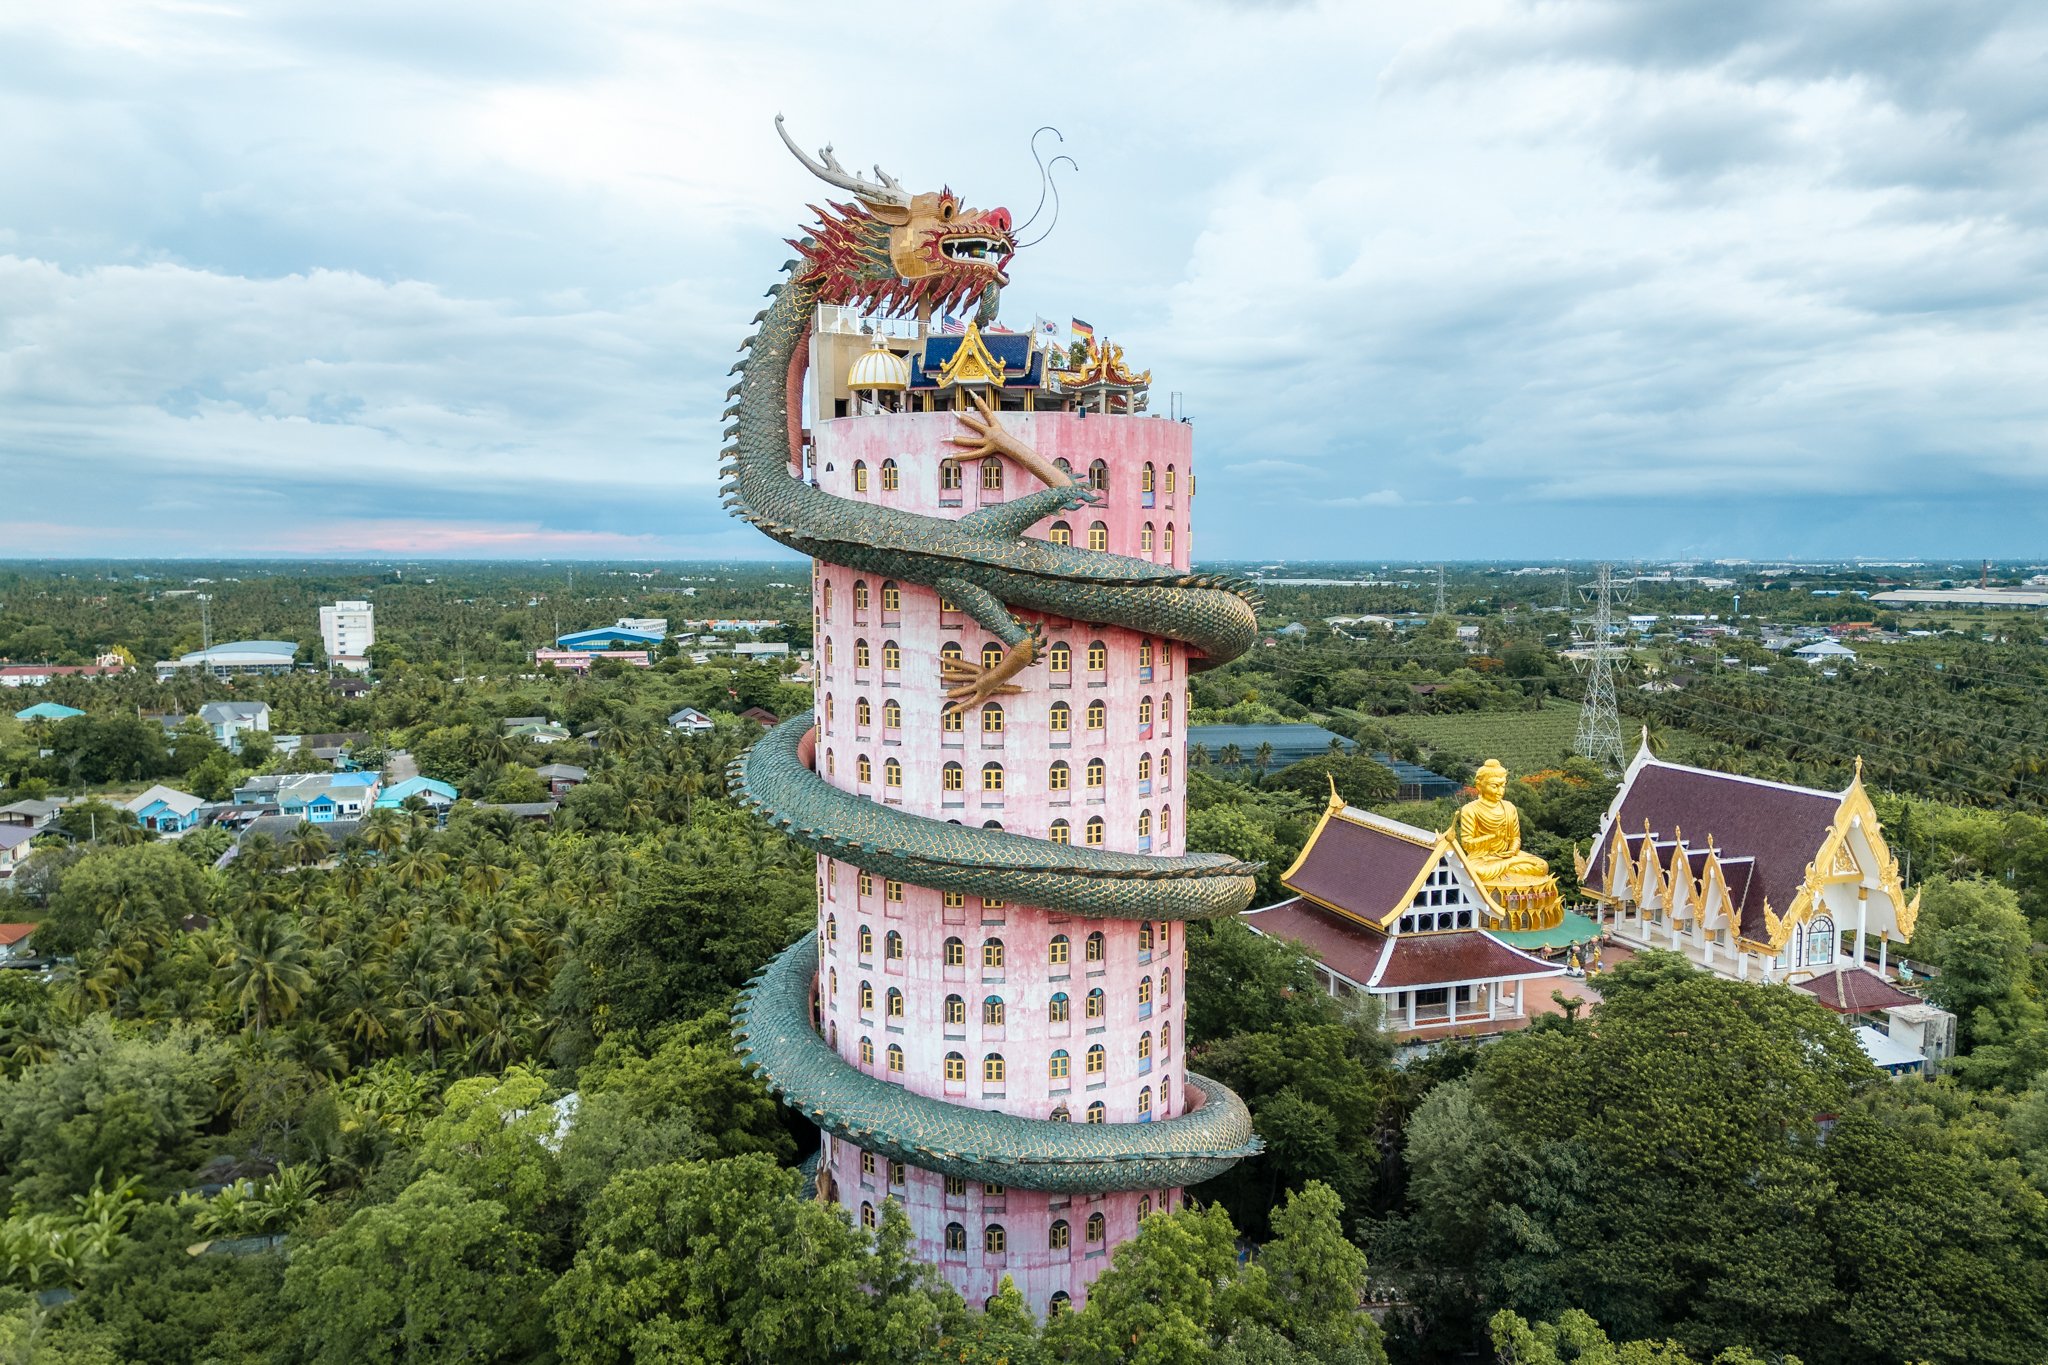
Drone Photography for Beginners: 15 Simple Tips to Elevate Your Aerial Photography
1. PRACTICE flying before taking your drone out on location
Your first drone is SO exciting – and all you want to do is go out and immediately FLY. But before you run off and accidentally crash your drone on your first try, make a plan to do your first flight somewhere with a lot of big open space with minimal crash hazards – an empty field is a great pick! Start HERE instead of starting at your photographic location of choice. Make sure you familiarize yourself with all the features, especially safety features.
Practice basic drone movements so you become familiar with the controls, and run through some mini flight drills. Get a feel for where your drone is by keeping it in sight, looking at the controller, and looking at where it is in relation to other objects. Once you’ve mastered all of this, you are ready to start taking photos!
2. Use Google Earth to find compositions BEFORE you fly
Okay, I know I said you’re ready to go, BUT if I can give you one last pre-flight tip – it’s to open Google Earth or Google maps and start figuring out compositions and photos you might like to take BEFORE you fly. This way, you SAVE BATTERY life – once on location you already know the image you want to take instead of wasting time searching for what kind of photo to take.
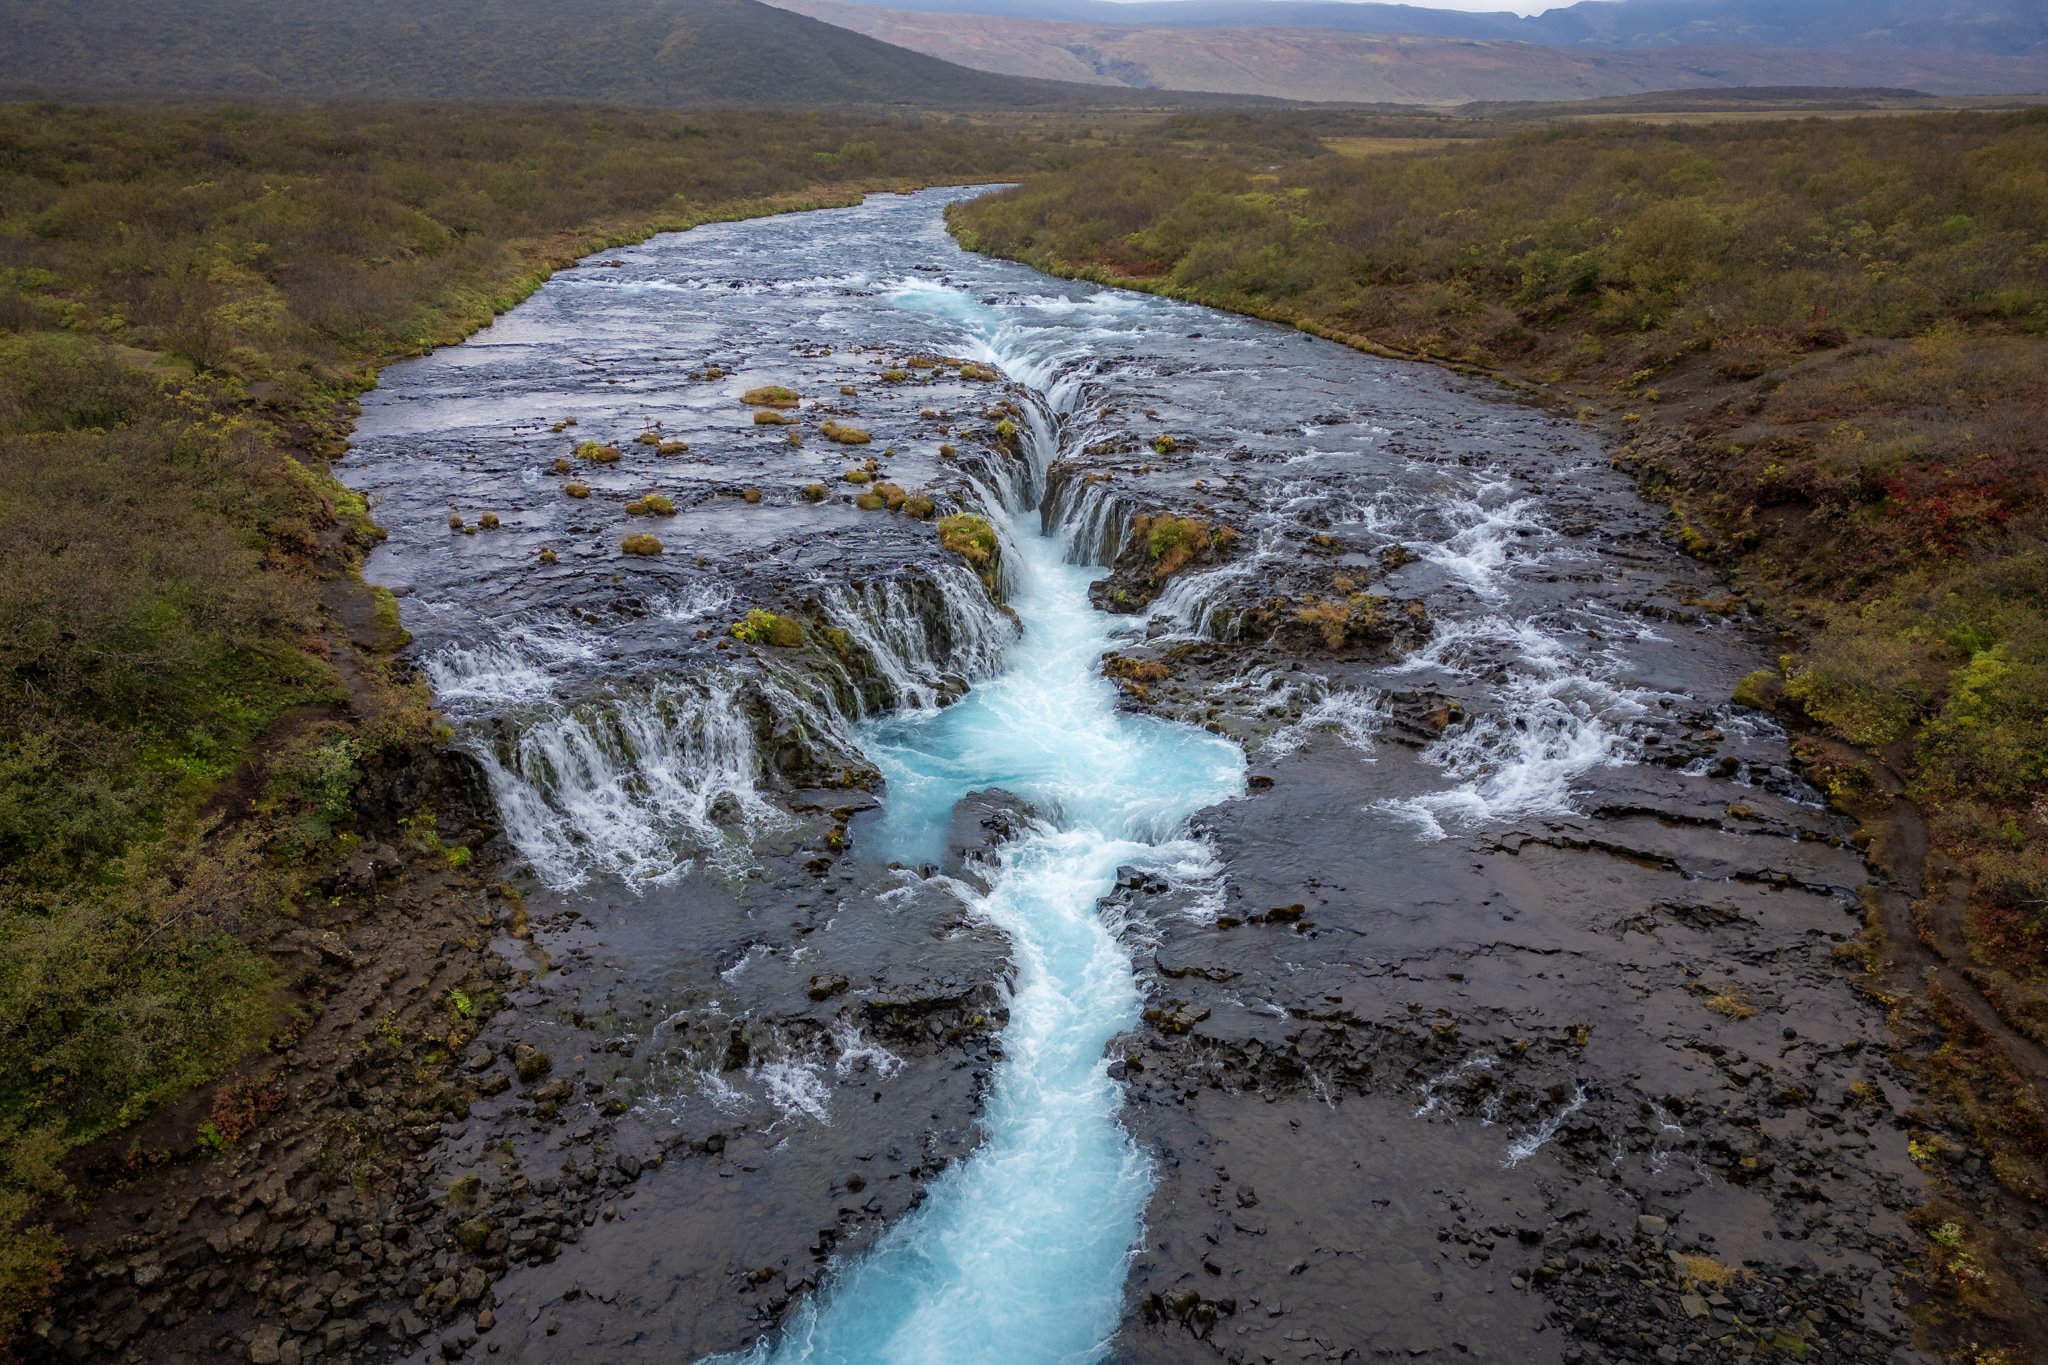
3. Always shoot images in RAW
There are a few options of what kind of files your images take – and my personal favorite is to have the drone save images in both JPG + RAW. The JPGs are great for quick social media shares with minimal edits, and the RAW files are MUCH larger image files that record much more data & details than JPG files, allowing you a greater flexibility and ability to edit your images. Details in the shadows are so easily lost, and RAW files can help you recover that – versus JPG where you’re pretty much out of luck.
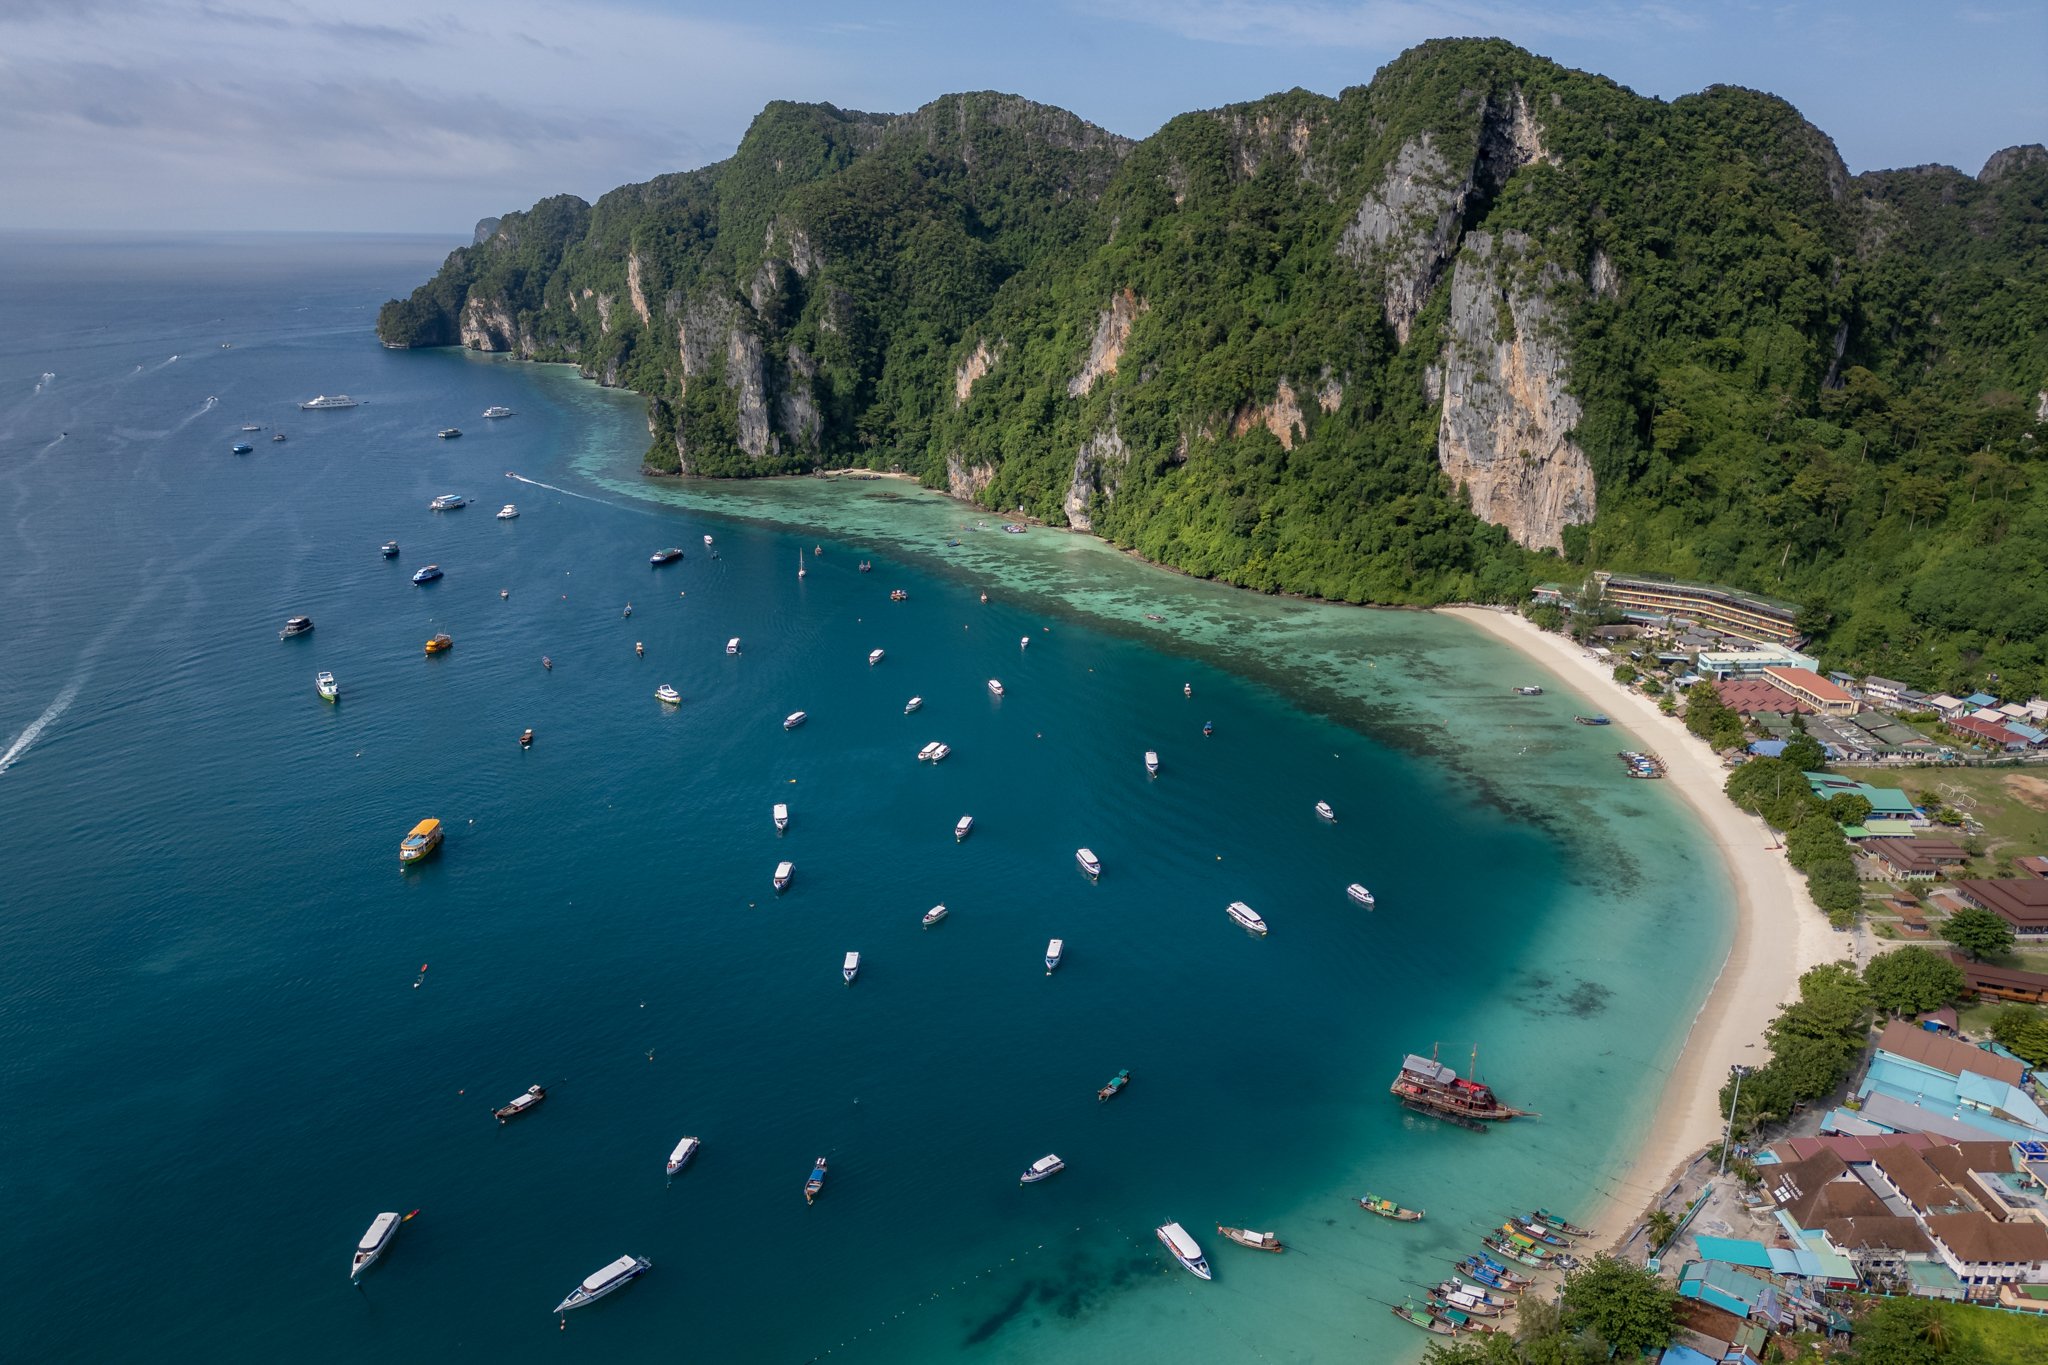
4. Start taking drone photographs on auto mode so you can focus on flying first
5. When you feel more confident, switch to Pro mode to have full control of the shot
Once you’ve got a feel for flying and have a couple practice flights under your belt, switch your drone photograph settings from auto to Pro mode. This will give you full control of the shutter speed, ISO, and white balance settings (aperture is fixed, however). Use the controller screen to see real-time feedback of how changing these settings affect your shot. Aim to keep your ISO as low as possible to reduce grain in your image, and make sure your drone is hovering still for any longer shutter speeds. At this point, it’s a great idea to have the histogram enabled to see how your highlights and shadows are doing (pre-flight: learn how to read a histogram!).
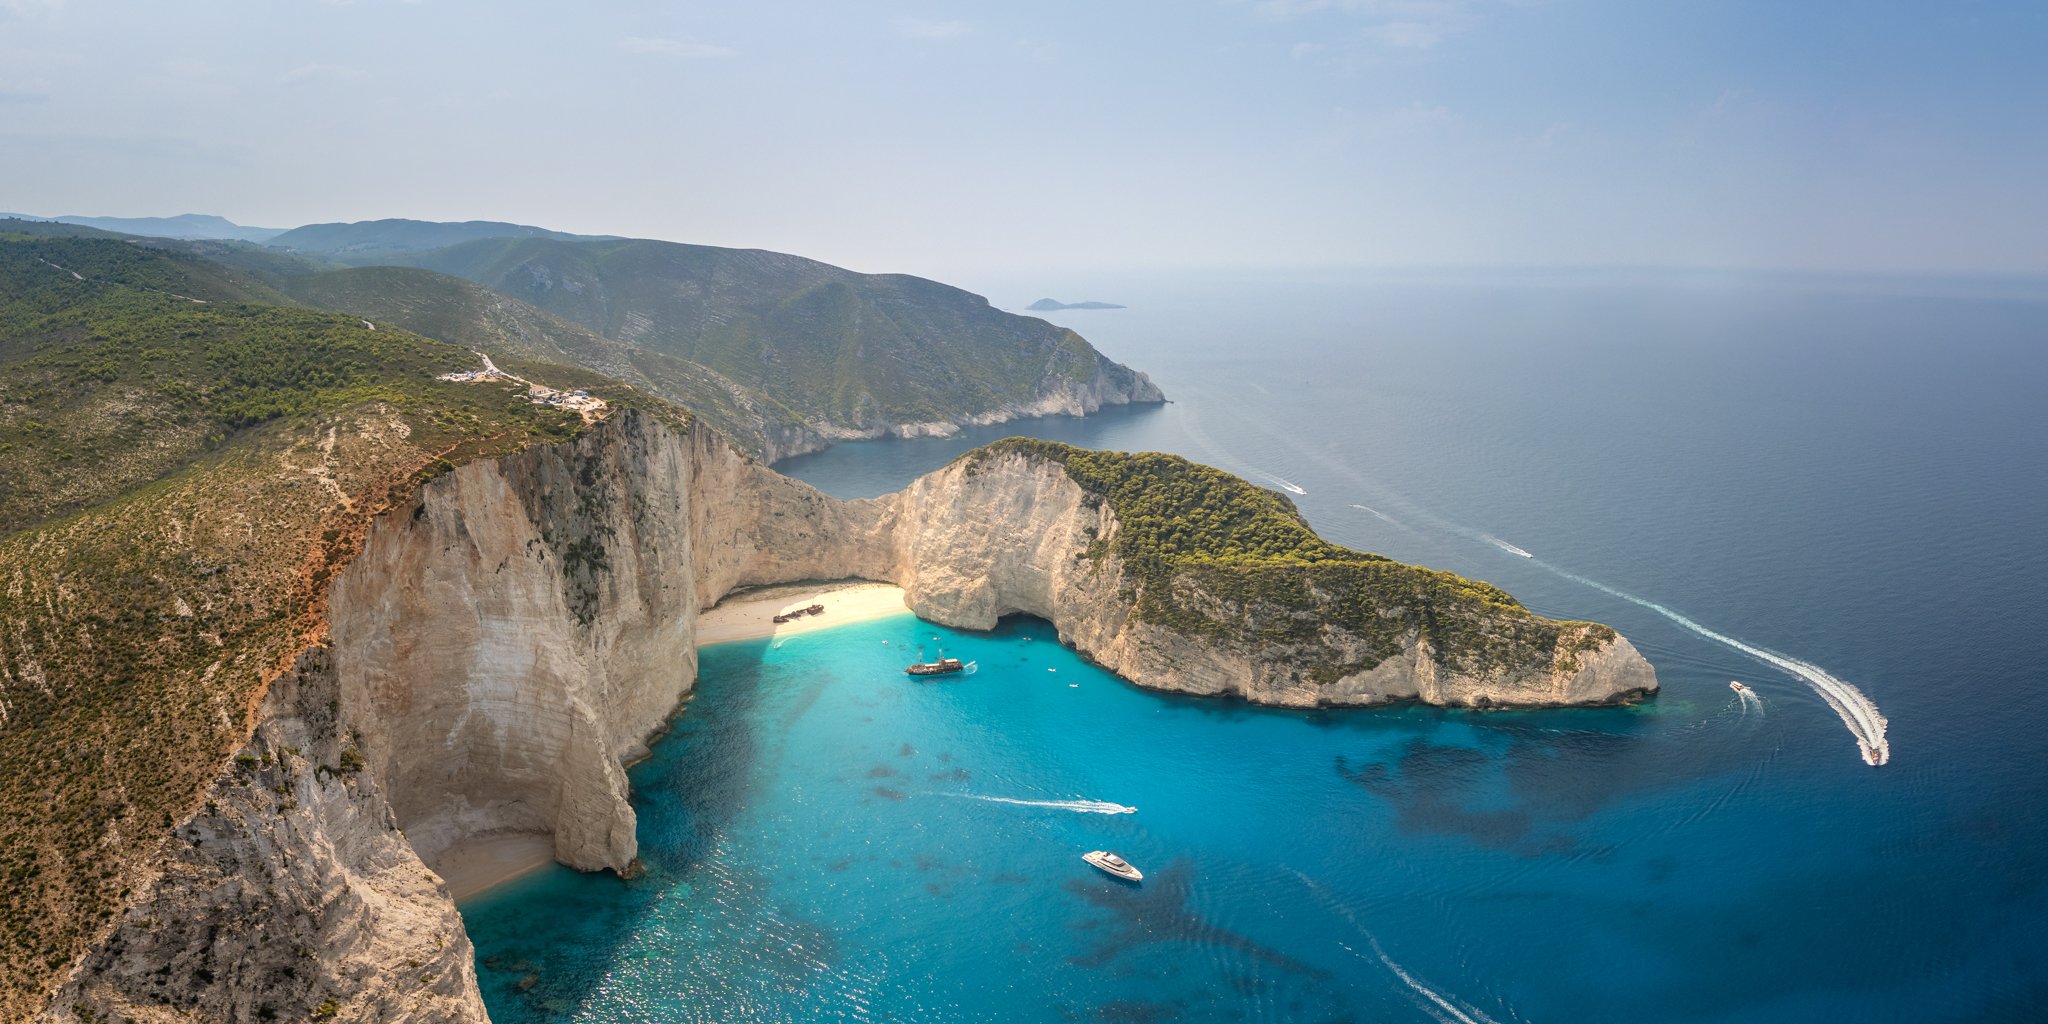
6. Utilize features such as panorama mode and AEB to get even more epic captures
I have NEVER regretted taking a panoramic drone shot – it is truly epic! Don’t forget to check out and utilize other photo settings. Just remember panoramas can take a bit of battery – but you can still fly the drone while the image is processing once the drone has taken all the required shots. I’d recommend waiting for the panorama to finish, check the image itself, and move the drone afterward in case you need to change up the shot.
If the scene you’re shooting has a high dynamic range (very bright areas mixed with very dark areas, such as a sunset), use the AEB, or automatic bracketing mode – this will take multiple photos at different exposures, allowing you to combine them in post-processing.
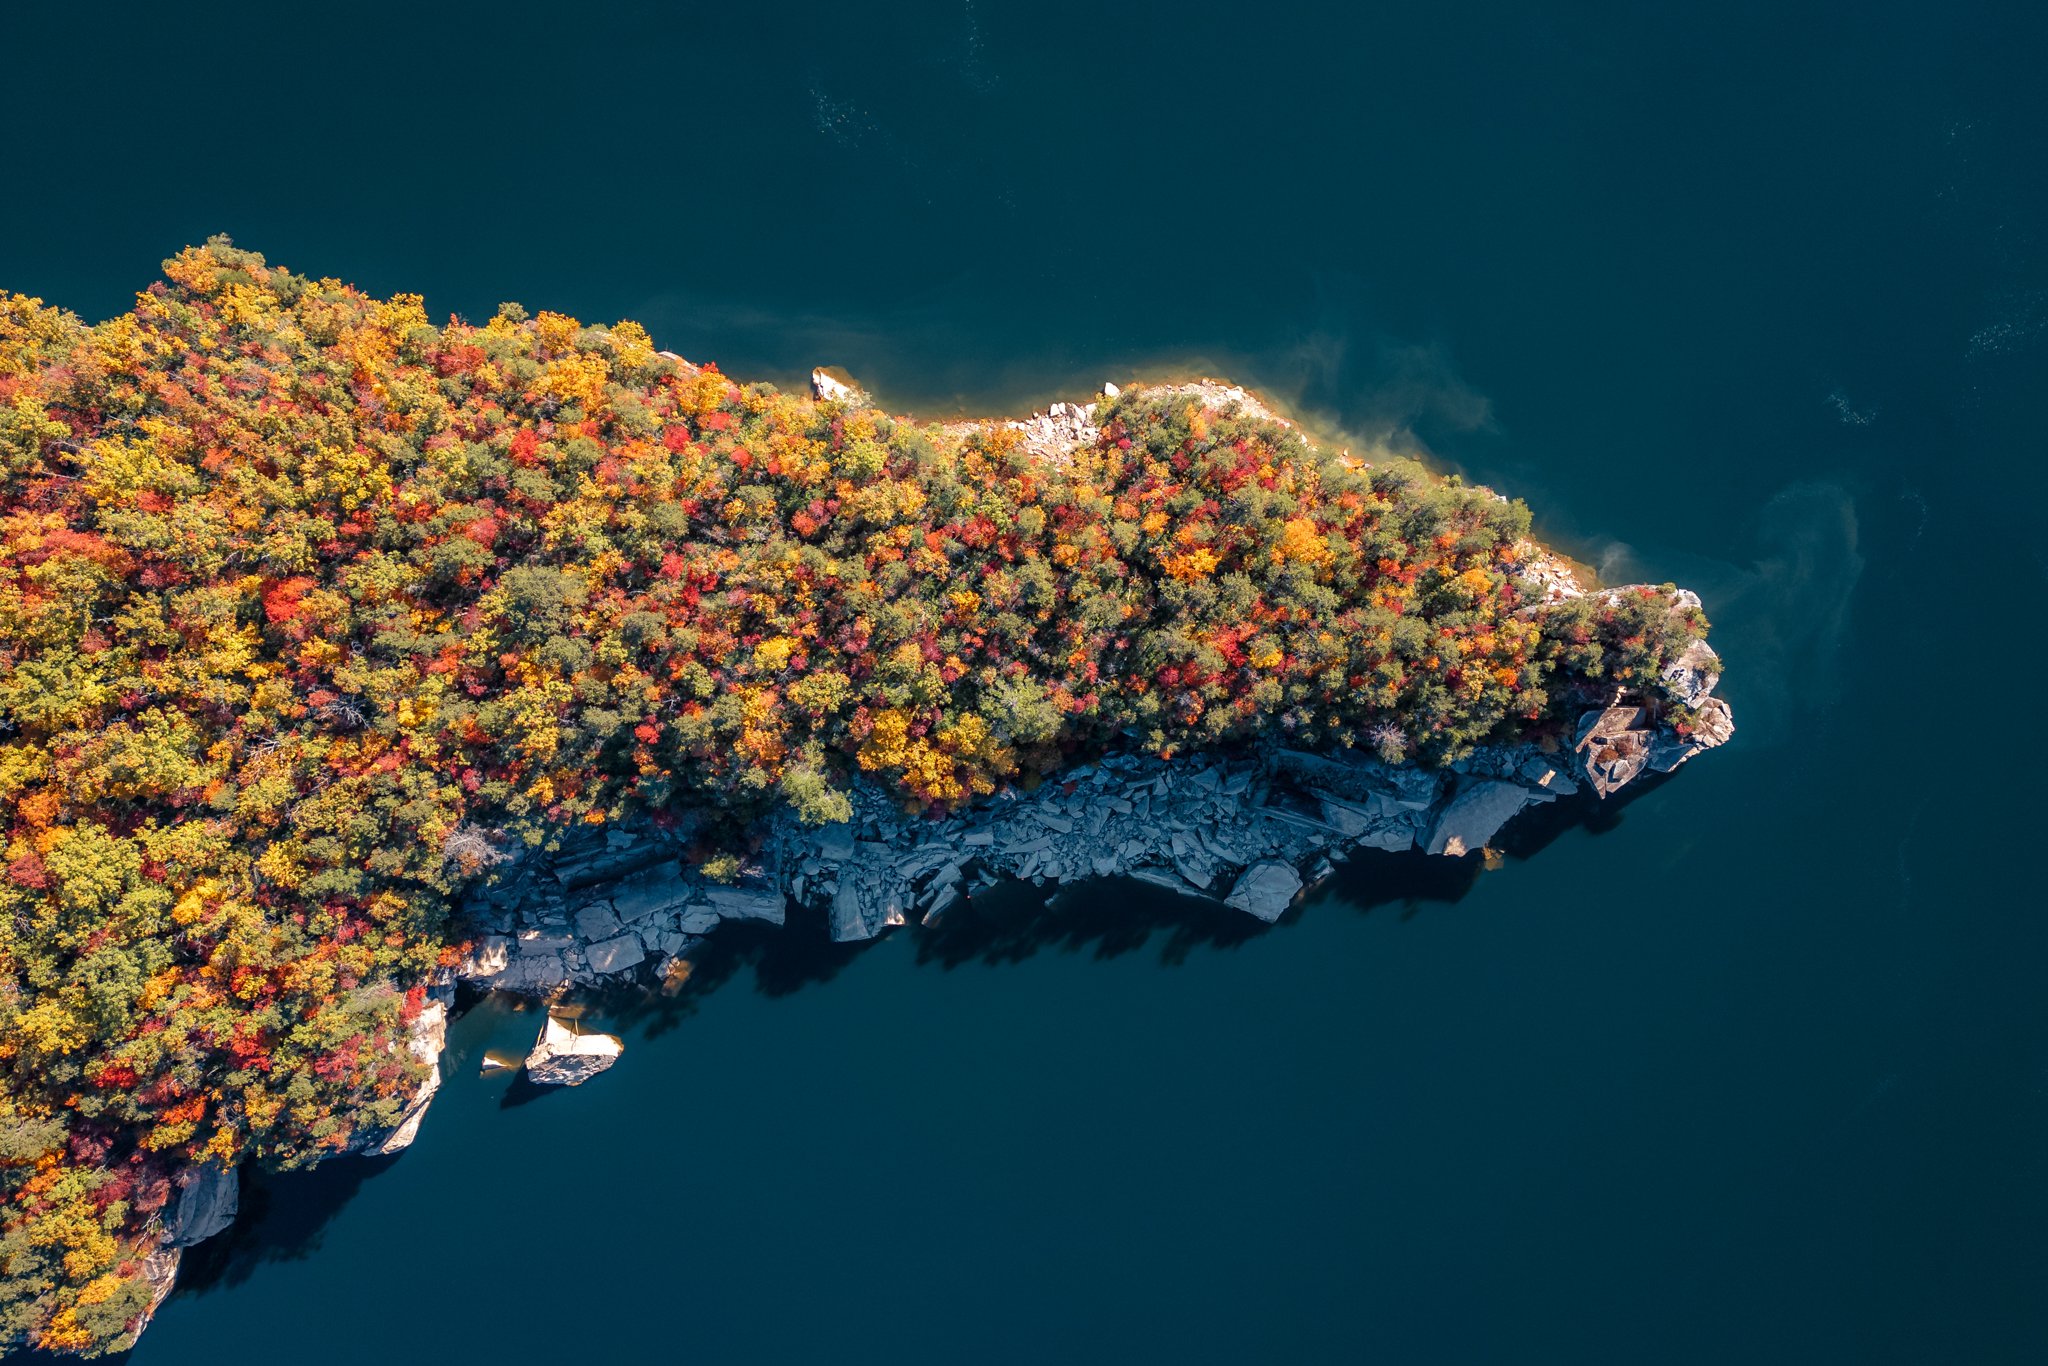
7. Get at least one top-down shot – this is what makes drone photography so unique!

8. Play with distance, height, and gimbal camera angles
Experiment with multiple shots – you might expect to like one view better and then realize a different perspective or angle was actually a better photograph! Play with taking drone photos low to the ground vs high up, a top-down shot vs an angled shot, a vertical vs horizontal image, and so on.
What Drone to Buy: My Recommendation
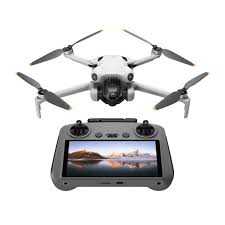
You can’t go wrong with the DJI Mini 4 Pro – it’s lightweight (read: VERY easy to travel with so you’ll use it MORE), easy-to-fly for beginners (with TOP of the line safety features) and yet has professional-level quality photos and video capabilities.
9. Avoid getting tunnel vision!
Which brings me to my next piece of advice – don’t get stuck on just ONE composition and lose battery when you could have taken even more shots. Make sure to turn your drone 180 degrees (fully around) at LEAST once – you never know what was right beh

10. Fly at different times of day and seek out the best light
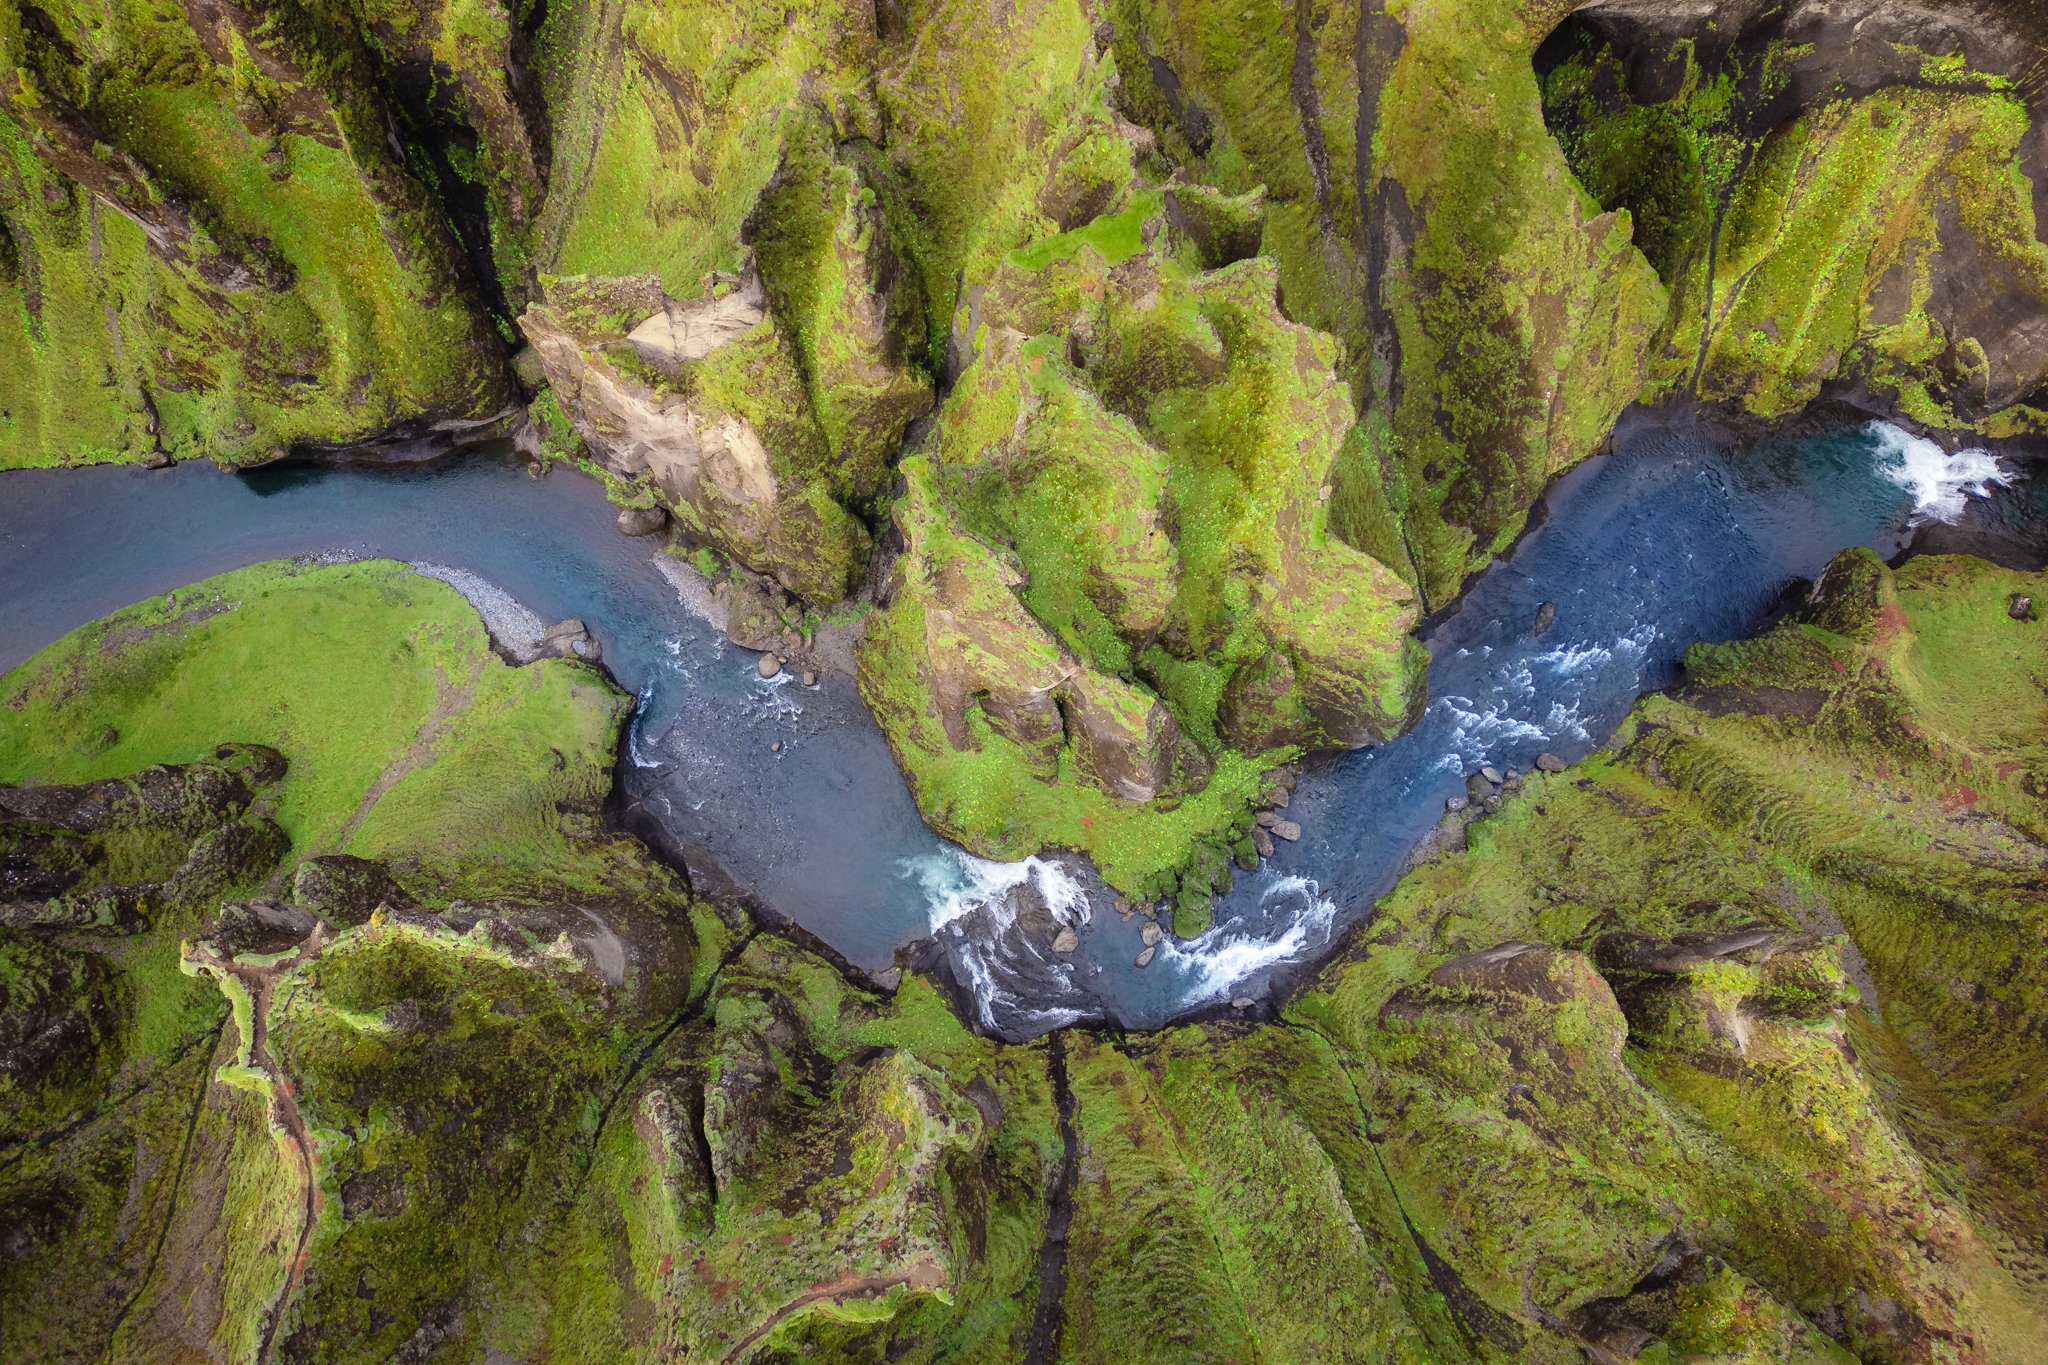
11. Experiment with lines, patterns, & geometry
Epic landscapes are fantastic images, but some of my favorite drone shots are ones that play with lines, patterns, or geometry. Leading lines are strong compositional tools that make for a great shot, and patterns capture the brain in such a satisfying way. Don’t be afraid of abstract shots!
12. Learn and utilize compositional tools like the rule of thirds
What works for everyday photography also works for drone photography! Learn different compositional techniques and tools and try them out on your next shoot. The rule of thirds is a popular technique for getting captivating images, and it helps you break out of the mold of always centering your subject. But once you’ve learned the “rules”, don’t be afraid to break them too – photography is subjective, after all.
Read this next!
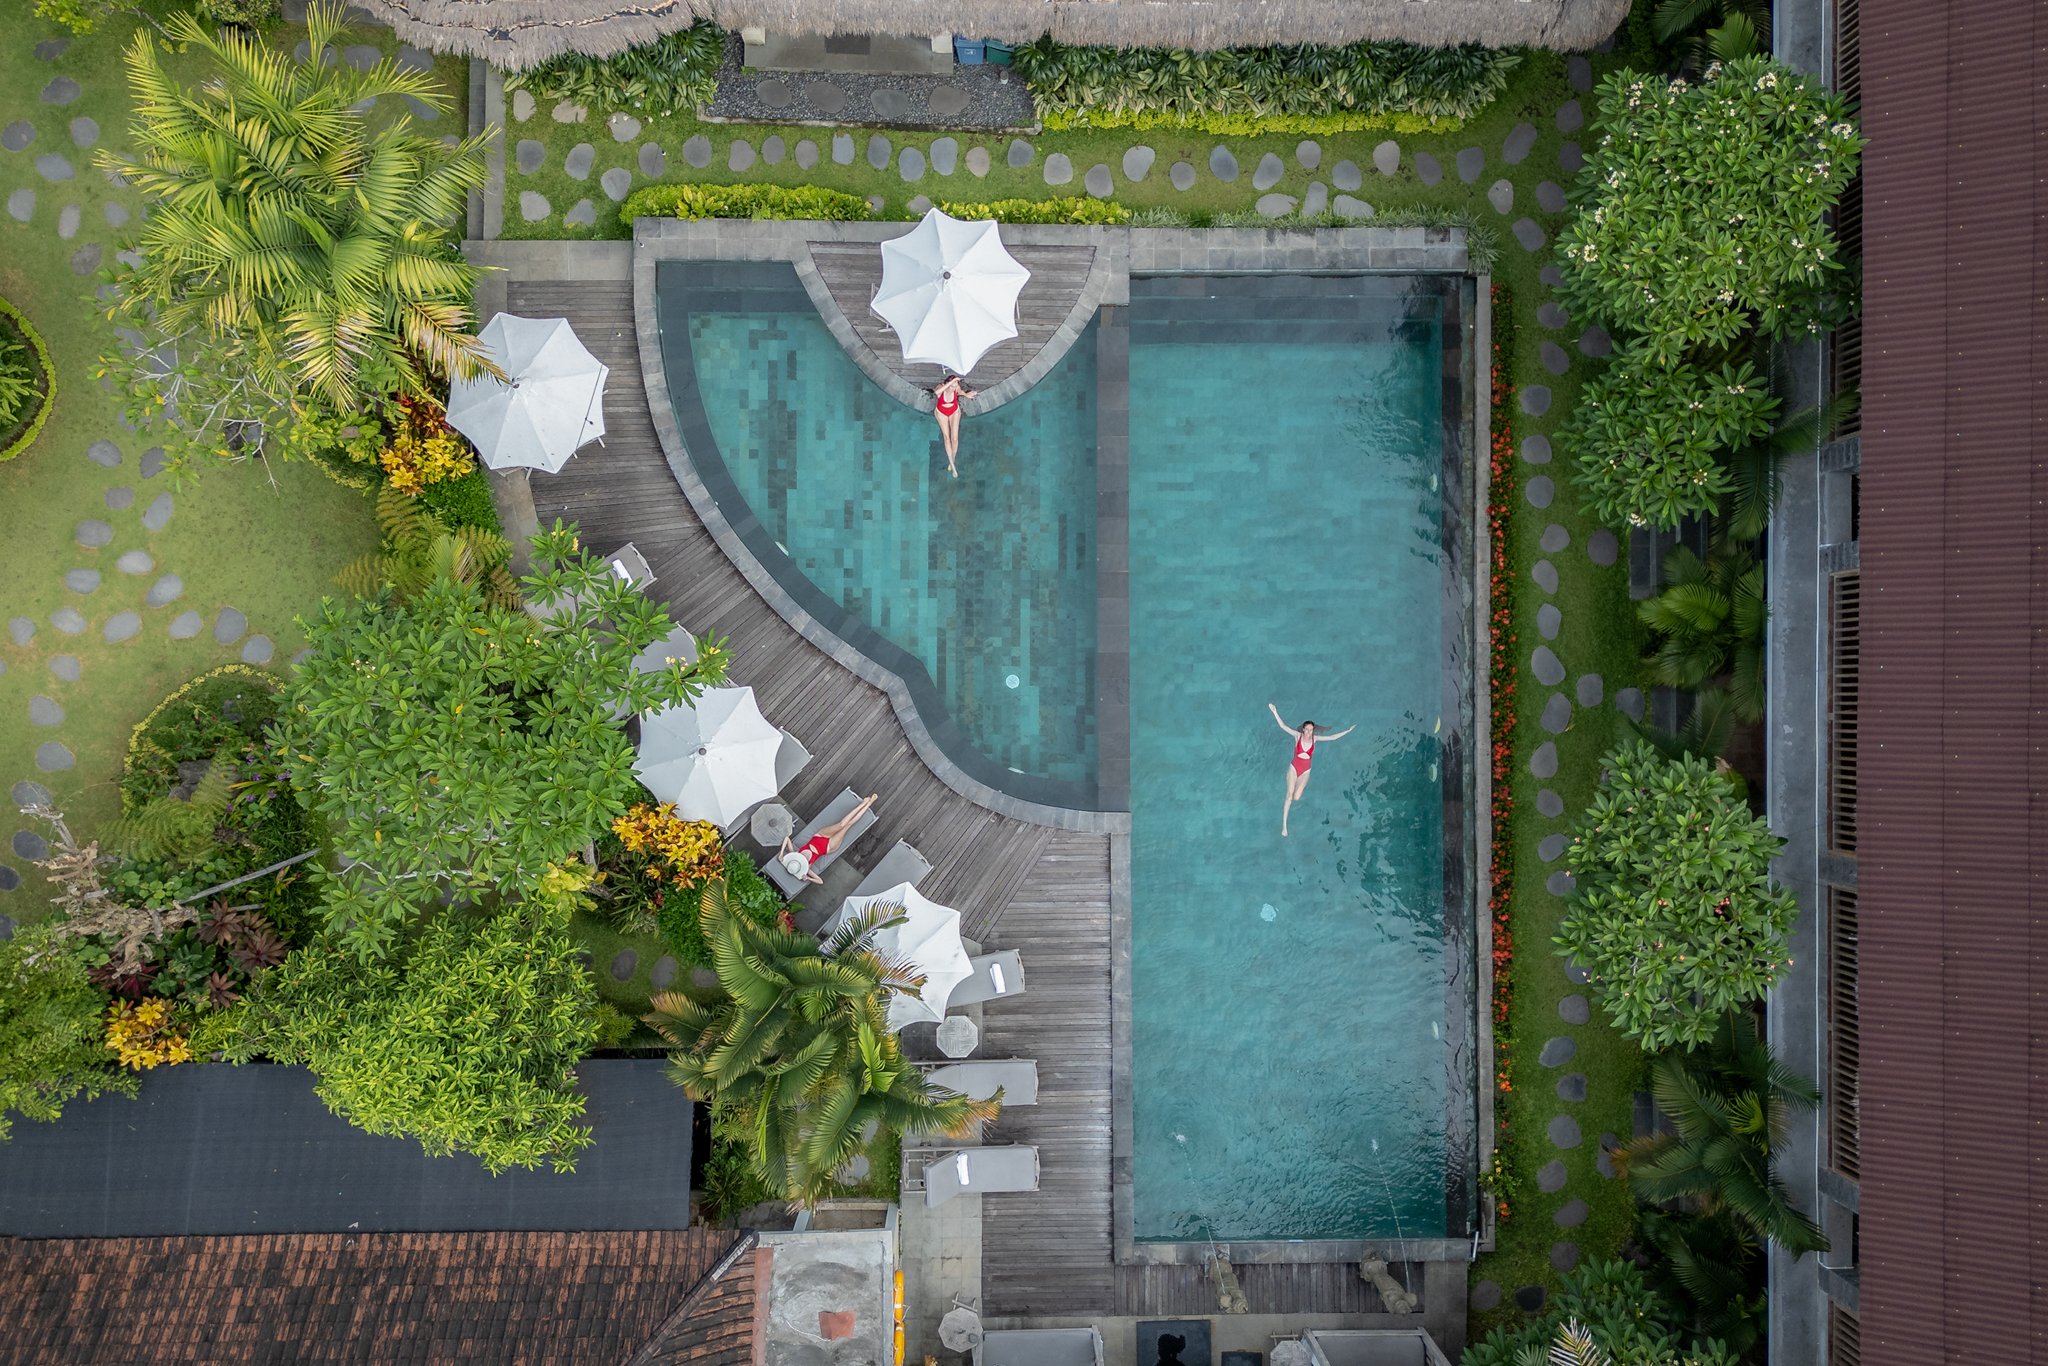
13. Don’t forget to try out portraits! Use the interval mode to get photos of yourself without the drone controller

14. Try using polarizing filters and/or ND filters
Did you know you could do long-exposure drone photography? If you want an image of a silky-smooth waterfall, you’ll need a high-stop ND filter – this will darken the exposure enough to allow you to drop the shutter speed to slow enough to blur out the water. Polarizing filters are fantastic for shots involving water – the ocean, rivers, and more – as they remove glare and intensify colors.
15. Work on developing your editing skills
No photograph is complete without a bit of editing! Since you already followed tip #3 about always shooting in RAW, you’ll have a larger image file packed full of pixel data to work with. RAW images can often look a bit dull or flat to begin with, but don’t worry – editing will bring out all the amazing colors and detail you originally saw on the controller screen. Developing your editing skills and later your personal editing style is a HUGE part of learning how to take epic drone photos, so experiment with editing, play around, and learn as you go to improve your skills.
I hope you found these drone photography tips for beginners helpful! Do you have a drone yet? Does this post make you want one? Comment below with any questions you have about drone photography!


More adventures

Best London Christmas Markets & Tips for Visiting London at Christmas
Twinkling chalets, steaming cups of mulled wine, and Tower Bridge glowing in the background – here's everything you need to know about the London England Christmas markets!If there's one city that does Christmas BIG, it's London. From the moment the first lights go up...

15 Best Places to See Fall Foliage in West Virginia That You Can’t Miss (+ When to Go)
Planning a leaf-peeping trip to West Virginia? Here are the 15 best places to see fall foliage in West Virginia – plus exactly when to go, where to stay and how to get around!I've traveled to nearly 50 countries, and I can tell you with total confidence – fall foliage...

Hey I’m Rebecca!
I’m a travel & outdoors photographer, blogger, and content greator living in the US but you can find me adventuring around the globe! On this blog I share tips to help you improve your photography, inspiration and advice to explore the outdoors, destination guides, travel tips, and more to plan your own adventures!
Categories
Photography
Destinations
Travel
National Parks
Recent posts

12 Festive Things to Do in London at Christmas: Best Lights, Trees, Activities, and More
Twinkling lights, giant Christmas trees, ice skating, and festive afternoon tea – here are the best things to do in London at Christmas!If there's one city that does Christmas BIG, it's London. From the glowing angels floating above Regent Street to the wrapped-up...
Best London Christmas Markets & Tips for Visiting London at Christmas
Twinkling chalets, steaming cups of mulled wine, and Tower Bridge glowing in the background – here's everything you need to know about the London England Christmas markets!If there's one city that does Christmas BIG, it's London. From the moment the first lights go up...
15 Best Places to See Fall Foliage in West Virginia That You Can’t Miss (+ When to Go)
Planning a leaf-peeping trip to West Virginia? Here are the 15 best places to see fall foliage in West Virginia – plus exactly when to go, where to stay and how to get around!I've traveled to nearly 50 countries, and I can tell you with total confidence – fall foliage...


0 Comments