
How to Photograph the Northern Lights: Tips & Camera Settings for the Aurora Borealis

Learning how to photograph the Northern Lights is not as difficult as you might think! This guide tells you everything you need to know to photograph the Aurora from camera settings, composition, tips, & more.
Seeing the Northern Lights is a bucket list experience that you will never forget, and being able to photograph the Northern Lights to immortalize your memory of the Lights is TRULY a magical skill.
Although photographing the Aurora can feel highly technical and challenging, and certainly takes a fair bit of planning, when you get “the shot”, it is incredibly rewarding. And once you’ve captured it, you will likely find that photographing the Northern Lights was not as difficult as you initially expected. I know for me personally, when I captured the Northern Lights just once I was absolutely hooked, and couldn’t wait to get out to shoot them once again!
As a full-time, professional photographer & travel content creator, let me use my decade + of experience to help you take your bucket list shot of the Aurora. And as we reach a solar maximum, there is no better time to photograph the Aurora so let’s get started on how to photograph the Northern Lights!
Disclaimer: This blog post may contain affiliate links, which means I get a small commission if you click the link and make a purchase – at no extra cost to you! I only share things I genuinely love and think my audience would love too! This is one of the ways I’m able to keep making these free resources and guides for you. Thank you so much for your continued support! Learn more about my affiliate policy here.
What to Know About the Aurora Borealis
What is the Aurora Borealis?
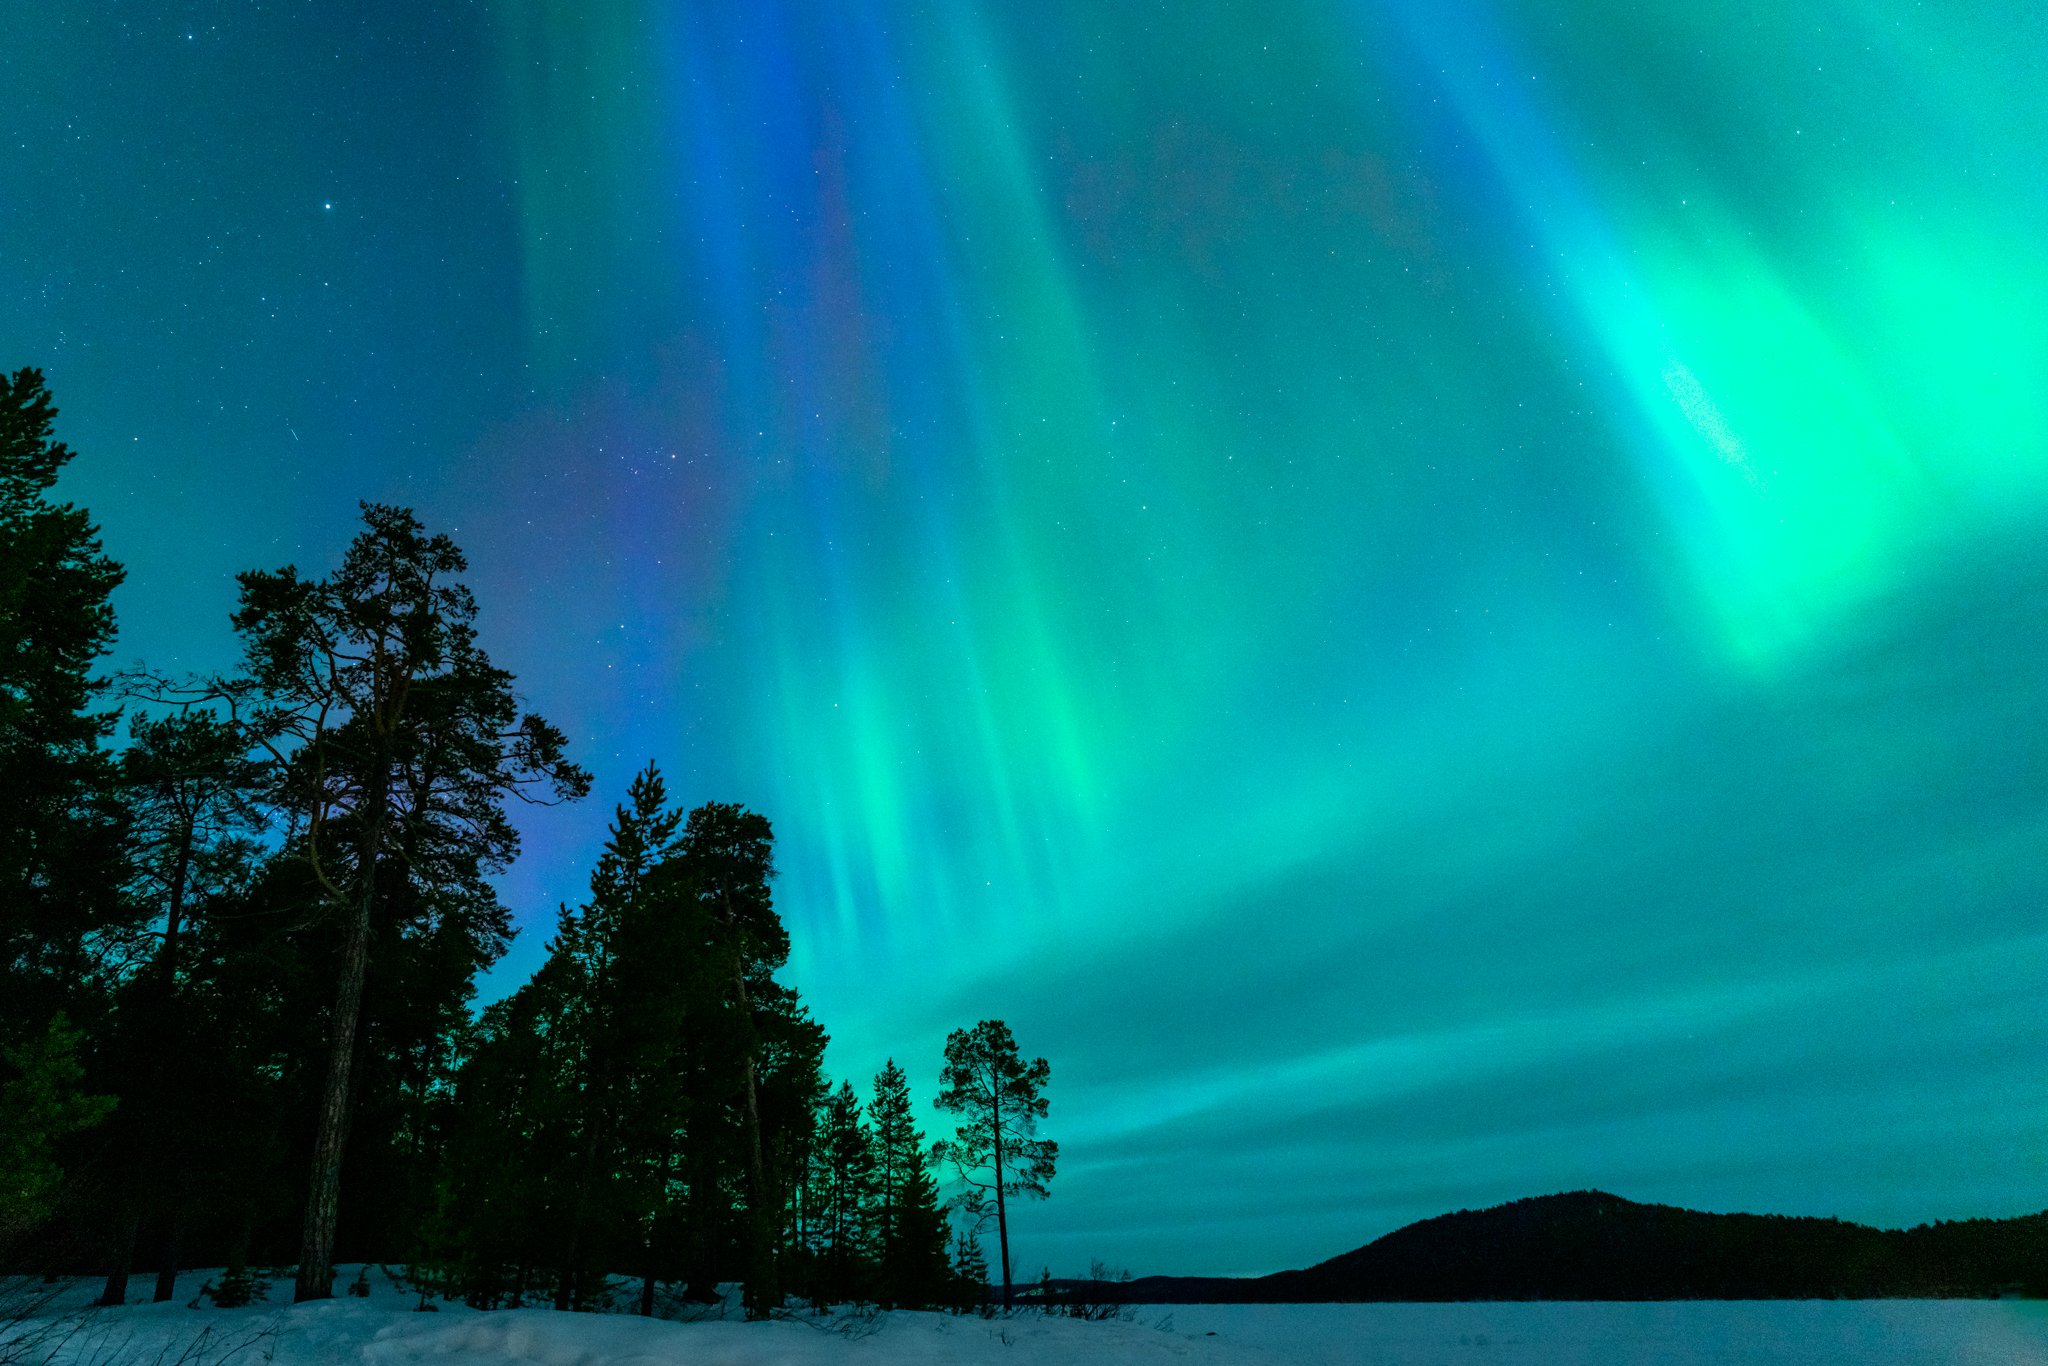
The Aurora Borealis is another name for the Northern Lights, which is a natural light phenomenon that occurs when charged particles from the sun collide with gases in the Earth’s atmosphere and release energy in the form of light.
Where can you see the Northern Lights?
The Aurora is most visible in an oval band around the poles in regions near the Arctic Circle; namely Scandinavia (Norway, Finland, and Sweden), Iceland, Greenland, northern Canada, and Alaska. In times of high solar activity, it is also possible to see the Northern Lights in parts of the US.
When can you see the Northern Lights?
The Northern Lights are the most visible during the winter months in the northern hemisphere, from September to March. They are also stronger and more frequent around the spring and autumn equinoxes, and during high periods of solar activity.
Where is the best place to photograph the Northern Lights?
Finnish Lapland, Swedish Lapland, northern Norway, Iceland, and Alaska will give you the best chance to see and photograph the Northern Lights.
What gear to use to photograph the Northern Lights?
A DSLR or mirrorless camera with a high resolution that can handle high ISO settings is the best camera to photograph with the Northern Lights. A full frame camera is especially ideal, as it will have a larger sensor and better ability to capture a high-quality image with lots of data to edit. However, with advances in phone technology, it is possible to photograph the Aurora with your phone camera as well.
Can you photograph the Northern Lights with a phone?
With recent technological advances, it is absolutely possible to photograph the Northern Lights with many of the latest models of Apple, Android, and other devices (tips on HOW to capture the Northern Lights with a phone are later in this post!).
How to Photograph the Northern Lights
Shoot in manual & in RAW
For the best possible Northern Lights images, it is best to shoot in manual mode. This way you will have full control of the aperture, shutter, speed, and ISO. And for the highest possible quality image with the most amount of detail to edit, I would recommend shooting in RAW.
Use a wide aperture & a wide lens
To photograph the Northern Lights, you will want to use a wide angle lens; something like a 12-24 mm or 18-35mm zoom lens, or a 12mm, 16mm, or 20mm prime lens. This will allow you to capture as much of the sky as possible, and also leave you room for a foreground if you want to include that in your composition.
You will also need to use a lens that you can shoot wide open; f/1.4, f/1.8, or f/2.8 is ideal to be able to let in the most amount of flight into your camera sensor. If your lens only goes down to f/4, you will still be able to capture the Aurora; you will just have to increase your ISO and shutter speed to compensate.
Use a tripod for stability
Because you’ll be using a long exposure to capture the Northern Lights, having a tripod is paramount for stability and sharp images. Make sure to invest in a quality tripod that can handle more than the combined weight of your camera and lens. A sturdy tripod can also help keep your camera stable and reduce vibrations from wind (which is common in the winter months!).
Play with your shutter speed
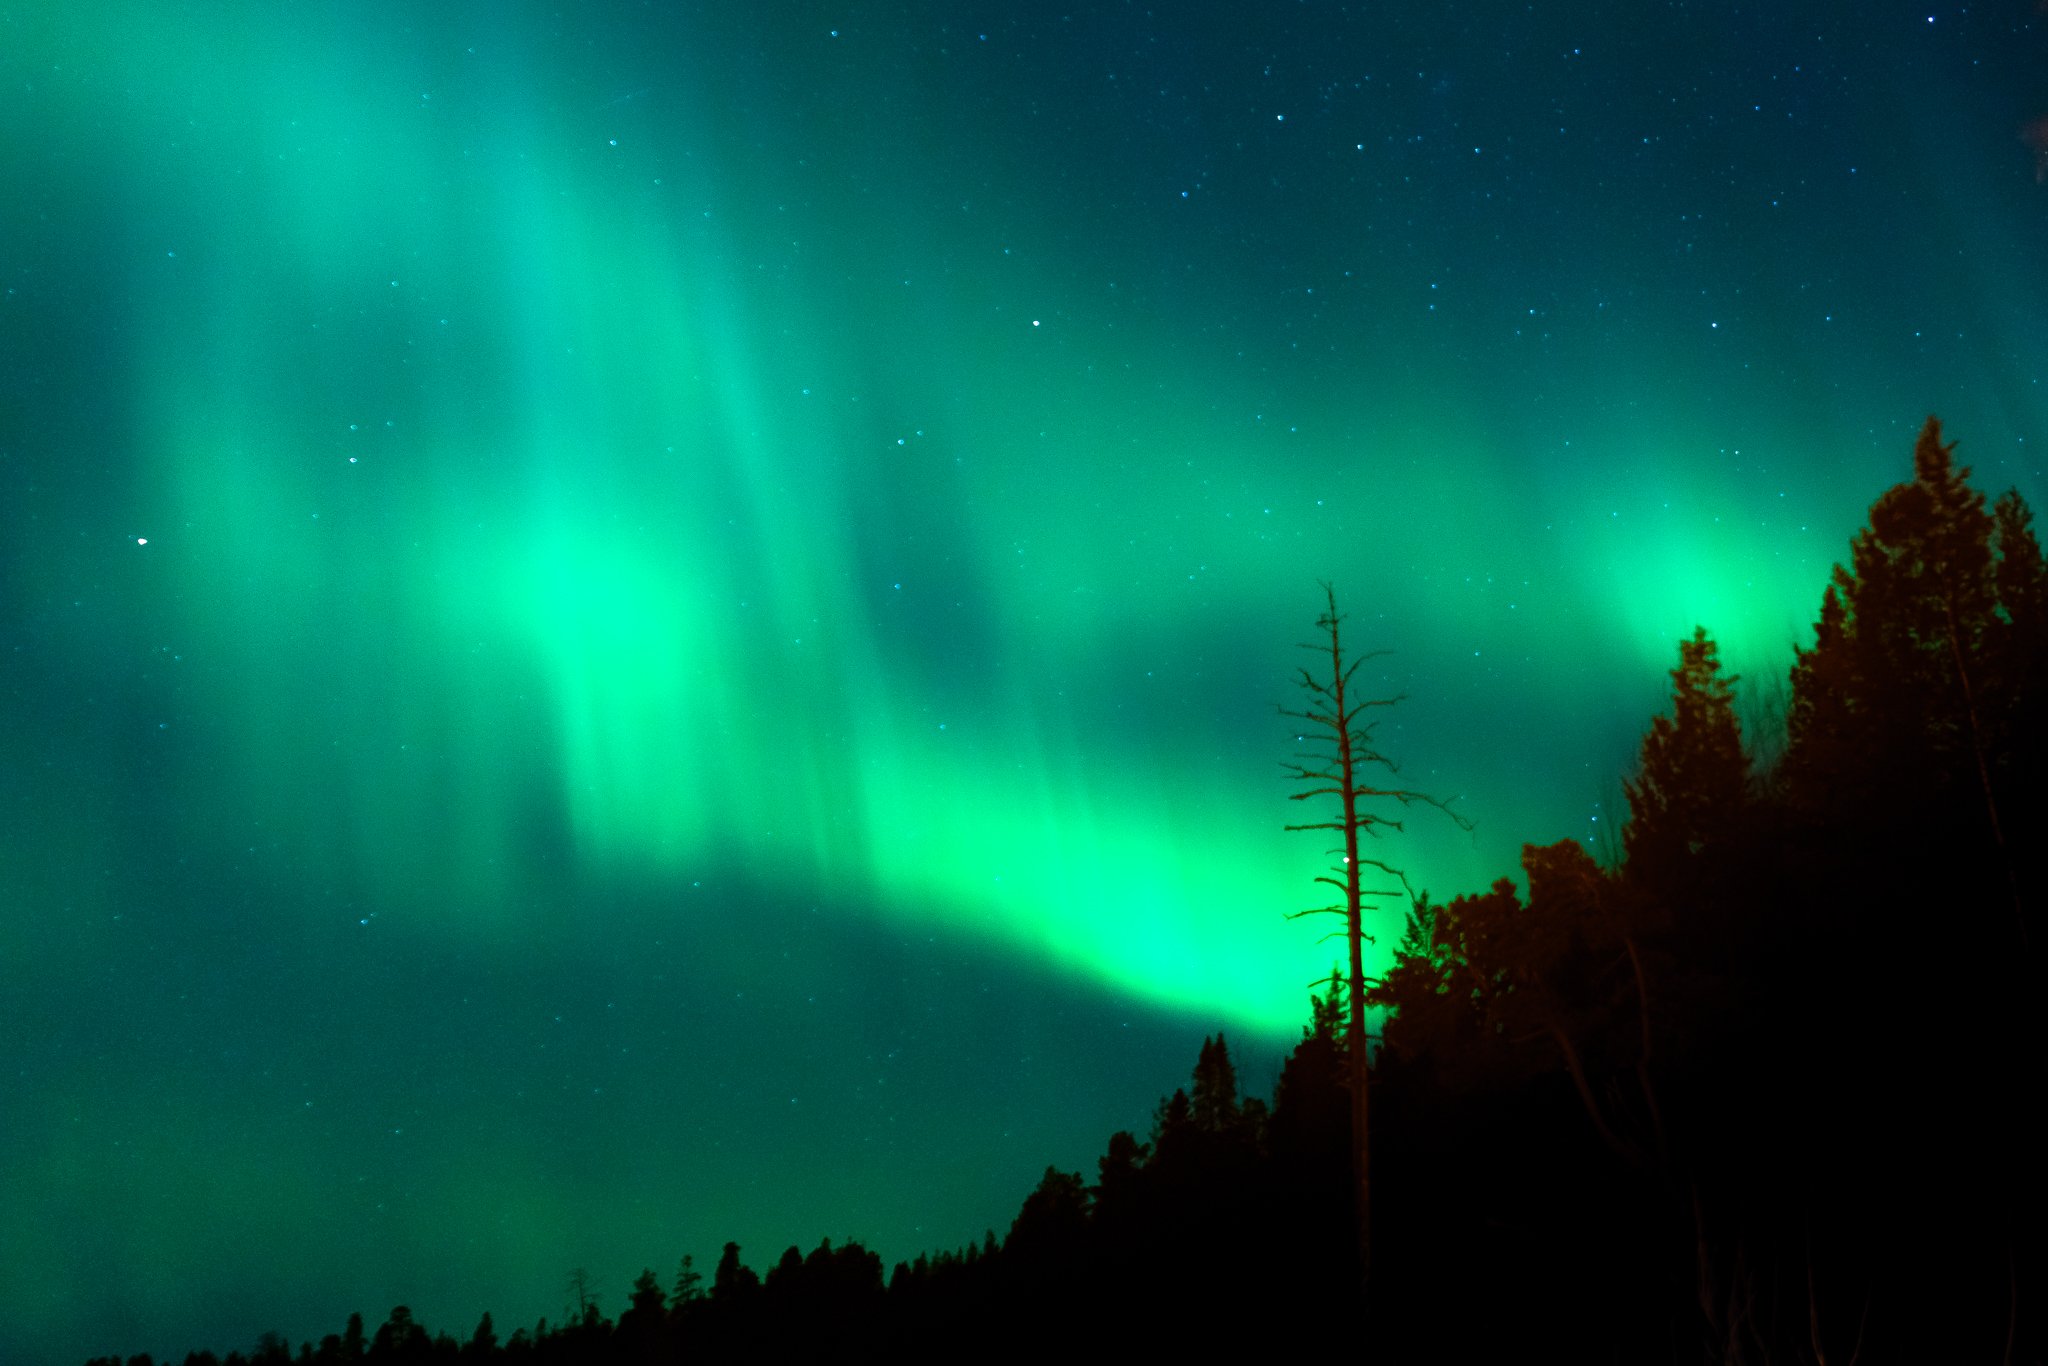
Depending on the intensity of the Northern Lights and how fast they are moving, you will need to play around with your shutter speed. In a solar storm with high amounts of Aurora activity, you likely can get away with using a shorter shutter speed, something like 3 to 5 seconds. But if the northern lights are fainter or moving slower, your shutter speed might be anywhere from 15 to 30 seconds. I’ve found that 3-7 seconds for a fast moving Aurora and 10 to 20 seconds for a slower moving Aurora is usually the sweet spot.
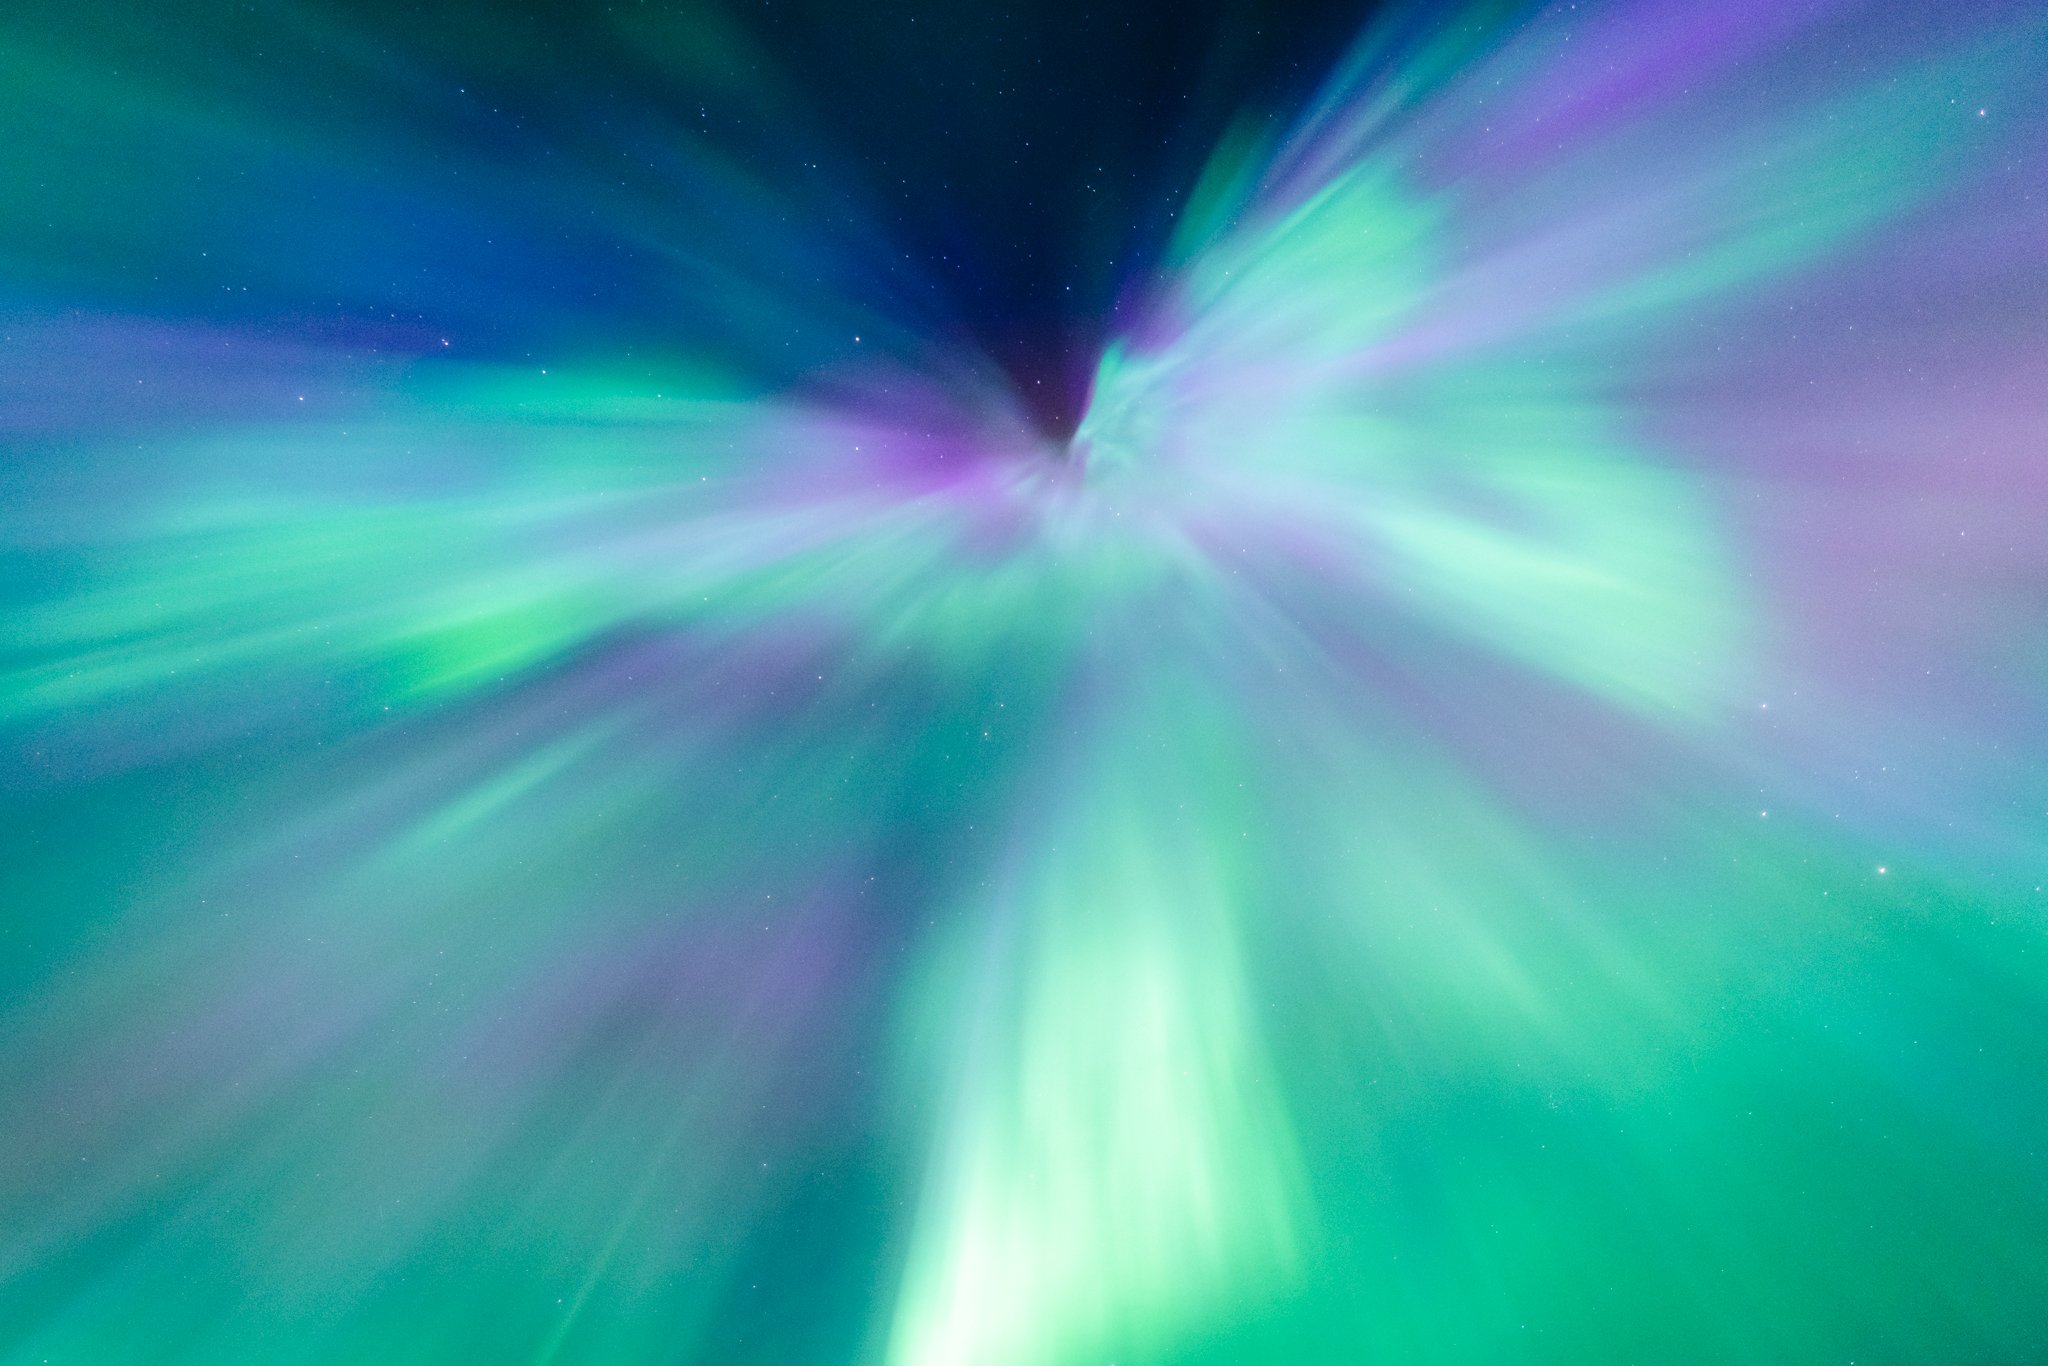
What this really means is that you will need to play around with your shutter speed to find what works the best for your current conditions, and be ready to change it on the fly because the Northern Lights can change rapidly. Troubleshooting: if your image has just a giant blob of color without bands of definition, try shortening your shutter speed as the Aurora is likely moving faster.
Tip: one of the challenges of shooting the Northern Lights is that the speed and intensity of the Aurora can change minute to minute, so there really are not settings you can just memorize – you will just need to change your settings as the Northern Lights change. Use your histogram to keep track of when your image might be too dark or too bright.
Don’t be afraid of a high ISO
Since you’ll be shooting at night, you will need to use a high ISO to compensate for this high level of darkness. Even with a wide open aperture and a longer shutter speed, you will probably need an ISO anywhere from 800 upwards to 6400. As with your shutter speed, play around with your ISO, aiming to use the lowest ISO possible to avoid grain, but high enough so that your images are light enough to see the Northern Lights.

Set your focus
One of the hardest parts of photographing the Northern Lights is getting your focus right, but never fear, there are a few different strategies to setting your focus! The first strategy is by setting your focus during the day and returning to shoot in the exact same position at night. This can be a bit of a challenge, so try setting the focus during sunset so you have less time to wait for it to become dark.
The second way to get an in-focus photo is by setting your lens focus to infinity. I find this doesn’t always quite result in fully sharp images, but you can start by setting your focus to infinity, and then manually move the focus ring just a little bit away from infinity until the stars come out sharp.
My personal favorite method to set the focus at night is this third way: find the brightest star in the sky (usually the North Star!) with an app on your phone, your own eyes, or by using your camera screen. On your camera, zoom in on your live view as much as you can, so the star takes up as much of the screen as possible. Then slowly and manually adjust your focus ring until the star becomes a white pinprick instead of a fuzzy white ball.
As with so much of photography, it might take a few tries to get it right, so don’t get discouraged and play around with the focus until your images come out sharp. You can use a high ISO and a shorter shutter speed to take test images before lowering your ISO and lengthening your shutter speed. I would recommend zooming in to your test photos as much as possible to see if the stars look sharp.
Read this next!
Customize your white balance
If you’re just starting out photographing the Northern Lights, you can leave your white balance on automatic. But once you’ve become a bit more advanced, I’d highly recommend adjusting your white balance to a custom setting of 3200 – 4000 Kelvin for the most natural Aurora colors.
Don’t forget about composition
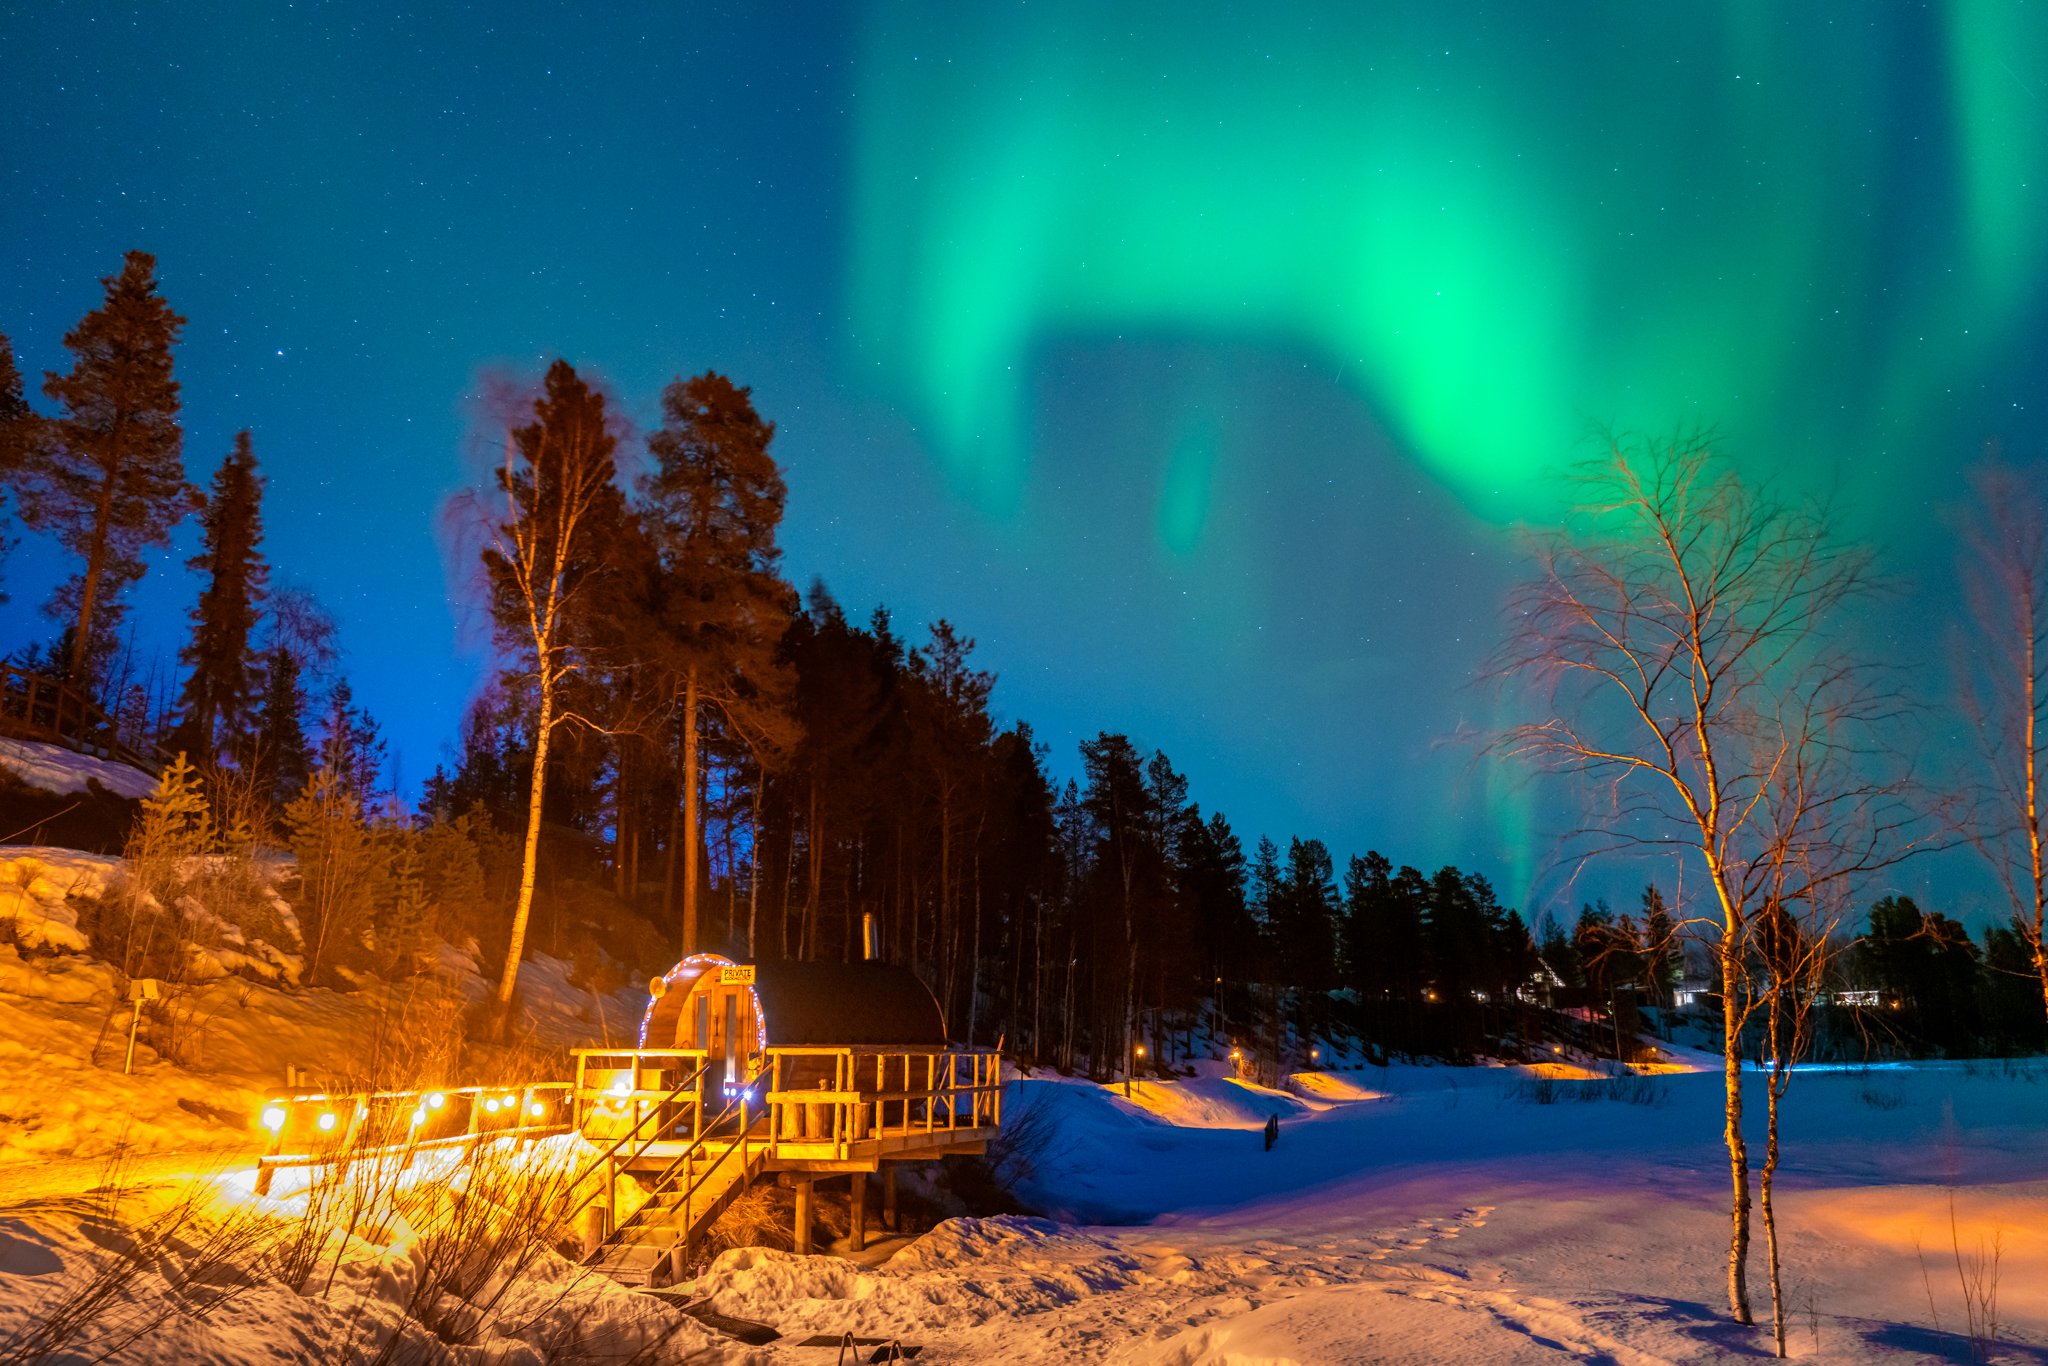
It’s easy to get lost in the excitement of photographing the Northern Lights and forget about composition. Try planning out and visualizing your composition during the day, and be ready to pivot if the Northern Lights appear in a different area of the sky. Make sure that you check all around you; sometimes the brightest Northern Lights might even appear behind you, especially if you are far up north near the Arctic Circle. If you are on a lower latitude, the Northern Lights most likely will appear in the northern sky.
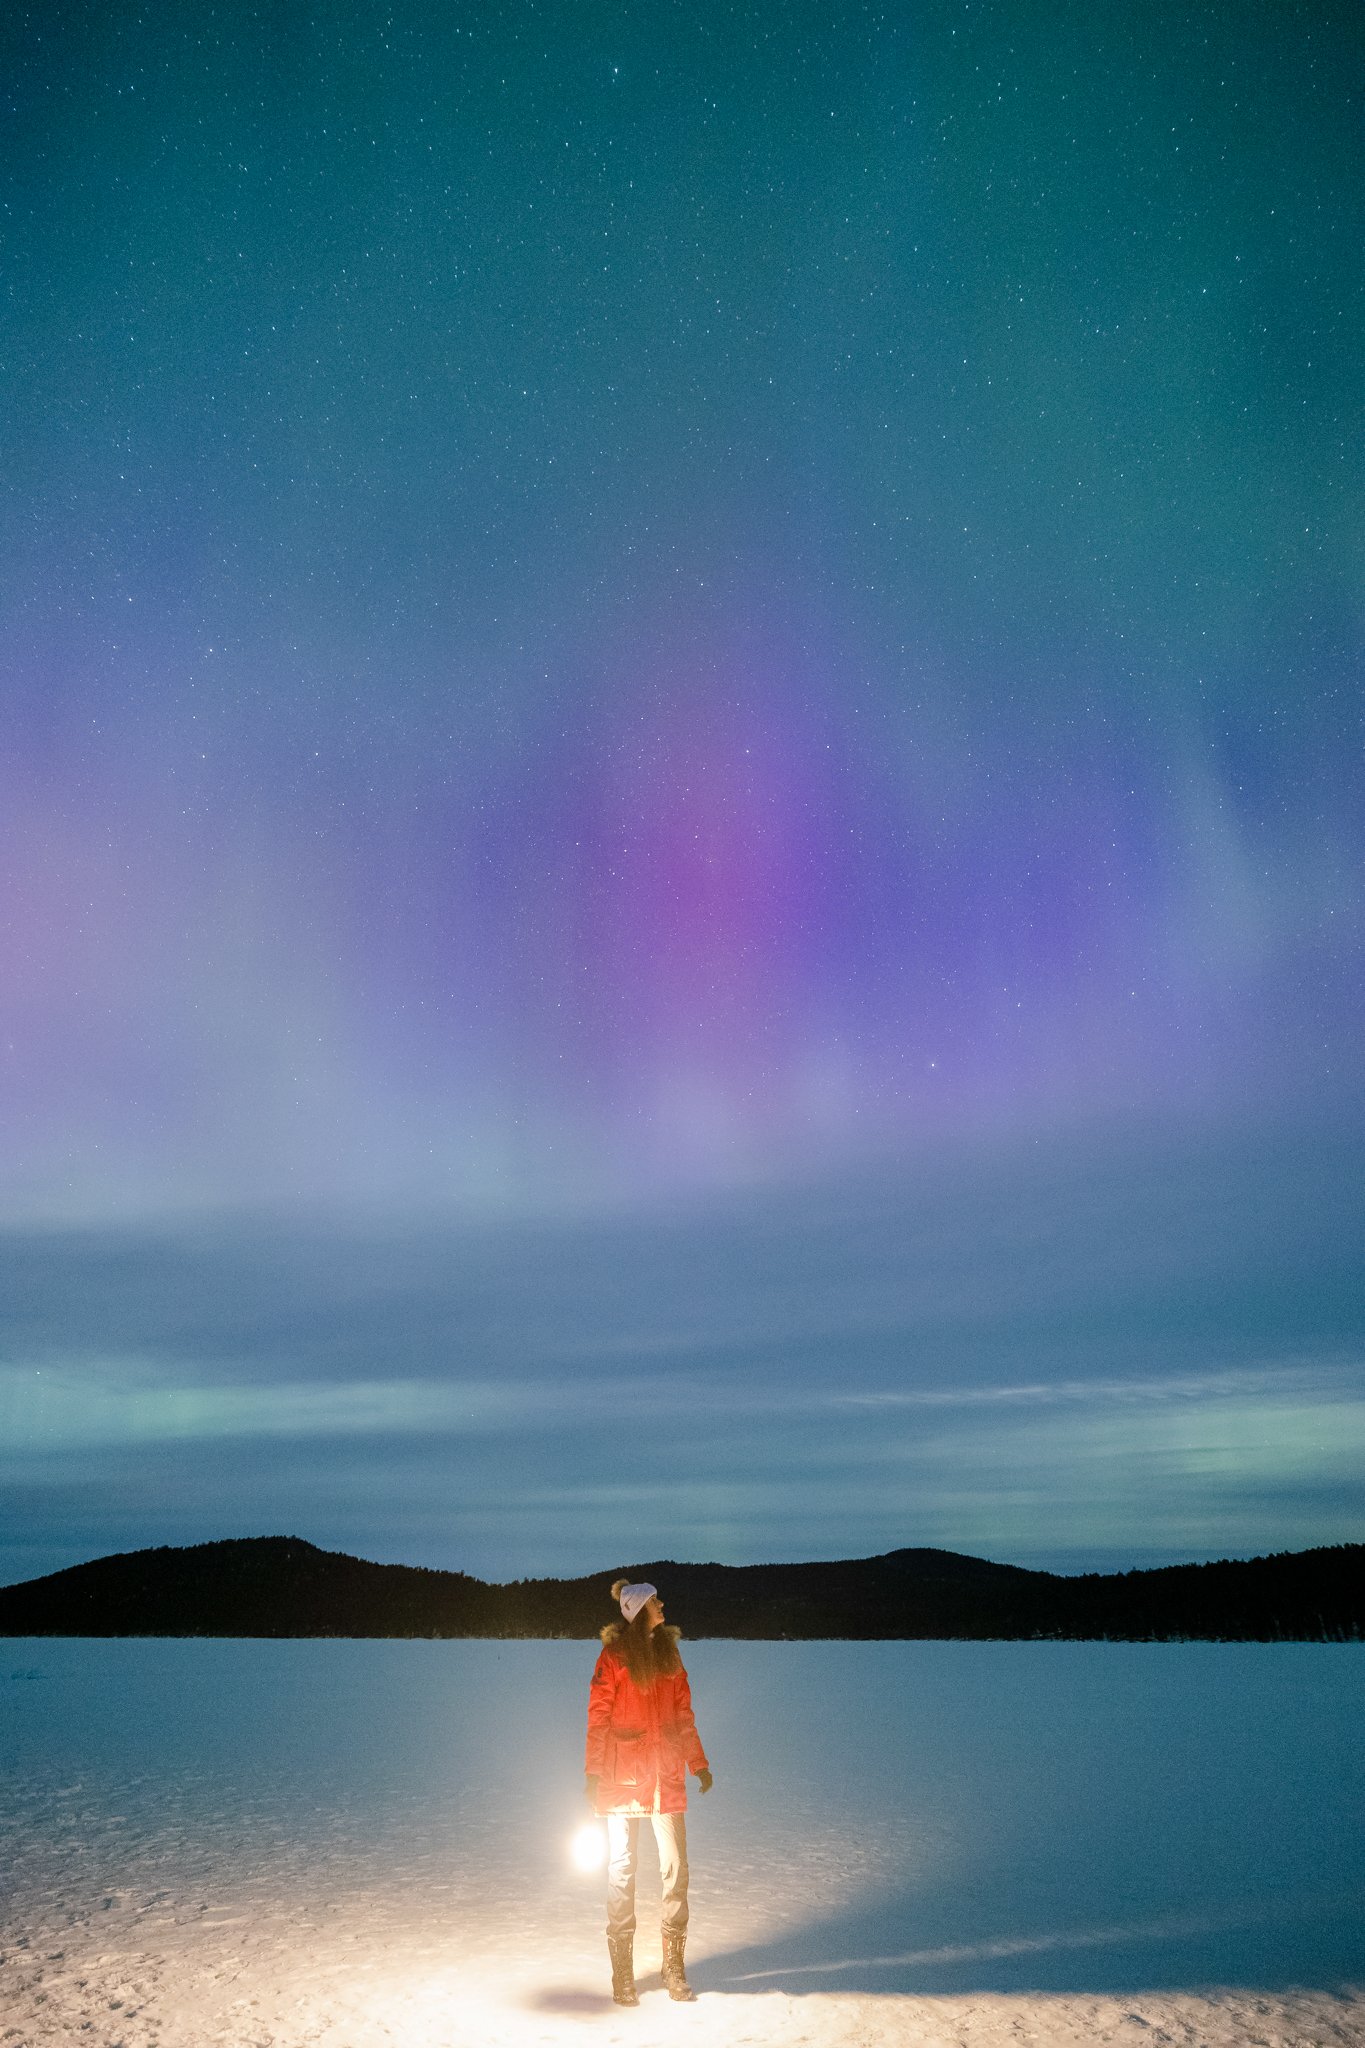
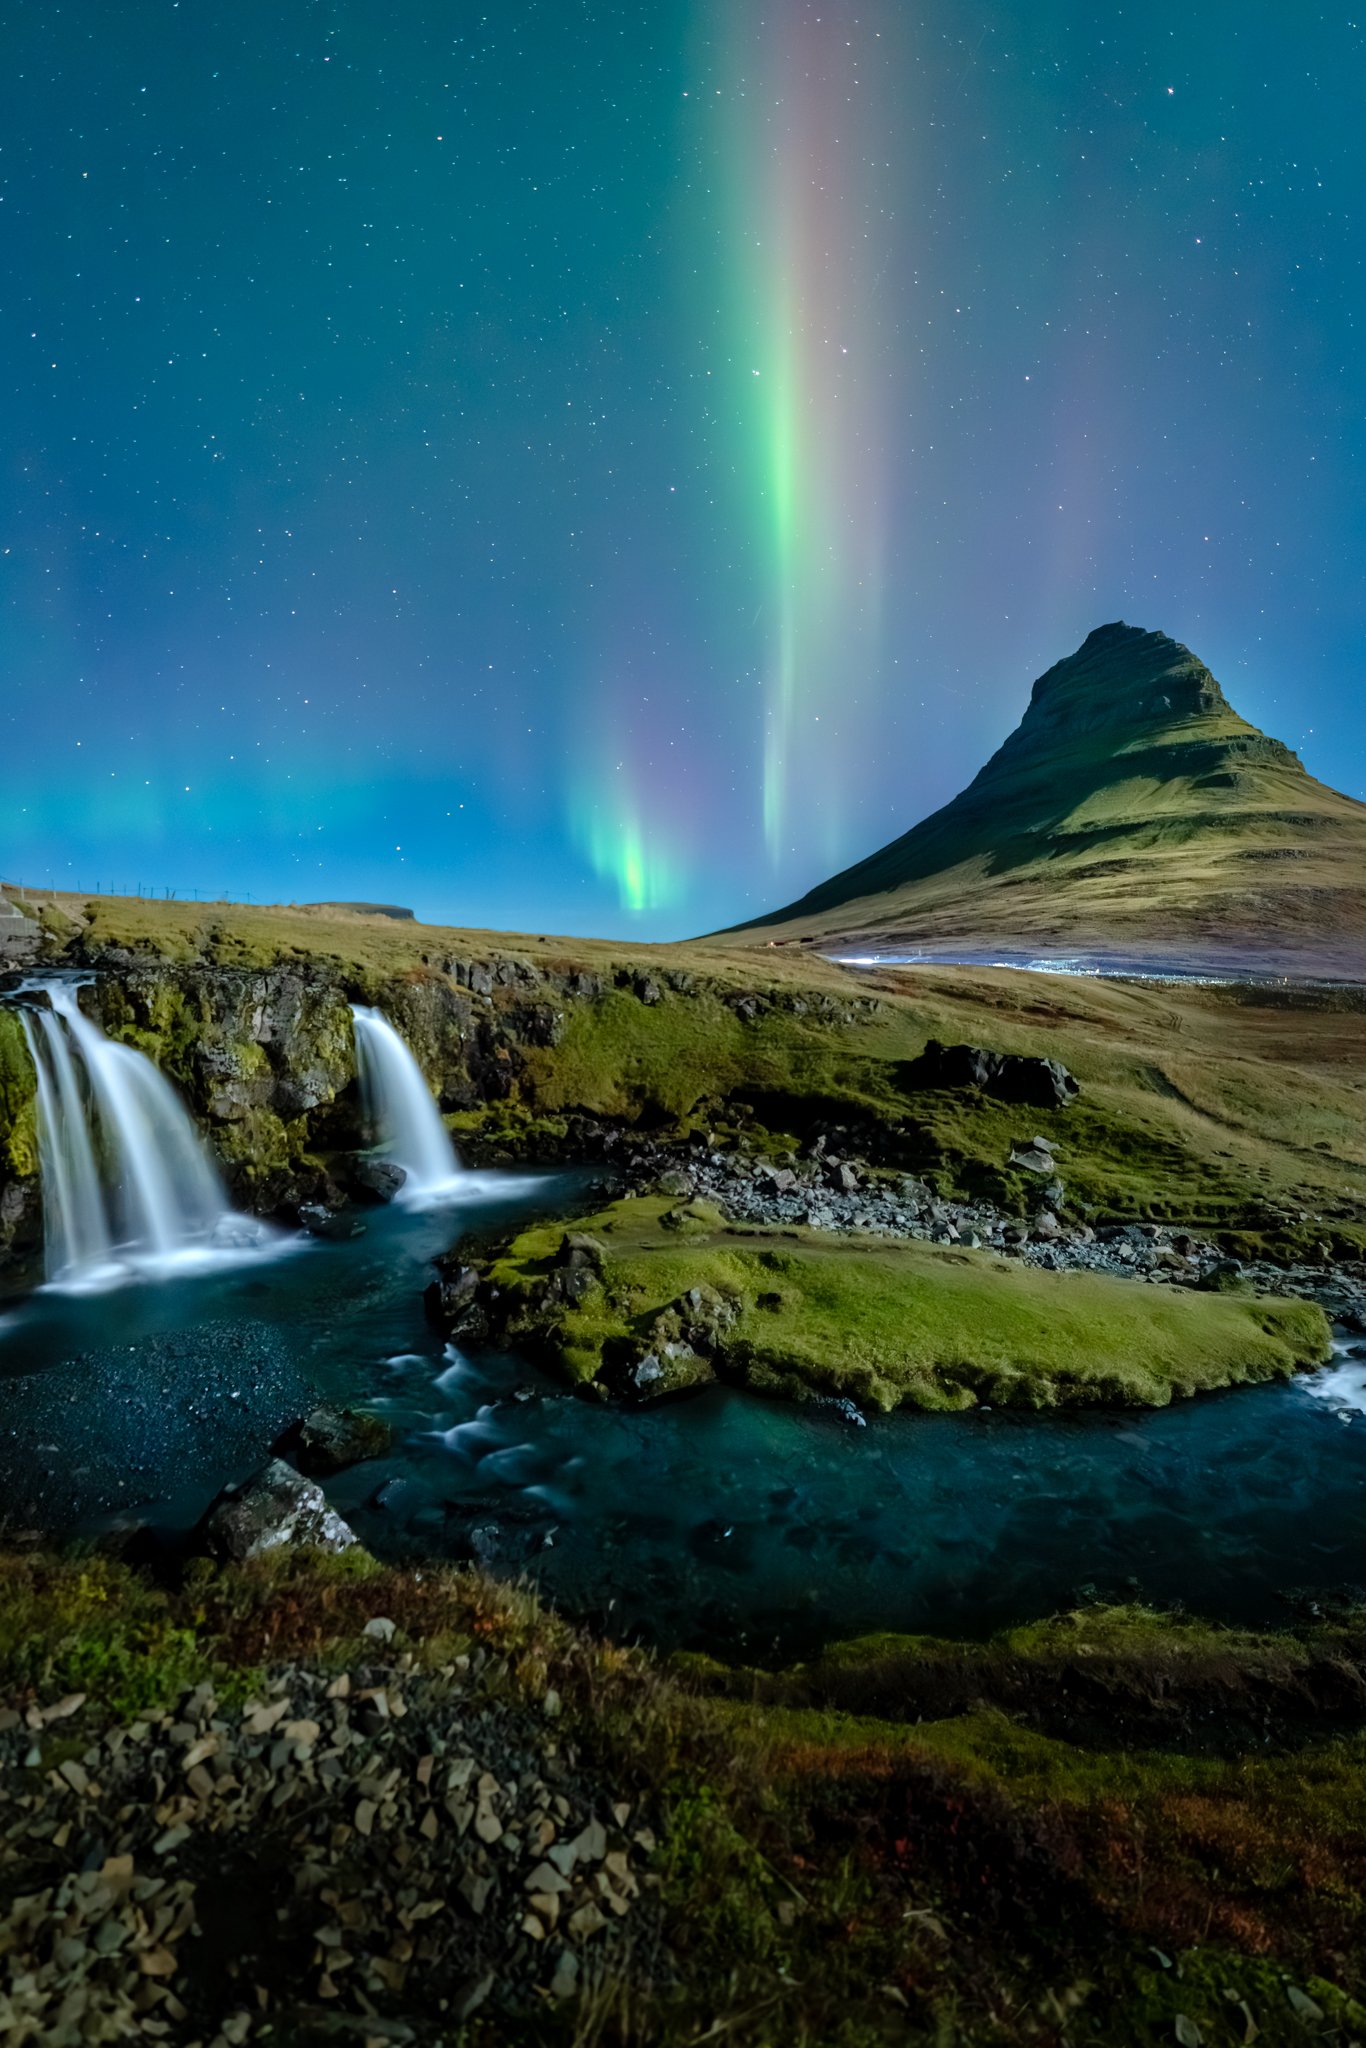
When planning your composition, think about photography composition techniques, like the rule of thirds, leading lines, framing, and other compositional devices. Play around with using the place you are staying at as a foreground element or if you really like a challenge, try getting yourself in frame! Try different perspectives, try even shooting straight up if the Aurora is overhead, and move around to try out different compositions.
Read this next!
How to photograph the Northern Lights with a phone
Similar to how to photograph the Northern Lights with a DSLR or mirrorless camera, the key is using a long exposure and tripod with your phone. Although a tripod is not necessary, I would definitely recommend it. Use your Phone’s long exposure setting and for maximum sharpness, use a Bluetooth remote or the phone’s built-in timer feature.
Make sure you turn off the flash, and adjust the exposure as needed. Many phones can also shoot in RAW just like any other camera, so you could also change your settings to take RAW photographs to have bigger files with more editing capabilities.
How to edit Northern Lights photographs
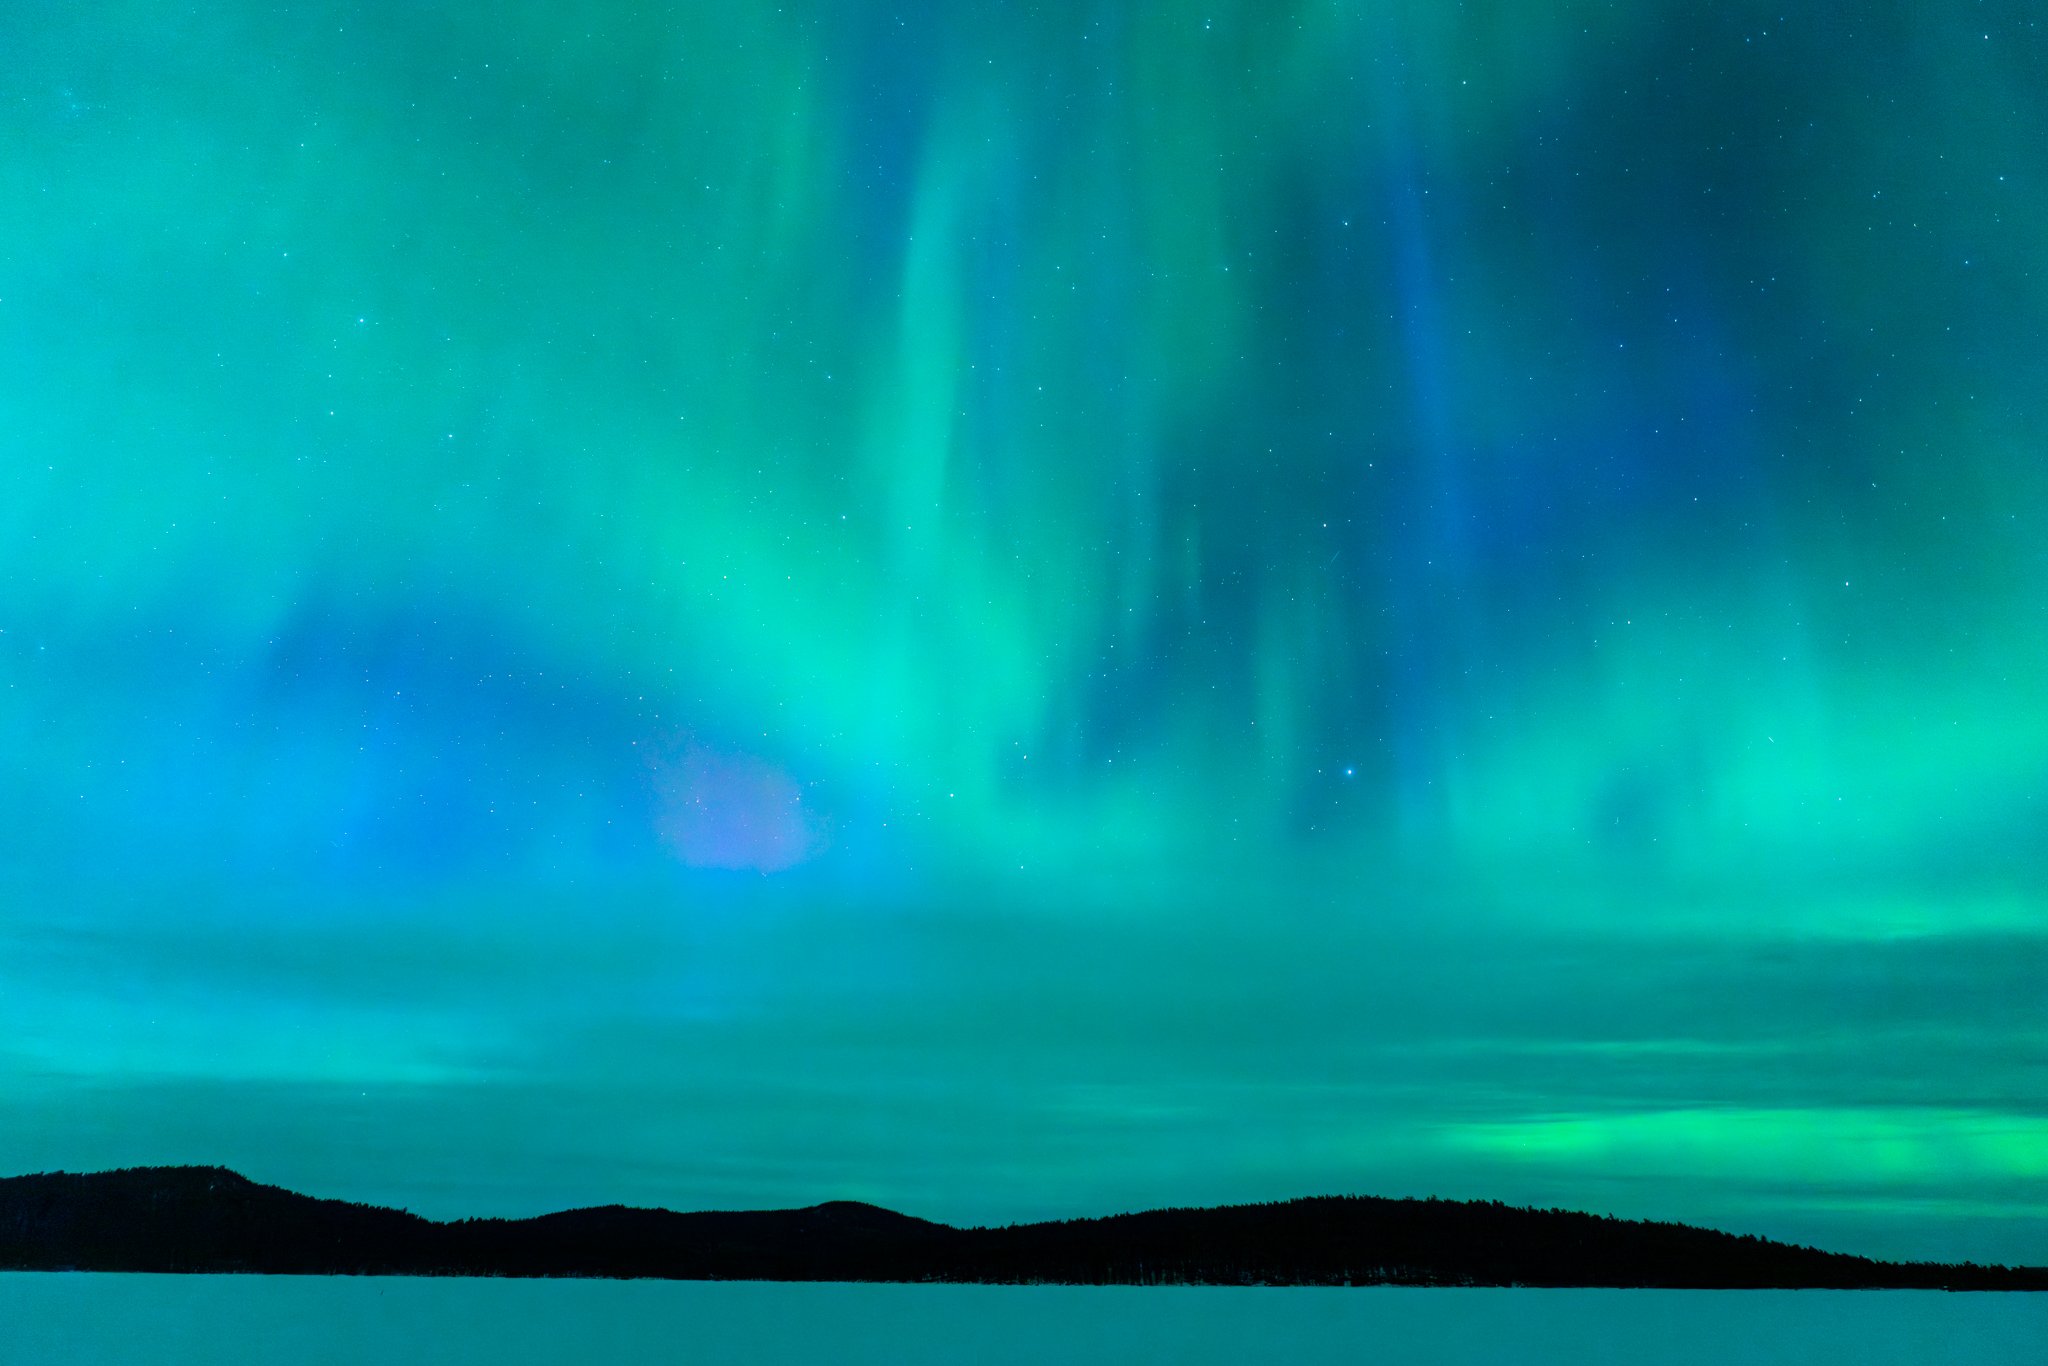
Editing Northern Lights photographs is part of the joy of capturing and showcasing this amazing natural phenomenon! Even if you have adjusted your white balance when you shot the image, you’ll likely have to tweak the white balance when editing to get started. Look for any color casts that look a bit unnatural, and correct accordingly.
From there, you can focus on editing the photo similar to any other; adjusting things such as the exposure, contrast, color hues, and saturations, and possibly adding a bit of sharpening and noise reduction. Editing is an art form all on its own so play around with it and get creative with your own style.
Tip: if you are new to shooting and editing Northern Lights images, I would highly recommend having your camera set to take both a RAW and JPEG image – and then use that JPEG as a rough guide to how the colors looked naturally and edit your RAW image to match (and improve upon) the JPEG.
Tips on how to photograph the Northern Lights
Pack extra batteries: cold saps batteries quickly, and you will likely be out photographing for a few hours, so make sure to charge up and pack extra batteries. I would recommend keeping your batteries in an inside pocket of your jacket, close to your body, instead of in a backpack so that they stay warmer.
Use a remote or intervalometer: to reduce camera shake that occurs when you physically press the shutter button, I would recommend using a remote or an intervalometer (some cameras even have a built-in intervalometer you can use) instead for sharp images. You could also use the camera’s built-in timer / exposure delay mode.
Wear layers & be prepared to wait: temperatures drop at night and when you are waiting to see the Aurora, you’re not moving around as much as you would during the day, so wearing multiple warm layers is critical. Imagine conditions to be colder than you expect and dress accordingly – you really don’t know how long you might end up waiting for the Lights. I’ve had times where I’ve seen them within minutes, and times where I waited hours for them to appear. I would definitely recommend getting hand and foot warmers as well.
Find dark skies & avoid moonlight: as much as possible, head away from bright city lights, and into nature. Look for “dark sky parks” or “dark sky reserves”, and try to shoot Northern Lights photos as close to a new moon as possible, because moonlight will make the sky brighter and the Aurora harder to see.
Keep an eye on the weather: winter weather can change rapidly, so make sure you are checking the weather forecast multiple times a day. You never know when the clouds might be whisked away by wind or when they will suddenly roll in and obscure the stars so check the weather hour by hour throughout the night. Aim for a sky cover percentage between 0 to 30%.
Use an Aurora activity tracking app: download an Aurora tracking app and turn your notifications on. Use this to check the Aurora activity index (KP-index), which ranges from 0 to 9. Your best bet is to shoot on nights with a KP index of 4 or higher, however, you can still get photos even with a KP index of 2. Tip: some of the best apps are ones that are local to each country – I often ask my accommodation which app they recommend, and some accommodations even have their own Aurora apps as well!
Give yourself multiple attempts & be patient: don’t put all your eggs in one basket! Taking a single Aurora hunting tour or chasing lights on just one evening might not be enough, so give yourself multiple nights for the best chance of seeing the Northern Lights – just in case the weather is bad or the activity is lower on any one night.
Don’t get discouraged & lean on luck: getting the perfect storm of conditions, camera settings, weather, and solar activity can make seeing and photographing the Northern Lights quite difficult. It might take several tries or even a few trips to get the bucket list shot. Try not to get discouraged and remember that sometimes luck can be on your side – the number of times the aurora forecast was low, but I went out anyway just in case and saw an incredible display has happened more often than you might expect!
Learning how to photograph the Northern Lights is a skill you will forever be grateful you learned. If you have any questions from this guide or have any request for future blog topics, let me know in the comments below. Happy photographing!
More adventures
Best London Christmas Markets & Tips for Visiting London at Christmas
Twinkling chalets, steaming cups of mulled wine, and Tower Bridge glowing in the background – here's everything you need to know about the London England Christmas markets!If there's one city that does Christmas BIG, it's London. From the moment the first lights go up...

15 Best Places to See Fall Foliage in West Virginia That You Can’t Miss (+ When to Go)
Planning a leaf-peeping trip to West Virginia? Here are the 15 best places to see fall foliage in West Virginia – plus exactly when to go, where to stay and how to get around!I've traveled to nearly 50 countries, and I can tell you with total confidence – fall foliage...

Hey I’m Rebecca!
I’m a travel & outdoors photographer, blogger, and content greator living in the US but you can find me adventuring around the globe! On this blog I share tips to help you improve your photography, inspiration and advice to explore the outdoors, destination guides, travel tips, and more to plan your own adventures!
Categories
Photography
Destinations
Travel
National Parks
Recent posts
12 Festive Things to Do in London at Christmas: Best Lights, Trees, Activities, and More
Twinkling lights, giant Christmas trees, ice skating, and festive afternoon tea – here are the best things to do in London at Christmas!If there's one city that does Christmas BIG, it's London. From the glowing angels floating above Regent Street to the wrapped-up...
Best London Christmas Markets & Tips for Visiting London at Christmas
Twinkling chalets, steaming cups of mulled wine, and Tower Bridge glowing in the background – here's everything you need to know about the London England Christmas markets!If there's one city that does Christmas BIG, it's London. From the moment the first lights go up...
15 Best Places to See Fall Foliage in West Virginia That You Can’t Miss (+ When to Go)
Planning a leaf-peeping trip to West Virginia? Here are the 15 best places to see fall foliage in West Virginia – plus exactly when to go, where to stay and how to get around!I've traveled to nearly 50 countries, and I can tell you with total confidence – fall foliage...


0 Comments