
10 Travel Photography Tips for Beginners: How to Take Your Images to the Next Level

Ready to transform your travel photography? Here are the 10 BEST travel photography tips for beginners, perfect for taking your images to the next level.
Are you looking to start out as a travel photographer? Or maybe you have already started taking photographs and you’d like some assistance on leveling up your photography game? You’ve come to the right place! I’ve been a professional photographer for well over a decade and I’m sharing what every beginner travel photographer should know to both get started and to transform their images.
And don’t worry – everyone truly does start out as a beginner in photography, and those beautiful travel images you see online are the result of PRACTICE and DEDICATION. No one ever started out as an expert (including me!). Let’s take your images to the next level with my favorite 10 travel photography tips for beginners.
Disclaimer: This blog post may contain affiliate links, which means I get a small commission if you click the link and make a purchase – at no extra cost to you! I only share things I genuinely love and think my audience would love too! This is one of the ways I’m able to keep making these free resources and guides for you. Thank you so much for your continued support! Learn more about my affiliate policy here.
10 Travel Photography Tips for Beginners: How to Take Your Images to the Next Level
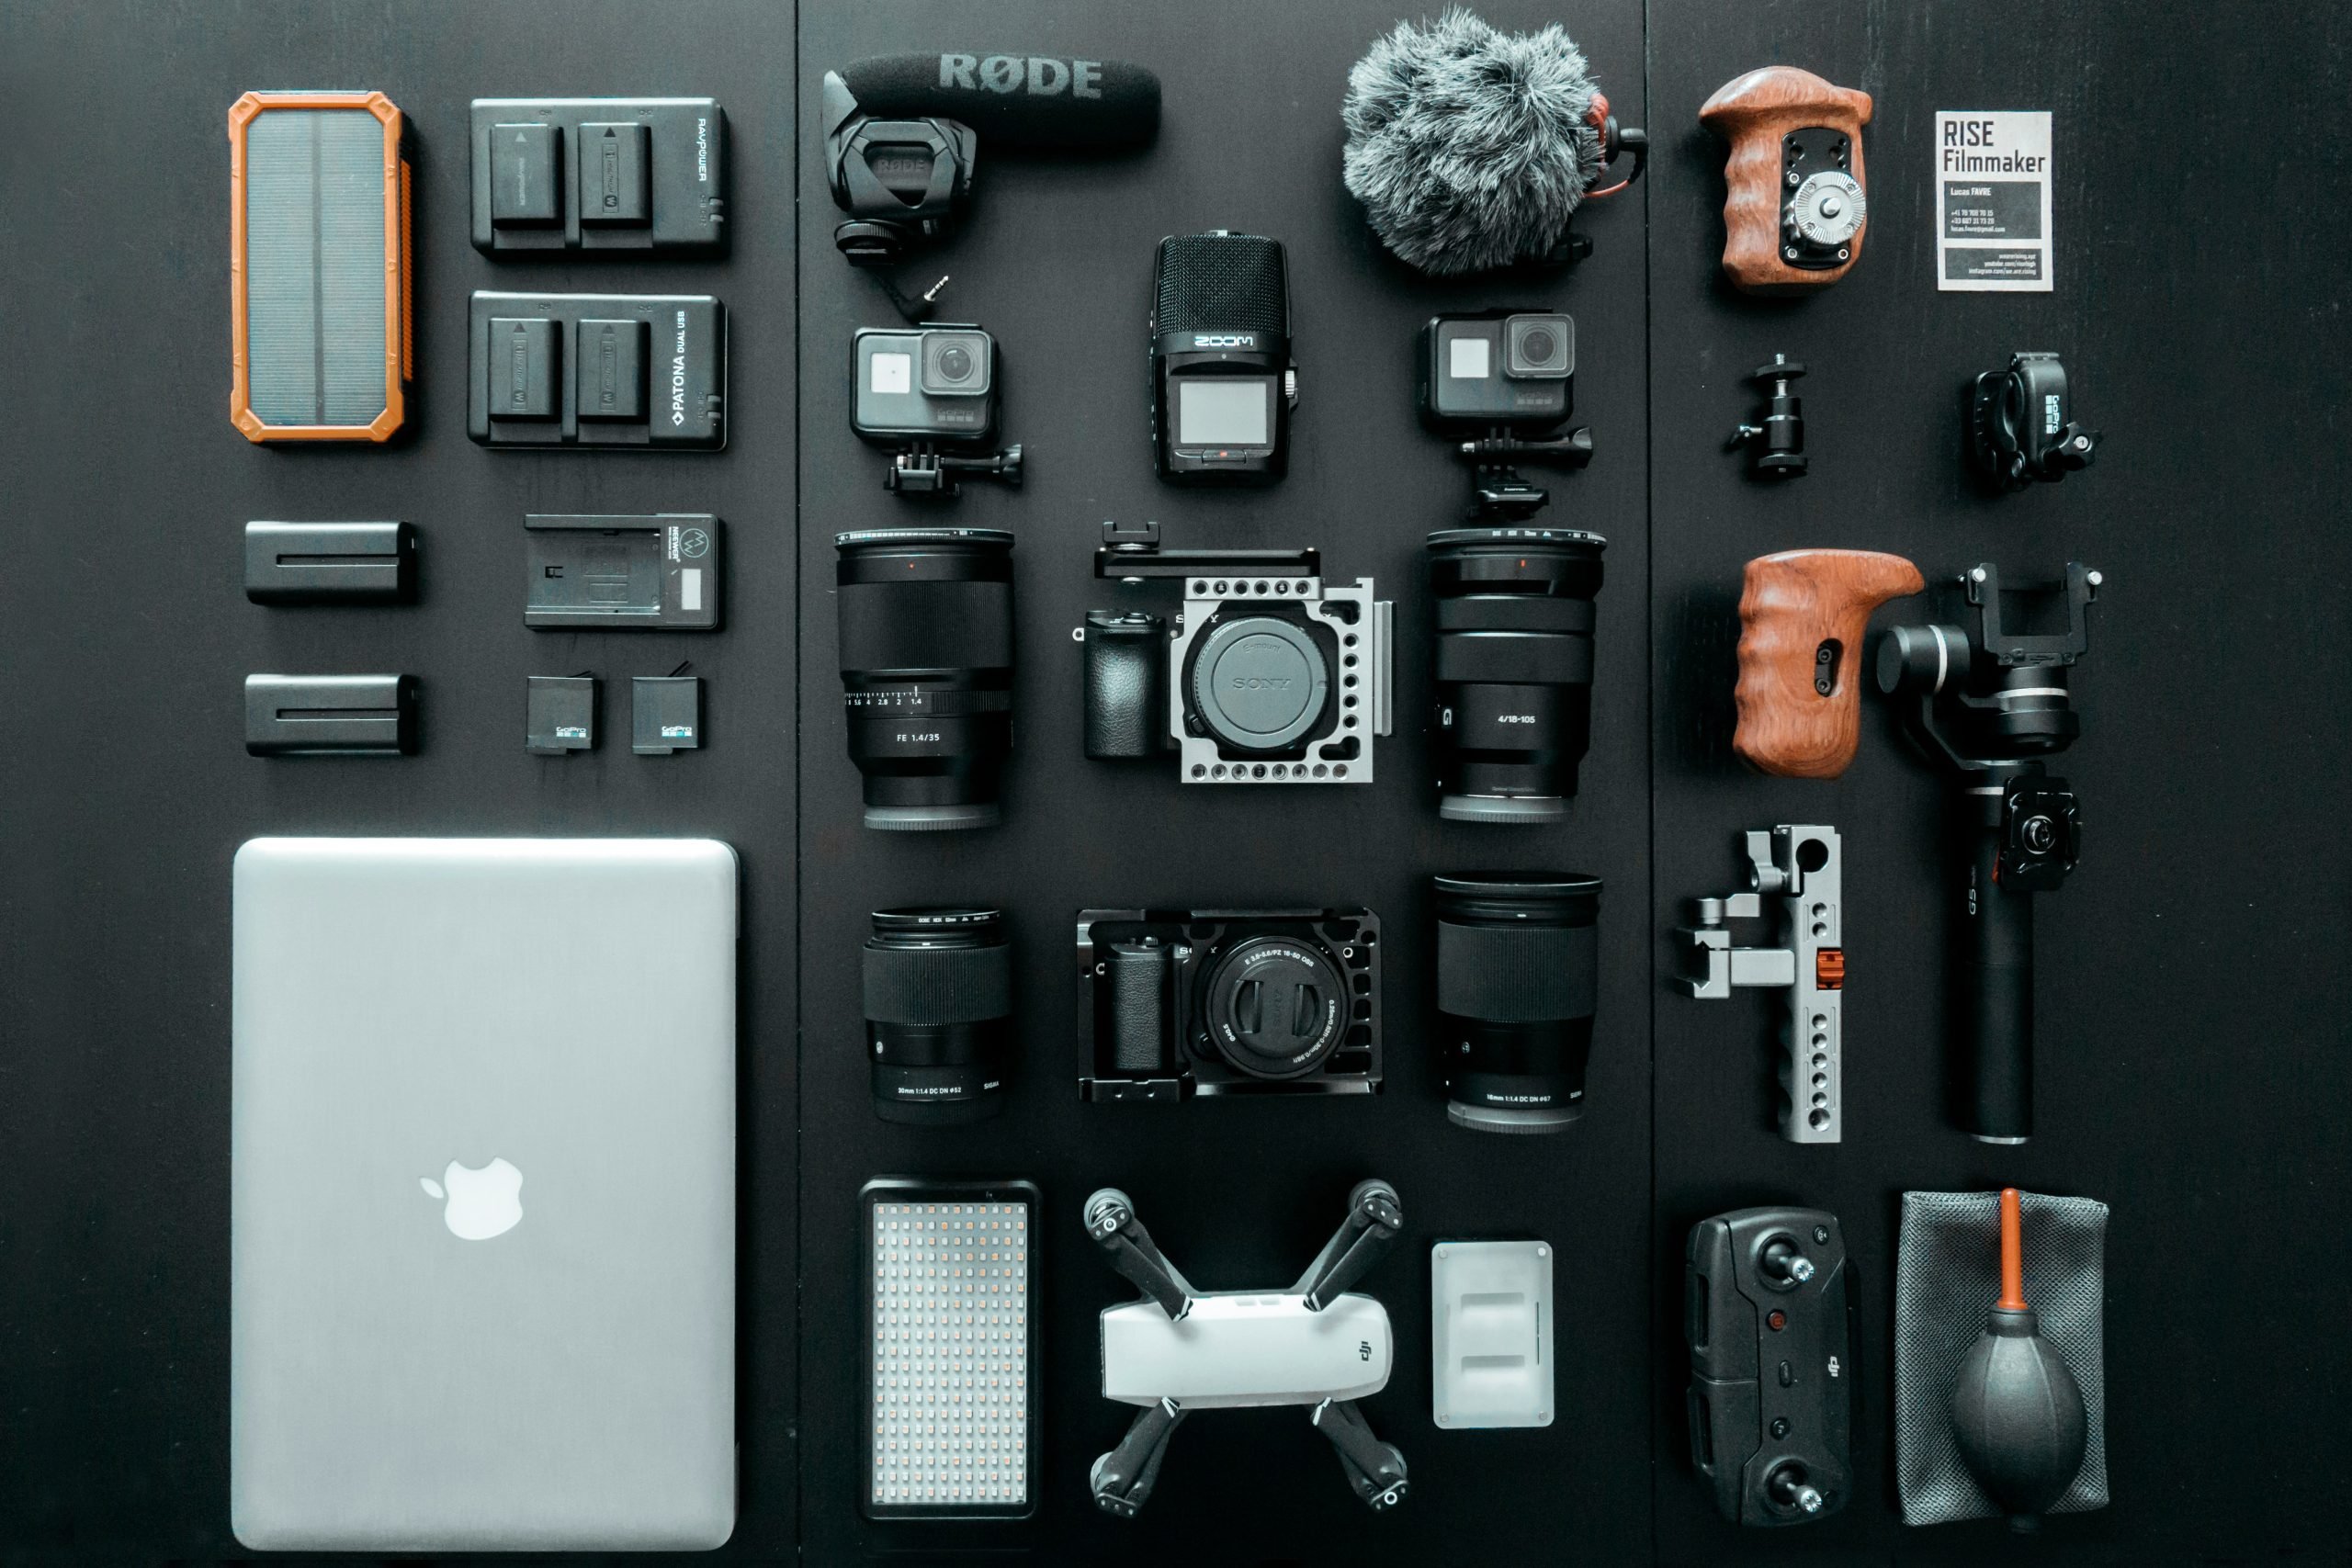
Pick Out the Best Gear for YOU
A common problem I see with beginner travel photographers is getting too bogged down in getting the BEST gear. But you really should start with the gear that is best for YOU. The top of the line, most expensive, most professional gear isn’t always the right choice. Take some time to reflect on what style of photography you might like to try out.
Think about taking the gear around with you on your travels – hiking/walking/up & down stairs – there’s a LOT of movement in travel photography, so maybe something lighter is better? Maybe you just want to stick with taking photos with your phone – there is nothing wrong with that! Do you need a tripod for landscapes? Or is a selfie stick better?
What lenses are best suited for YOUR favorite travel subject – zoom for wildlife? Small prime for “street-style” photography? Maybe a mid-zoom that’s just an all-around travel lens for multiple subject types. Do some research and take your time with this – photography gear can be an expensive investment!
One last note – try not to get bogged down on camera brands either. I TRULY believe the top brands – Sony, Nikon, Canon, etc. (or iPhone vs Android vs etc) are all GENERALLY the EXACT SAME quality. Some people have strong opinions on each brand and reasons for picking each one, and that’s fine. Pick what seems best for YOU but know that you can’t really go wrong with any of the top camera brands!

Learn the Basics of Photography
Photography can be intimidating at first and there are a lot of settings to play around with. Photography is all about balancing LIGHT; and there are 3 main settings you want to become familiar with: aperture, shutter speed, and ISO. For phone photographers, focus on aperture first and see if your phone camera allows you to change other settings as well (there’s usually always a manual mode!).
Aperture controls the amount of light as well as the depth of field in an image. This is how photographers get images that focus on one subject with the background blurred out OR have everything in the frame be in focus. Shutter speed is how long the shutter is open & exposing the sensor to light – this is how you get cool “slow-motion” or “freeze-frame” images. And ISO is how sensitive the sensor is to light – this one will allow you to shoot in darker conditions BUT at the expense of having “grainy” images.
All three of these settings should be balanced and controlled to start stepping into manual photography. Once you learn control of these settings, you will start to see your images and creativity jump forward in leaps and bounds.

Follow the Rules of Image Composition (and Then Break Them!)
Once you figure out the technical side of photography, now it’s time to begin to train your eye for compositions; this is what draws a viewer into a photograph & keeps their attention. There are many “rules” of composition, but just remember that all rules in photography are meant to be broken!
The “classic” rule of image composition you may have heard of is called the “rule of thirds”. This means if you were to draw lines to divide your image up into thirds both vertically and horizontally, the “best” composition is to place your subject(s) on where those lines intersect. I’m putting quotations around “best” because while this is a powerful way to compose an image, it may not always be the RIGHT choice for your subject stylistically or story-wise.
There are many other “rules” of composition you can learn and tools to make an image more compelling or interesting – such as using leading lines, framing, patterns, and more. Study these and try them out to start – this will help develop your eye. Then study your favorite travel photographer’s images and try to figure out which compositional tools they are using to make their work stand out. Once you start to get the hang of compositions, this is the time you can choose to follow the rules or break them – whatever you feel is BEST to convey the story of your image.
Remember, photography is art and art is highly subjective!
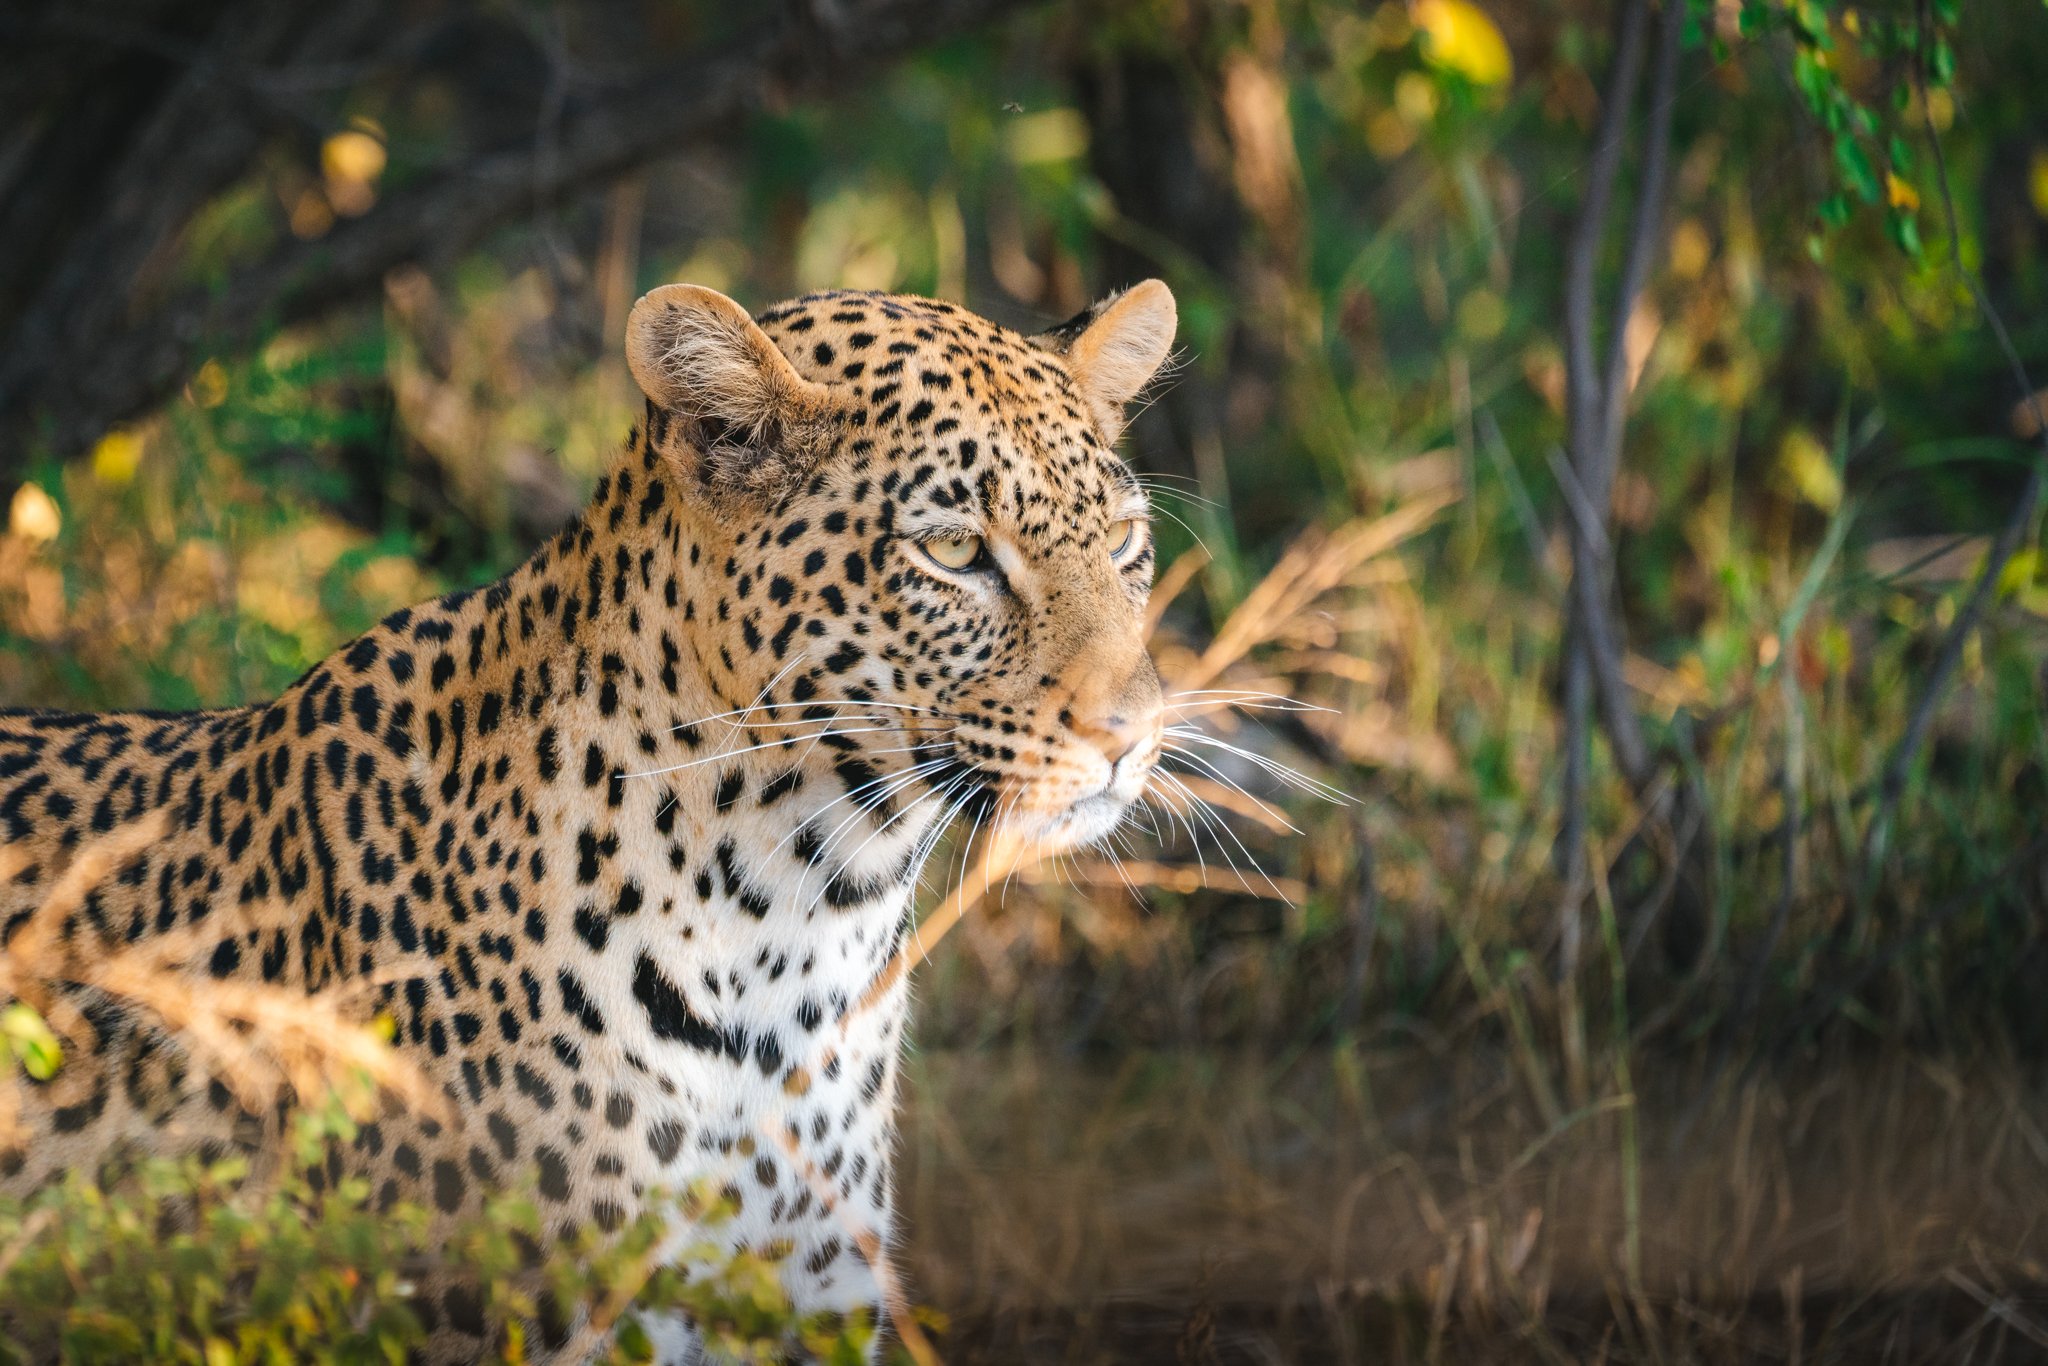
Try Out Different Styles of Photography
While travel photography itself is a niche form of photography, there are still so many styles within travel photography – you could focus on travel landscapes, travel food photography, architecture, wildlife, culture, macro, and more. Part of the joy of being a beginner travel photographer is getting to play around with different styles and subjects to find out what you like. I myself dabbled in four or five different styles before I finally landed on what I loved most. You’re always allowed to change your mind later too!
And bonus – if you ever start to feel STUCK in your travel photography growth, trying out a new style is incredibly beneficial to both challenge yourself and to keep your creativity flowing. For example, if you love to shoot waterfalls and do a long-exposure on a tripod, try instead capturing fast-moving birds. If you love portraits, try food photography or a macro-style instead. Ready for an even bigger challenge? Try out aerial photography (with a drone / from a helicopter / etc) or underwater photography.

Shoot in the “Right” Light
When you are starting out with travel photography, the “ideal” time of day for photographs is generally “golden hour”, or the 30-60 minutes after sunrise or before sunset. This is a beautiful, soft, golden light that pretty much makes everything look incredible – trust me, it’s worth getting up early or staying up late for!
Once you’ve mastered golden hour, challenge yourself to photograph the same subject at different times of day – you’ll find it will change a scene COMPLETELY. There are some travel photographers who will tell you golden hour is “best” or the ONLY good time to photograph – which I personally think is just an opinion or really a lack of talent for photographing in more difficult lighting situations. I’ve taken portfolio-worthy photographs in the middle of the day (one of the most challenging times to shoot) – it’s just a matter of learning how to work with the light and choose a time and camera settings that fit the image.

Begin to Develop Your Editing Style
Developing your own editing style is where you TRULY will begin to set your work apart from others and make your images more creative and much more YOU. That being said, I hate to say it, but developing your personal editing style is a LONG-TERM game. I’m STILL developing my style year after year (something I find makes photography so engaging and fun after all this time!) and to get to the style I have now honestly took years to get to.
But don’t throw your hands up just yet! Start small – download an editing software and play around with it. My favorite for both phone, DSLR, and computer editing is Adobe Lightroom. There are tons of apps out there though, and I do think it’s worth investing in either a paid or subscription service.
In Lightroom, you could consider purchasing presets from a travel photographer you admire. These are one-click edits (although you should view this as a STARTING point and not a one-size-fits-all situation) that you can use to see what exact settings the photographer is playing with and how those affect the image. PLAY around with settings and try out different styles. In time, you’ll start to see patterns of how you like your images to look and you’ll graduate past presets and soon might even be making presets of your own!
As much as I love presets as a learning tool and I think they do help make photography more accessible for beginners, I would caution against heavily utilizing them. You’ll start to realize many of your images require unique edits because they are all taken under unique circumstances with different settings. That said, presets can be very useful for bulk editing – such as many many portraits or images all taken around the same time / similar subject / same or similar settings.
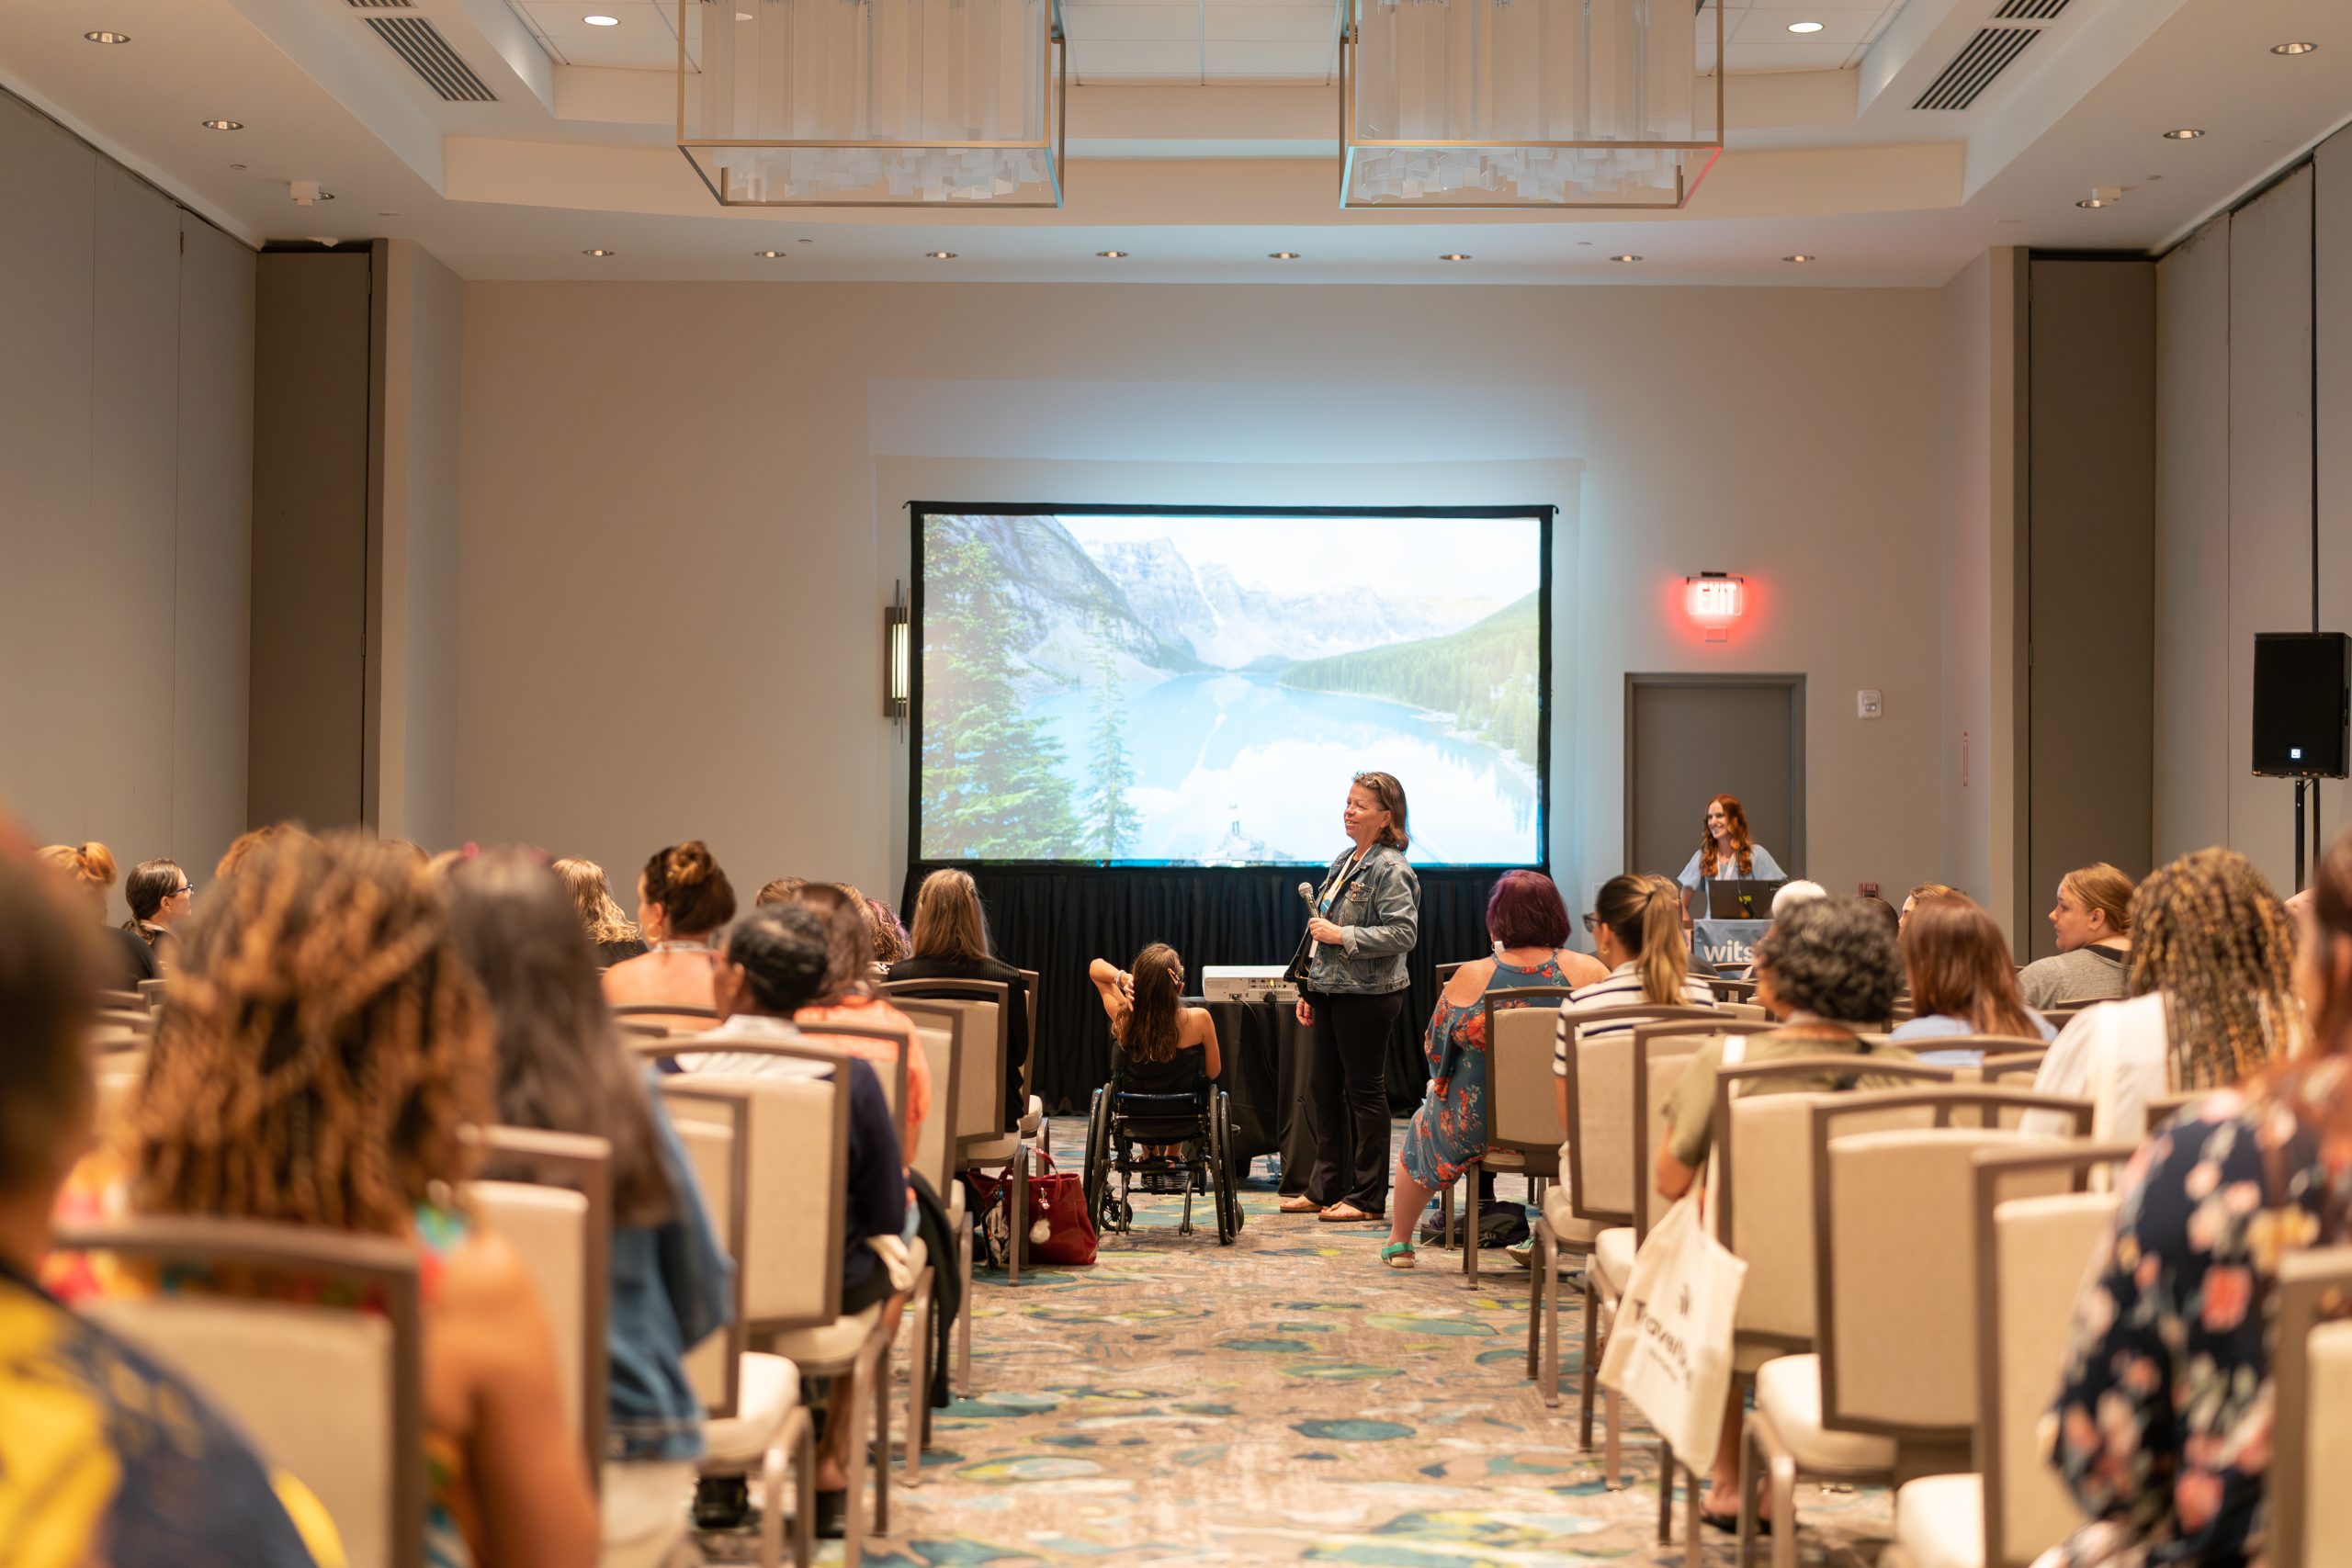
Spend Money on EDUCATION Instead of New Gear
In photography we have a cheeky acronym called “GAS” or Gear Acquisition Syndrome, and we all fall prey to this at some point. It’s easy to get caught up in buying the latest and greatest, or being tempted to upgrade any time new gear comes out. But I promise you, your money is better spend on EDUCATION – whether this is a course, a workshop, an Ebook, a conference, coaching, or something else – than buying up a bunch of gear you may end up not using or realizing it wasn’t much of a true “upgrade” after all.
There are definitely times to purchase new or “better” gear – when you feel you’ve truly mastered your current setup and it’s now limiting you whereas a new piece of gear will allow you to grow in a way you could not before. Or maybe you’re ready to try something new to challenge yourself. Be thoughtful and slow with your purchases, and make sure you’re putting more effort into researching photography techniques than researching photography gear
Need More Help?

Find a Group of Photography Friends
This is advice I often teach because photography will bring you so much joy, and sharing that joy with others is one of the best things in the world. I know it can be very hard to find photo friends, especially in the field of travel photography where we are all in different parts of the world all the time. It’s difficult, but being the one to reach out FIRST and invite others to join is probably the best way to make friends fast. A common theme I see is that everyone is always hesitant to reach out for fear of rejection, but you’ll find if you put yourself out there there are soo many people out there just WAITING to come along.
Making photography friends will also help improve your photography faster than so many other ways of learning – it’s hands-on, and it’s so helpful to have someone trade you tips in person, right there, and you’re able to ask questions and quickly utilize their tips right away.
A quick word of caution – be CAREFUL with meeting up with friends you made online, especially if you are female. Have another friend (even a non-photographer) / partner / family member join for the first meeting, try to ask around if someone else can vouch for this person, or do an online hang-out first to see if your energy and interests align.
Want to learn from me?

Create for the JOY of Creating, Not to Satisfy an Algorithm
Like many travel photographers in this social media-crazed day and age, I am definitely guilty of this at times, but please try to do your BEST to create for YOU and for the joy of creating images instead of shooting for a social media algorithm that is just going to change next month anyway. Chasing photography trends is EXHAUSTING and is the fastest way to drain your creativity and burn you out.
Remember how I said photography is subjective? Well your art is NOT for everyone and THAT’S OKAY. It shouldn’t be. Your photography will find its place and you will find people that LOVE your work. Whether that is three super-fans or thousands of fans – it’s about the community and not the numbers that matter most. If it helps – imagine the number of people who love your work all standing in a room – you’ll be surprised by how incredible that would feel to see them in real life (instead of reducing them down to just numbers).

Practice, Keep Learning, & Don’t Give Up!
At the end of the day, the most helpful but least exciting tip is that photography, like many other skills in life, all comes down to PRACTICE. If you put the hours in, I PROMISE you will see improvement. It certainly won’t happen overnight, but in time you’ll see your images improve, you’ll develop your editing style, and you will find your passion and your rhythm. Try to be a life-long student and keep learning every day – I still am!
Finally, the very best advice I can give you is to not compare where you are now with your photography against any other travel photographer – you never know how long they’ve been at it, what their story is, and how they got to where they are now. Remember, everyone starts as a beginner. EVERYONE. Instead, you should focus on only competing with the photographs you took yesterday, and making your photography TODAY just a tiny bit better.
You can do this, I believe in you!
Read this next!
Traveling the world (or even your backyard!) will open up your eyes, and using photography to capture both the beauty of the world and your own memories is truly a special ability. I encourage you to dedicate yourself to practicing your photography at every chance you get, and I hope you find the absolute JOY that I have found in travel photography.
Did you find this guide helpful? Do you have photography questions? Let me know in the comments!


More adventures

2 Week New Zealand South Island Itinerary: The Ultimate Road Trip for Adventurers
The ultimate New Zealand South Island itinerary for adventurers – two weeks of epic hikes, jaw-dropping fjords, turquoise lakes, and more waterfalls than you can count.If there's one place on Earth that lives up to ALL the hype, it's the South Island of New Zealand....

Where to Stay in Dublin, Ireland: The Ultimate Neighborhood & Hotel Guide for First Timers
Wondering where to stay in Dublin? Discover the best neighborhoods and my favorite hotels for every budget, plus essential tips for visiting Ireland's capital!Dublin is one of those cities that absolutely enchants you! One minute you're wandering cobblestone lanes...

Hey I’m Rebecca!
I’m a travel & outdoors photographer, blogger, and content greator living in the US but you can find me adventuring around the globe! On this blog I share tips to help you improve your photography, inspiration and advice to explore the outdoors, destination guides, travel tips, and more to plan your own adventures!
Categories
Photography
Destinations
Travel
National Parks
Recent posts
2 Week New Zealand South Island Itinerary: The Ultimate Road Trip for Adventurers
The ultimate New Zealand South Island itinerary for adventurers – two weeks of epic hikes, jaw-dropping fjords, turquoise lakes, and more waterfalls than you can count.If there's one place on Earth that lives up to ALL the hype, it's the South Island of New Zealand....
Where to Stay in Dublin, Ireland: The Ultimate Neighborhood & Hotel Guide for First Timers
Wondering where to stay in Dublin? Discover the best neighborhoods and my favorite hotels for every budget, plus essential tips for visiting Ireland's capital!Dublin is one of those cities that absolutely enchants you! One minute you're wandering cobblestone lanes...

Ultimate 5 Day Costa Brava Itinerary: The Best Beaches, Hidden Coves, & Medieval Villages on Spain’s Underrated Coastline
Hidden coves, medieval stone villages, and Dalí's surreal seaside town – this is the ultimate Costa Brava itinerary for anyone craving Mediterranean magic without the crowds of the Balearics. It’s truly the MOST underrated coastline in Spain!Let me tell you a secret:...


0 Comments